Photo Guide
Shooting your own product photos: where to start, and which route fits your shop
Last updated 2026-09-23From Plien Roob — AI model photography for online stores
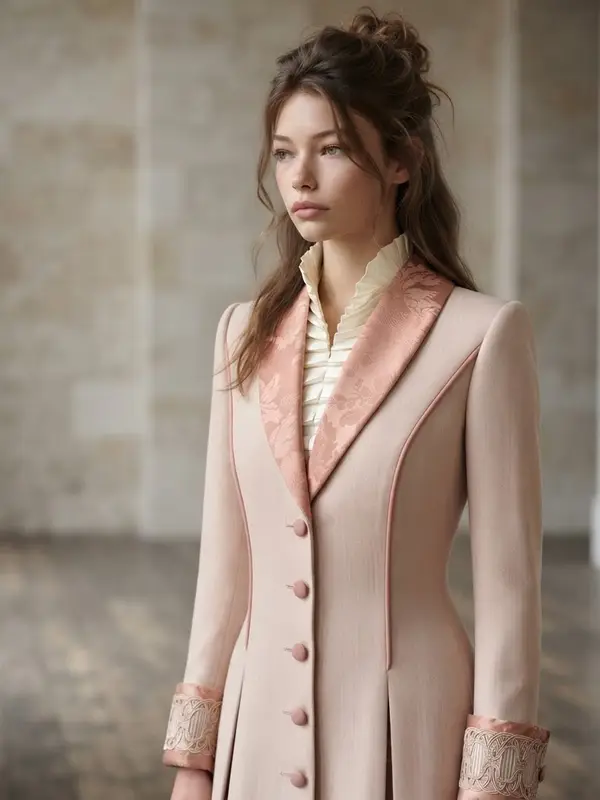

A shop starting out doesn't first need to know which tool to use. It needs to know which photos it has to have. This page is a table of contents for everything Plien Roob has written on the subject, ordered by what you already have in your hands rather than by tool.
Start from what you already have
Just a phone and the item: begin with placement, light and camera distance, before any tool comes into it
The item but nobody to wear it: four routes need no model at all — a hanger, a display form, flat on the floor, or letting the system build the shape
Flat-lay photos already taken: the fastest route is turning them into a worn shot or a ghost mannequin, with no reshoot
The item has sold, or there was only ever one: a single old photo still works, and the item does not need to be in your hands
Old photos not sharp enough to list: first separate blurry-because-small from blurry-because-out-of-focus. They do not fix equally
Shooting it yourself — three pages, in this order
Some products have rules of their own
Shoes are judged on shape: six angles, and a toe box that has not collapsed
Bags and shoes differ from clothing in that they hold their own shape already, so buyers look at different things
Sleepwear, lingerie and swimwear need different preparation, because straps, bows and hooks the photo cannot see are left for the AI to guess
No model, no studio
This is the question small shops ask most, and it does not have one answer. The four routes below produce different-looking photos, cost different amounts, and suit different garments.
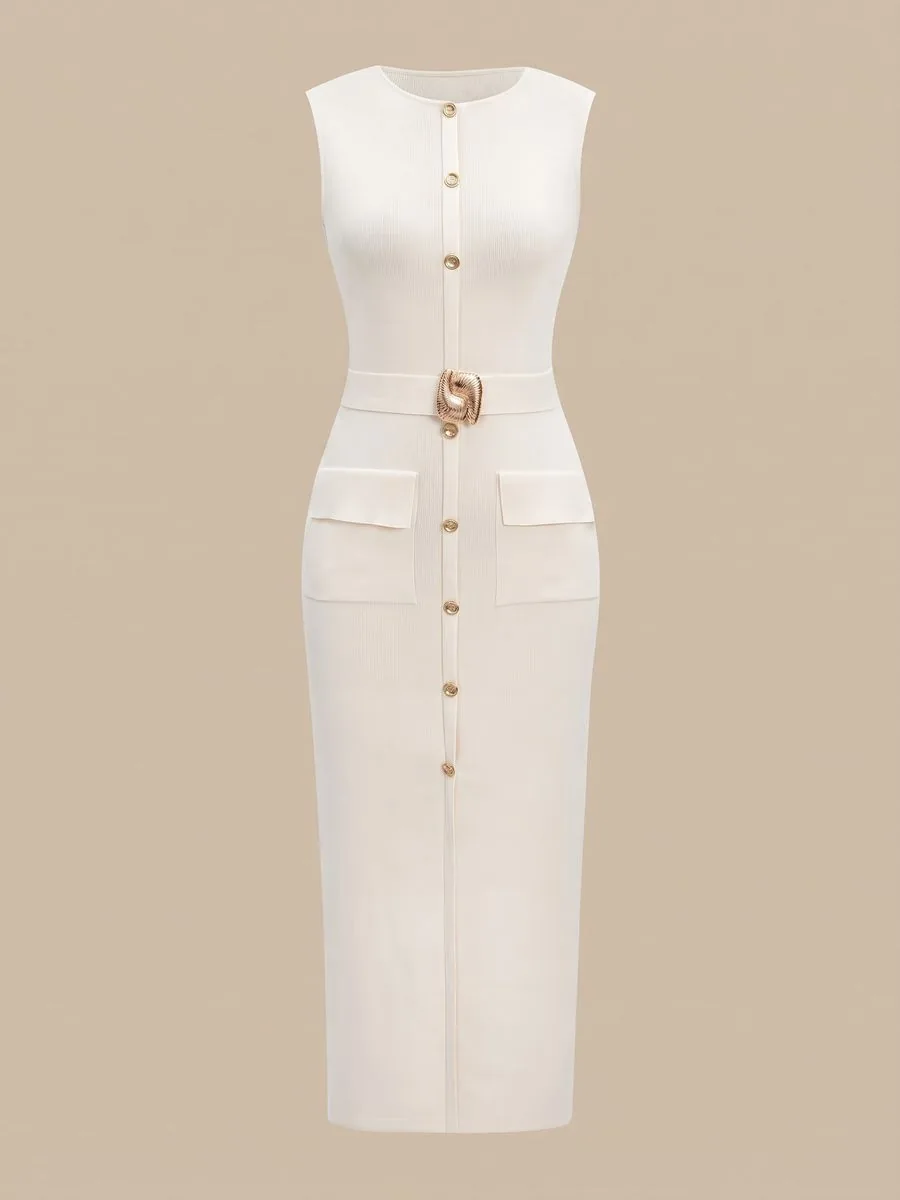
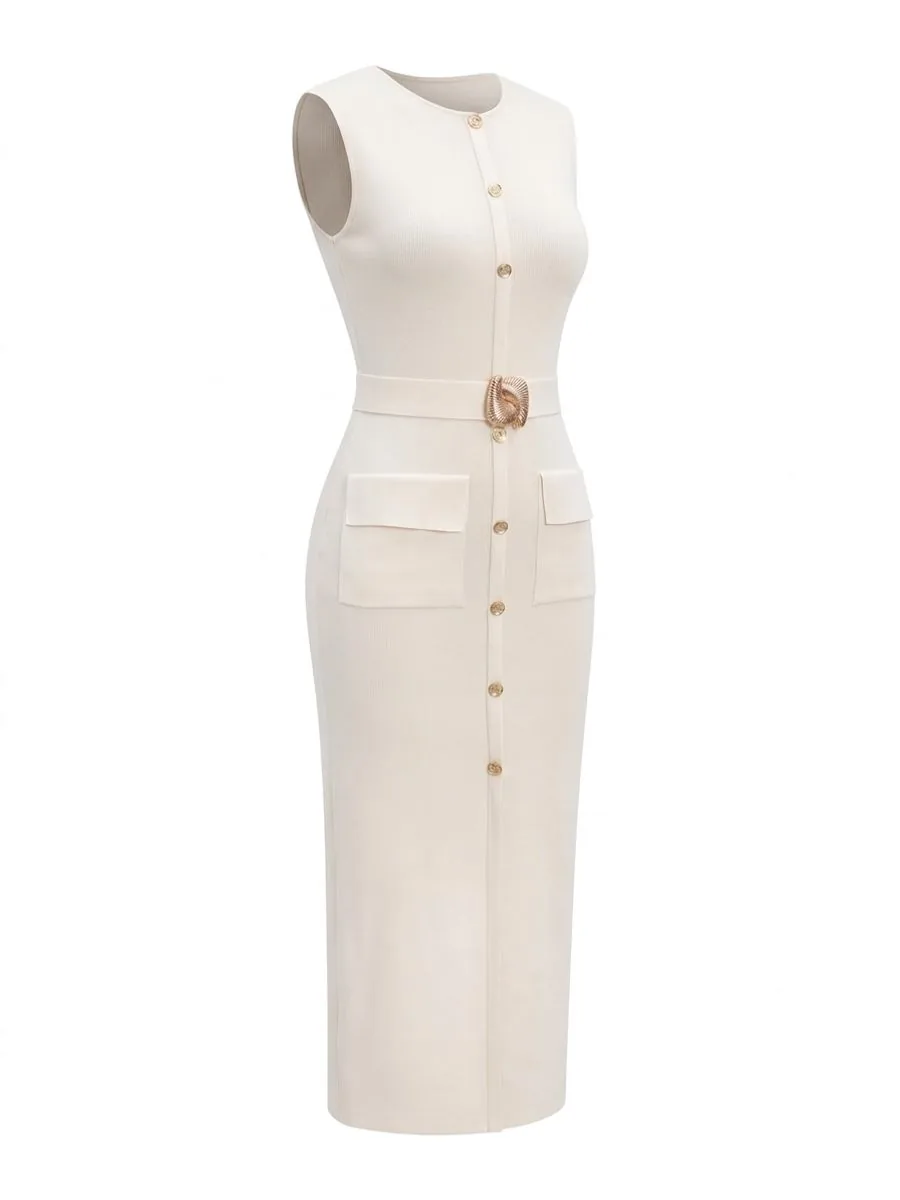
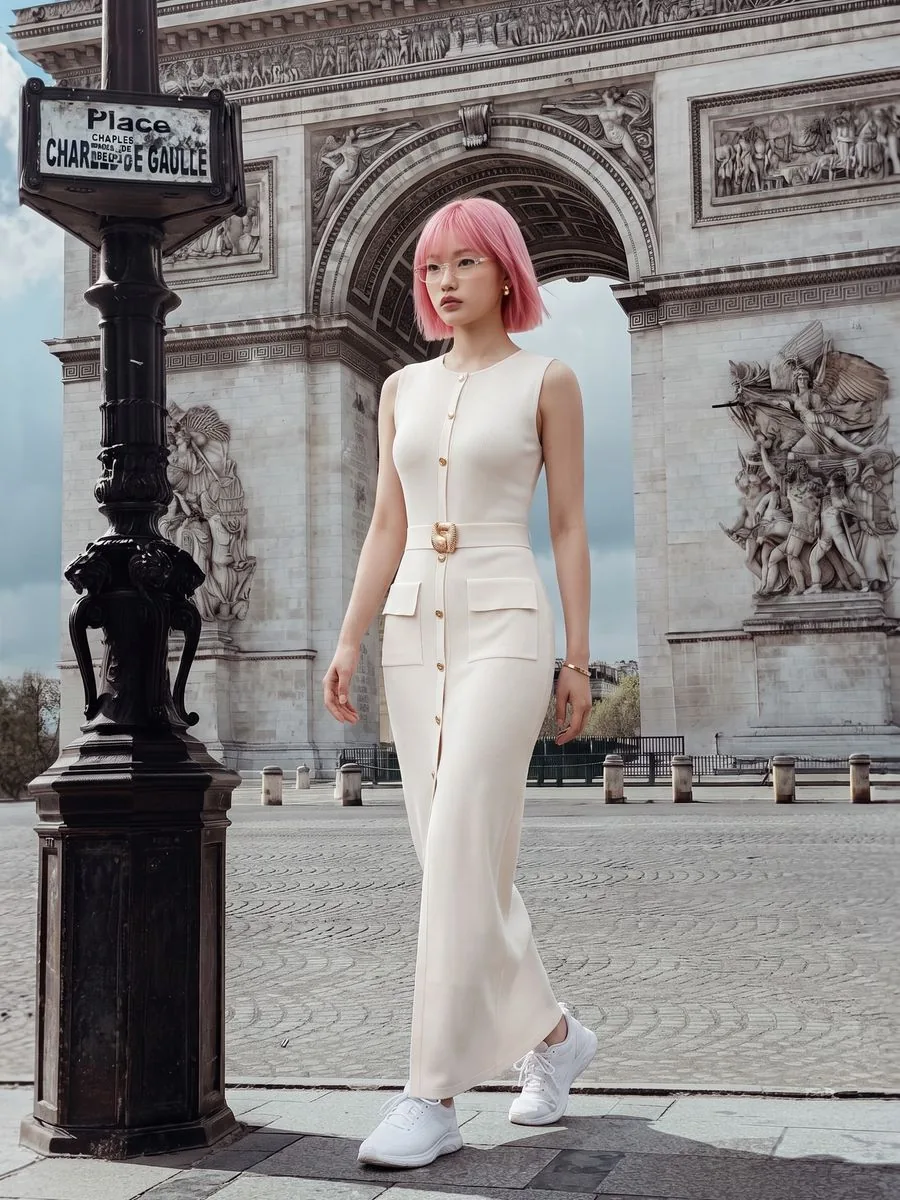
Rescuing old photos you don't want to list yet
An old photo can fall short for two reasons, and they do not fix equally. One that is sharp but too small genuinely improves when enlarged. One that was out of focus at the shoot cannot have detail restored that was never recorded.
Every route above starts from the file you have. A shorter side of 1024 pixels or more works best; below 480 pixels Plien Roob will not accept it. Use the original file rather than one sent through a chat app.
Frequently asked questions
What equipment do I need to photograph products myself?
A phone, one window with no direct sun, and a sheet of white paper or foam to bounce light back into the shadow side. That covers most products. What changes the result most is not the camera but the direction of the light and how far back you stand.
No model and no mannequin — how do I photograph clothing?
Four routes: a hanger, a display form, laid flat on the floor, or shooting it flat and letting the system build the shape into a worn-looking or ghost-mannequin image. Each gives a different-looking photo and suits different garments.
Does enlarging a blurry old photo actually make it sharp?
It depends why it is blurry. A photo that is sharp but too small genuinely improves. One that was out of focus at the shoot cannot have detail restored that was never recorded. Reshooting is the reliable route if you still have the item.
Can a photo I took myself become a model photo?
Yes. Upload it to Plien Roob and choose the kind of image you want — there is no prompt to write. A shorter side of 1024 pixels or more works best. Sign up free for 10 credits, given once, with no card needed. Your first free-plan image has no watermark; the images after it do.
Plien Roob
Ready for your first product photo?
Sign up free for 10 credits, given once, with no card needed. Your first free-plan image has no watermark; the images after it do.