Photo Guide
How to photograph shoes for an online shop
Last updated 2026-09-23From Plien Roob — AI model photography for online stores
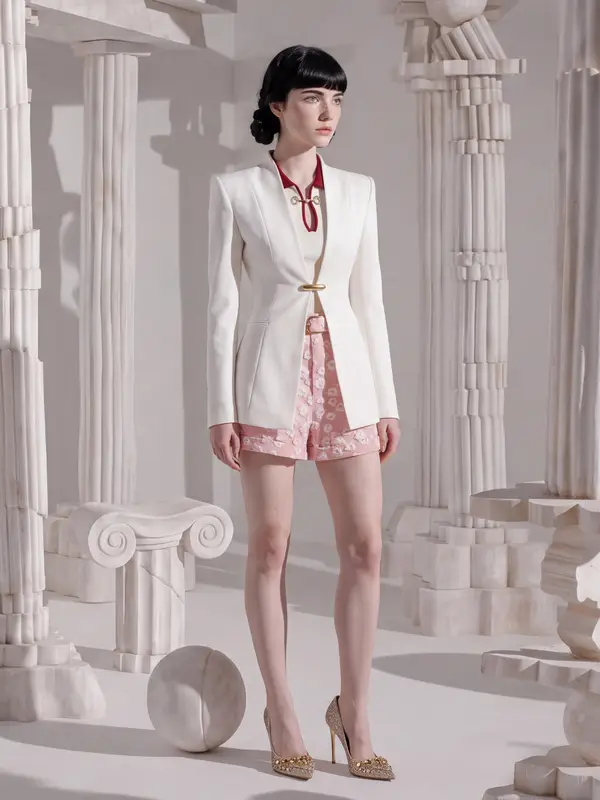

Someone buying clothes is looking at how it wears. Someone buying shoes is looking at something else: the shape of the toe, the height of the heel, the thickness of the sole and the condition of the leather. Whether those four read clearly comes down almost entirely to camera angle and light, not to how good the camera is.
Six angles worth having
Shoe shops that get few questions in chat tend to have the same set of shots. Take them in one sitting and they cover every channel.
Three-quarter front, one shoe. This is the main image, because it shows the side and the front at once, and the toe shape reads best from here
Straight side profile. The cleanest read on the line of the shoe and the heel height. Put the camera at shoe level, not standing over it
Straight down from above. Shows the width across the foot and any pattern on the toe
The sole. Buyers of trainers and secondhand shoes look here first, because it shows wear
The back. Shows the heel and the rear seam — important for heels and boots
Both shoes together, one frame. Confirms it's a pair and that the two match
A collapsed toe box is the most common mistake
An empty shoe always sags at the toe and looks flatter than the real thing, especially trainers, soft leather and tall boots. Pack tissue paper, shoe-box paper or a rolled sock firmly into the toe — firm enough to hold the shape, not so much that it bulges.
Tall boots need packing up the shaft as well. Without it the shaft folds over onto the foot and the buyer cannot read its height at all.
Light: matte and patent are different problems
Matte leather, canvas and fabric like broad soft light — a large window with no direct sun, or an overcast day. They keep their texture with no white spots
Patent leather, glossy finishes and reflective trims pick up hotspots very easily. Block direct sun with white paper or move into shade before shooting
Dark shoes eat light and need more of it than you expect. Add light at the shoot rather than lifting brightness in an app afterwards, which drags the grain up with it
Put white paper or foam on the side opposite the light. It bounces light back into the shadow side so the seams there stay visible
Camera height changes the shape of the shoe
The single thing that most often makes a shoe look unlike itself is shooting down from standing height. That angle shortens the toe, thins the sole and lowers the heel. Get down until the camera is level with the shoe, or only slightly above it.
The other help is to step back and zoom in rather than putting the lens close. Close up, whatever is nearest the lens swells — and with a shoe, that is the toe.
The colour has to match the real thing
Shoes are a product the customer will hold up against your photo when the parcel arrives. Shoot the whole set under one light, never mixing window light with a yellow bulb in the same frame, and photograph a sheet of white paper once in that same light to keep for reference. If the white paper reads yellow or blue in a shot, the shoe's colour in that shot has shifted the same way.
The files to keep
A shorter side of 1024 pixels or more. Below 480 pixels Plien Roob will not accept the file
Always keep the originals. Don't keep only what went through a chat app — they compress until seams and leather grain disappear
Name files by model and colour, such as white-canvas-01, not IMG_2841. Once a shop has several styles, finding the file is real time lost
What you can do with them afterwards
One photo you took yourself can become a photo of a model wearing the shoes at Plien Roob: upload it and tap the footwear category. The system frames the shot so the shoes are large enough for a buyer to read the shape — a different frame from the one used for clothing.
A head-to-toe photo makes the shoes too small to tell what shape they are. It works as a supporting image, but it must not replace the six angles above, or every question about shape comes back to your chat instead.
Frequently asked questions
How many angles do I need for shoe photos?
Six covers it: three-quarter front, straight side profile, straight down from above, the sole, the back, and both shoes together in one frame. The three-quarter shot is the main image, and the sole matters most for trainers and secondhand shoes because it shows wear.
How do I stop the toe of the shoe collapsing in photos?
Pack tissue paper, shoe-box paper or a rolled sock firmly into the toe — enough to hold the shape, not so much that it bulges. Tall boots need packing up the shaft too, otherwise it folds over onto the foot and the buyer cannot read its height.
Why do my shoes look shorter than they really are?
Usually because the photo was taken looking down from standing height, which shortens the toe, thins the sole and lowers the heel. Get the camera down to shoe level, and step back and zoom in rather than putting the lens close to the shoe.
How do I photograph patent leather without hotspots?
Move into shade or block direct sun with white paper first, because a glossy surface always mirrors a small strong light source as a white spot. If you have to stay in the sun, turn the shoe until the spot moves off the part you want seen, then take several frames and pick the best.
Can my own shoe photo become a photo of a model wearing them?
Yes. Upload the shoe photo to Plien Roob and tap the footwear category. The system frames the shot so the shoes are large enough for a buyer to read the shape, which is a different frame from the one used for clothing. Sign up free for 10 credits, given once, with no card needed. Your first free-plan image has no watermark; the images after it do.

Plien Roob
Ready for your first product photo?
Sign up free for 10 credits, given once, with no card needed. Your first free-plan image has no watermark; the images after it do.