Photo Guide
Shooting clothes on a phone, sharp enough to actually use
Last updated 2026-09-07From Plien Roob — AI model photography for online stores


The same shirt, phones of much the same age, and yet one shop's photo reads as a shop while yours reads as a snapshot of your wardrobe. Most of the time the camera is not the difference. The difference is which direction the light falls from, how close you stood, and whether the file came out big enough. All three are fixable at home without buying a single thing. This page is written for anyone listing on Shopee, Lazada, TikTok Shop, or their own shop page.
The problem is not your phone camera
Phones people already carry resolve more than enough detail for this job. What separates two photos is usually not the hardware but two things that cost nothing: where the light comes from, and how much of the frame the product fills. Get those wrong and a newer phone will not rescue them.
Four things to prepare, all of which you already own
A window that lets light in. Use it as your main light instead of the lamps indoors, and shoot during the day without switching anything on.
A plain wall or a plain sheet for the background. Light neutral colours work with almost any garment, but avoid a colour close to the garment's own — the edges will melt into the background.
A hanger, or any flat clear surface. If the garment does not hang well, lay it flat instead.
An iron or a spray bottle of water for the creases. Fold marks from the packaging make an item look like it is not ready to sell.
Light: why flash and ceiling lamps make clothes look cheap
Flash fires from the same place as the lens, so you get a bright hotspot in the middle of the garment, a hard shadow beside it, and colour that goes pale exactly where the light landed. Ceiling lamps sit above your head, so they drop shadows under the collar and under the hem, which makes the shape hard to read. The best light you can get without spending anything is a window, with the light arriving from the side of the item or from in front of it.
Put the window to the side or in front of the item, never behind it. Backlight makes the camera darken the whole frame, and the product comes out dim.
Turn the flash off, and the room lights too if you can. Mixing two kinds of light shifts the garment's colour.
If the side away from the window is too dark, stand a sheet of white paper or white cloth there. It bounces light back and lifts the shadow.
The thing to avoid is a hard shadow lying across the garment. If the shadow has a crisp edge, move out of the direct beam or draw a thin curtain across the window.
 Illustration
Setting up a phone camera, in five steps
Wipe the lens with something soft before every session. Finger grease hazes the whole frame in a way you cannot see on a small screen.
Do not pinch to zoom — step closer instead. On a phone that gesture usually crops the frame and enlarges it again, which adds no detail at all.
Let the product fill almost the whole frame, with a little margin around it. The smaller the item sits in the frame, the less detail is left to work with afterwards.
Tap the print or the lettering on the garment to focus there. Do not let the camera choose. Whatever you tap is what comes out sharpest.
If your phone can lock exposure, hold your finger on that same spot until the lock indicator appears, then shoot. A run of photos will come out at the same brightness.
 Illustration
Lay the garment out so its real shape shows
Collar, sleeves and hem all visible in one frame. Anything folded out of sight is a part nobody can judge the shape of.
Iron or spray the creases out first, especially the centre fold that comes from being packed.
Stand the collar up instead of letting it fold onto itself, and pull both shoulder seams straight.
Lay the sleeves out at their true length. Do not roll them up unless that is how you are selling it.
If the garment carries a print or lettering, turn that panel square to the camera and keep creases from running across it.
 Illustration
Three reasons a photo you already have will not work
Files forwarded through a chat app. Those apps compress the file on the way, so what reached you is not the file the sender took.
Screenshots. You get screen resolution and nothing more, compressed a second time on top of that.
Photos cropped down to a small corner. Cropping throws pixels away, and enlarging afterwards does not bring the detail back.
The fix for all three is the same: go back to the original file on the device that took it, if you still can.
A number Plien Roob measured in-house: we ran two Thai-print T-shirts through the ghost mannequin tool five times each, holding every setting constant and changing only the photo going in. A sharp 1280-pixel photo with large lettering held its shape 5 times out of 5. A blurred 720-pixel photo with small lettering held it 3 out of 5, and the Thai lettering printed on the shirt came out wrong all 5 times. Stepping closer and tapping to focus before pressing the shutter is how you get a photo like the first one.
The sizes the system accepts
The shorter side must be at least 480 pixels. Below that the upload is refused.
At least 1024 pixels is recommended. Below that it still uploads, but you get a visible warning.
Around 1280 pixels and up is what has been proven to work best.
The check looks at the shorter side, not the longer one, because a long thin image still carries too little product detail.
JPEG, PNG and WebP are accepted, up to 15 MB per file.
When shooting it yourself is enough, and when the shortcut is worth it
Shooting it yourself makes the most sense when only a few items come in and you have the time to set up a table and wait for the light. Everything on this page can be done at home without spending anything. What stops it being worth it is not the price — it is the hours. New stock every week means ironing, arranging the light, staging, shooting, sorting and finishing, for every item and again the next week. At that point the approach that gives back the most time is to shoot one photo per item, as sharp as you can manage, and let the system build the model shots, the scene changes and the shaped no-person shot from that single file. Either way, a good source photo is still the part you have to do yourself.
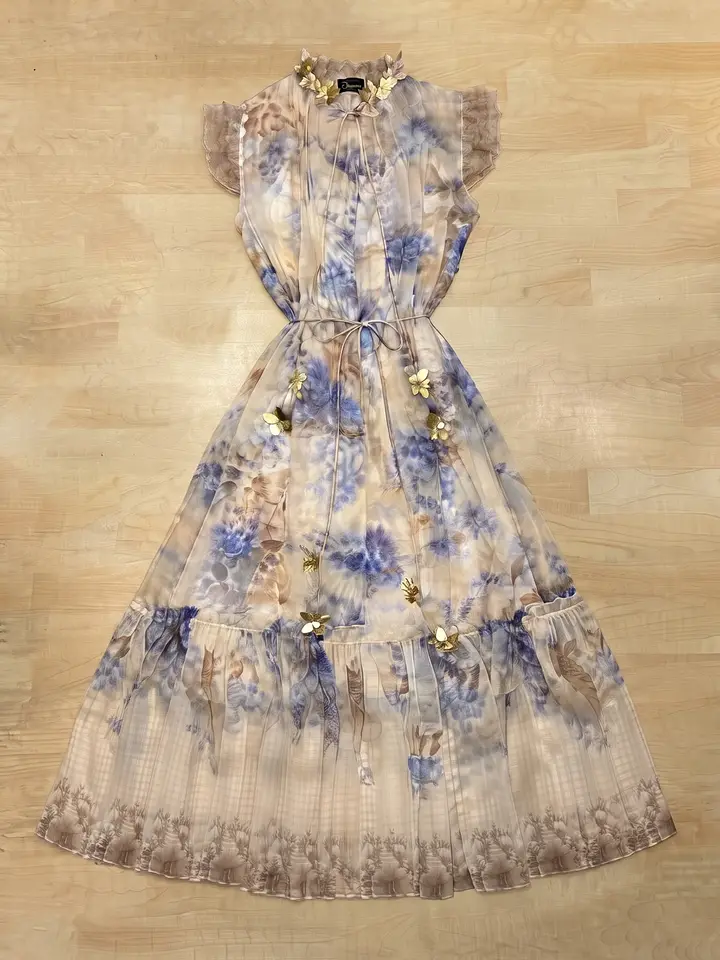
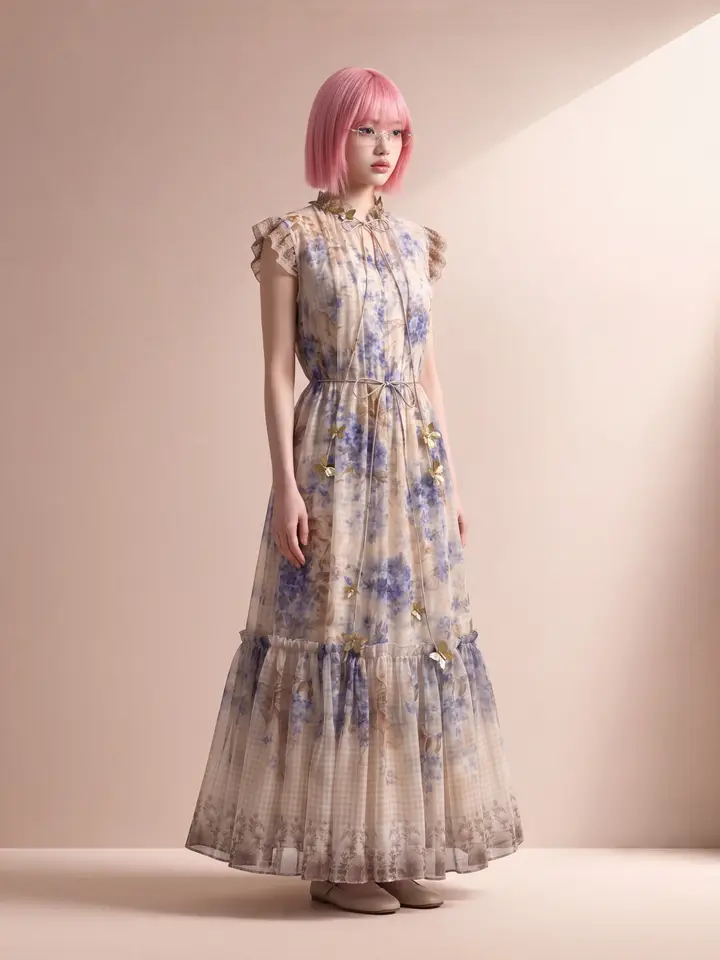
Checklist before you upload
Lens clean, shot in daylight, flash off.
The product fills most of the frame — not zoomed in, not cropped afterwards.
Collar, sleeves and hem all visible, with no hand or hanger covering anything important.
No watermark or logo from another site in the frame, and it is a photo you have the right to use.
Open the file and check the shorter side is at least 1024 pixels, and that it is the original rather than a copy that travelled through a chat app.
Frequently asked questions
Do I need to buy any equipment to photograph clothes for online selling?
No. The four things you need are already in the house: a window that lets light in, a plain wall or sheet for the background, a hanger or any flat clear surface, and an iron or a spray bottle of water for the creases.
Why do my photos not look like a shop's?
It is usually the direction of the light and how close you stood, not the phone. Flash fires from the same place as the lens, so you get a bright hotspot in the middle of the garment and colour that goes pale, while ceiling lamps drop shadows under the collar so the shape is hard to read. Use window light arriving from the side or the front, turn the flash off, and step closer instead of zooming.
How large does a photo have to be to upload it?
The shorter side must be at least 480 pixels or the upload is refused, at least 1024 pixels is recommended, and around 1280 pixels and up is what has been proven to work best. JPEG, PNG and WebP are accepted, up to 15 MB per file.
Can I use a photo that was forwarded to me in a chat app?
Usually not well, because chat apps compress the file on the way, so what reached you is not the file the sender took. Screenshots and photos cropped down to a small corner have the same problem. The fix is to go back to the original file on the device that took it.

Plien Roob
Ready for your first product photo?
Photos by CK Hicks · Mona Jain · Avtar Singh on Unsplash