Photo Guide
Four ways to photograph clothes with nobody wearing them
Last updated 2026-09-07From Plien Roob — AI model photography for online stores

There is no budget for a model, but the photos you want are catalogue photos: the garment clearly visible, its shape readable, and every item in the shop looking like it belongs to the same shop. The good news is that there are four ways to get a photo of a garment with nobody in it, none of them needs a model hired for the day, and two of them cost nothing at all. This page compares them one at a time — what the resulting photo looks like, what you have to invest, how long it takes, and which garments it suits — so you can choose correctly from the start, whether you are listing on Shopee, Lazada, TikTok Shop, or your own shop page.
The four, in one line each
Hang it on a hanger and shoot. Fastest, nothing to buy, but the shoulders you get are the shape of the hanger rather than the shape of a body.
Put it on a dress form and shoot. Consistent shape across every item, but there is a one-off cost up front, and the form itself is in the picture.
Lay it flat and shoot straight down. Nothing to buy at all, the whole print is visible, but it takes the most styling time.
Shoot one sharp photo yourself and let Plien Roob build the shape. You get a worn-looking garment with no person and no mannequin in frame, at 2 credits per image at standard quality and 4 at premium.
One: hang it on a hanger
What you get: the true length, and how the fabric falls — two things a flat lay cannot show at all.
What it costs to start: nothing. A hanger and a plain wall you already have.
How long it takes: the fastest of the four. Hang it and shoot.
Suits: dresses, long skirts, jackets, coats, and any fabric with enough weight to hang by itself.
Does not suit: t-shirts and stretch fabrics, because the hanger stretches the neckline out of shape and the body collapses inward so the garment reads narrower than its real size.
Two fixes that improve the shot immediately: use a hanger the same colour as the background, or clip the fabric behind so the hook stays out of frame; and step back far enough that the hem is fully in the picture rather than cut off.
 Illustration
Two: put it on a dress form
What you get · real thickness through the shoulders and body, and the same shape on every item, so the whole shop looks like one set. That consistency is harder to match with the other three methods.
What it costs to start · a one-off cost up front, plus somewhere to keep it. A dress form does not fold away under the bed.
How long it takes · dressing and undressing each item is slower than hanging, but you are not restyling from scratch every time.
Suits · shops with new stock every week, selling mostly around one size range.
First limit · one form is one size. Anything smaller pulls tight and stops reading as its real shape; anything larger hangs loose and has to be clipped at the back.
Second limit · the form is in the photo, visible at the neck and the cuffs. The traditional way to remove it is to shoot twice and composite the two frames in an editor, which is work somebody has to do, item by item.
 Illustration
Three: lay it flat and shoot straight down
What you get · the entire print visible, and more control over everything in the frame than any of the other three, because no body shape is hiding any part of it.
What it costs to start · nothing. A plain flat surface and padding you already own is all it takes.
How long it takes · the longest of the first three. You have to iron, pad, and get high enough to shoot straight down.
Suits · t-shirts, shirts, anything with a large print, and anything that does not hang well.
The limit · almost all of the garment's thickness disappears. Without padding, the photo reads as a folded pile of fabric rather than something that looks good worn.
 Illustration
Four: shoot one photo yourself and let the system build the shape
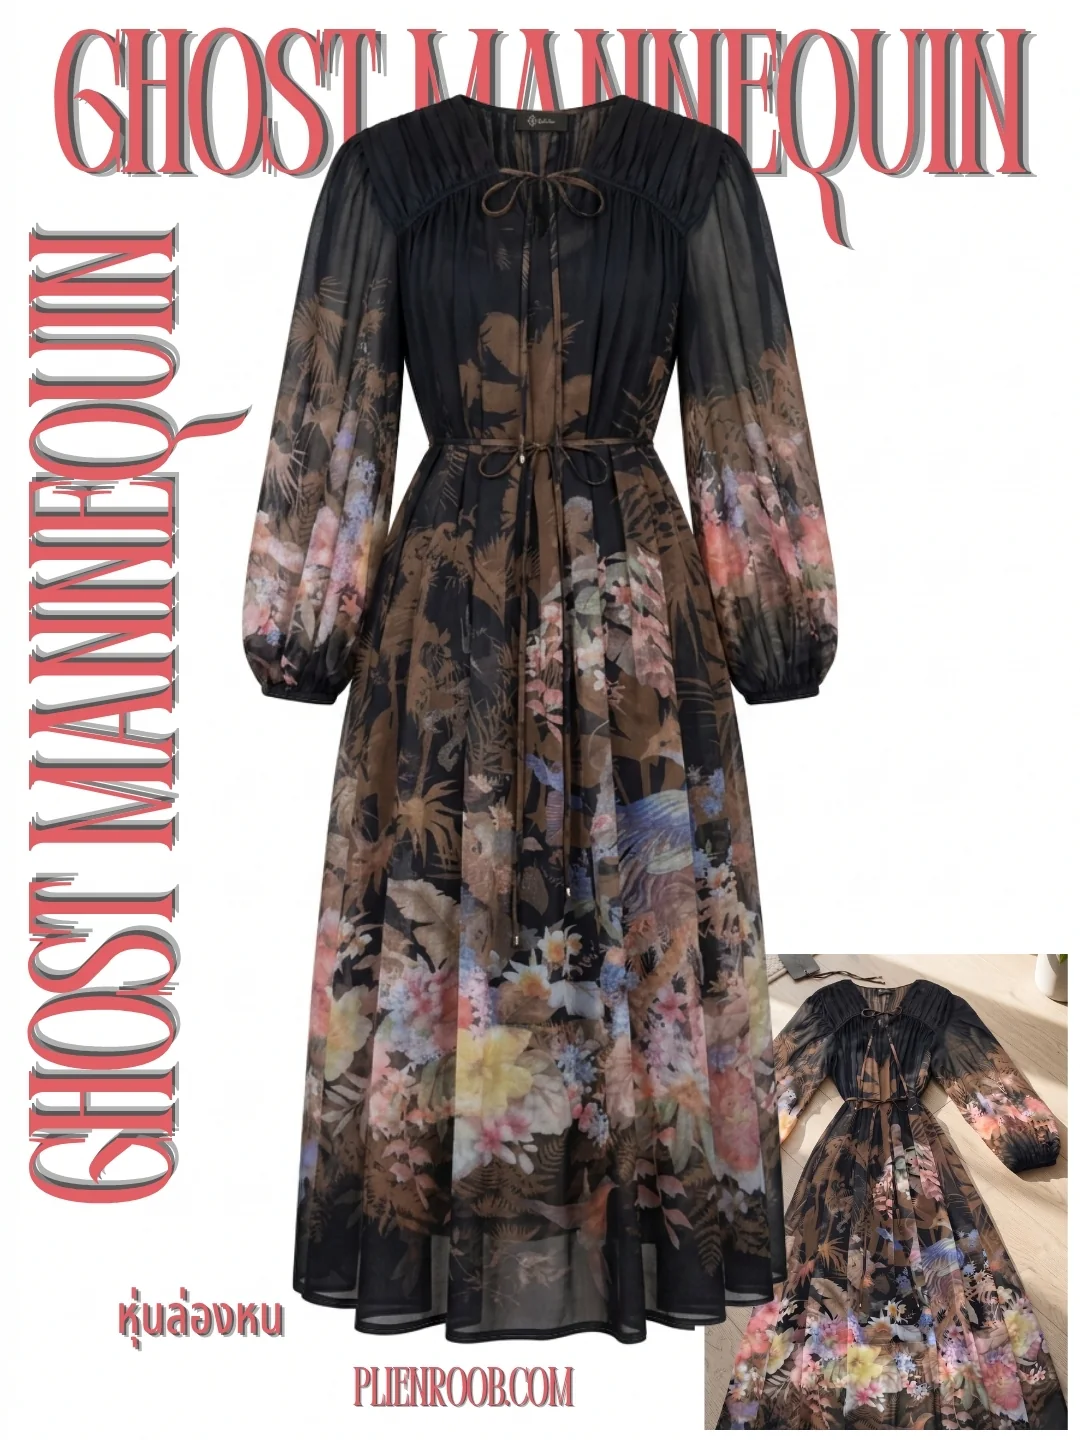
What you get · the garment holding the shape it takes when worn, fabric thickness and the inside of the collar visible, on a plain background, with no person and no mannequin in the frame. The tool is called Ghost Mannequin.
What it costs to start · nothing to buy and keep. You pay per image in credits — 2 credits per image at standard quality and 4 at premium, and the tool's screen offers no library extras to add on, so nothing else is added to the price.
How long it takes · your remaining work is one good source photo, an upload, and pressing generate.
Suits · anyone who already has a flat lay or a hanger shot and does not want to buy a form to store. It works from a flat lay and from a photo of someone wearing the item.
What it leads into · the result can go through background removal for a transparent file at 1 credit, or through upscale for a larger file at 1 credit.
What is still on you · a sharp, well-styled source photo. The shorter side must be at least 480 pixels, at least 1024 pixels is recommended, and around 1280 pixels and up is what has been proven to work best.
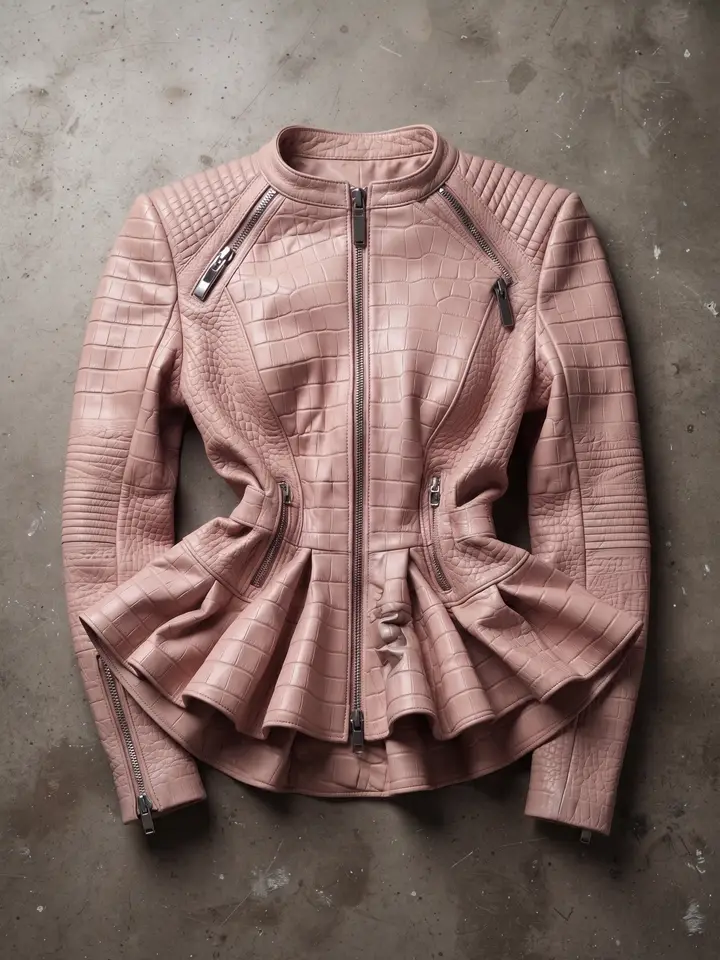
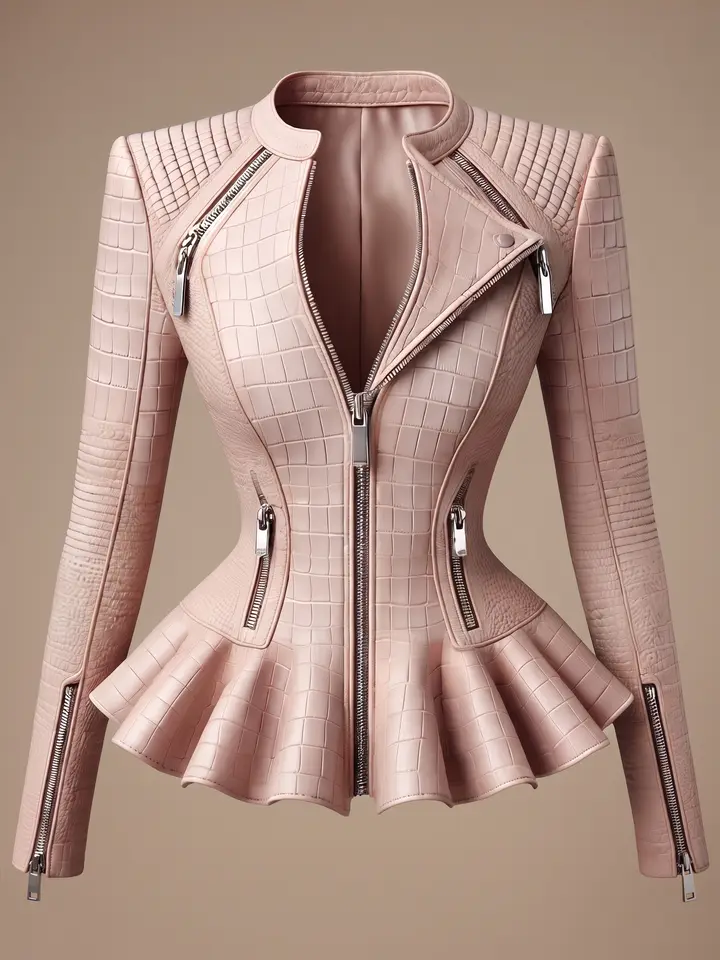
What one photo you took yourself can become
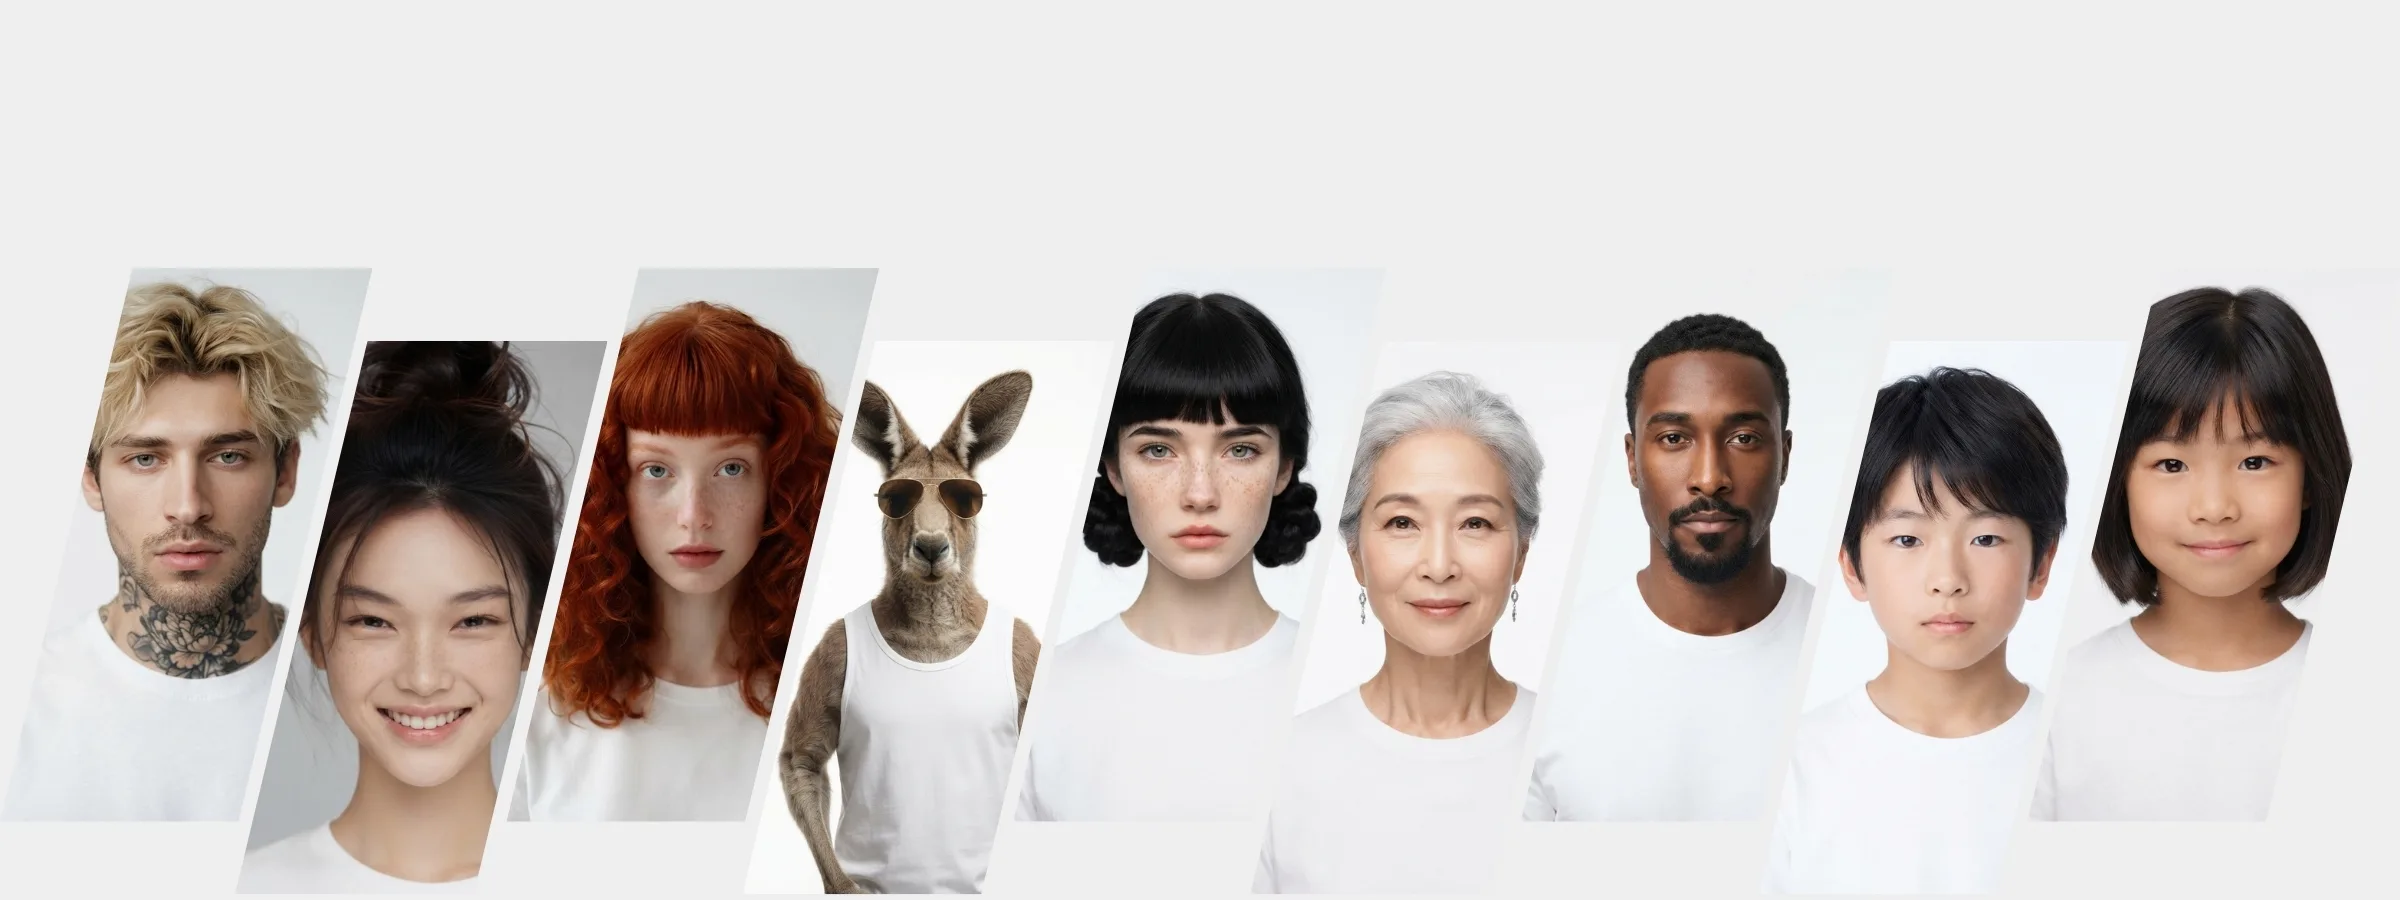
What you can make on this site. Each card is that tool's cover image; tap it to read how the tool works.
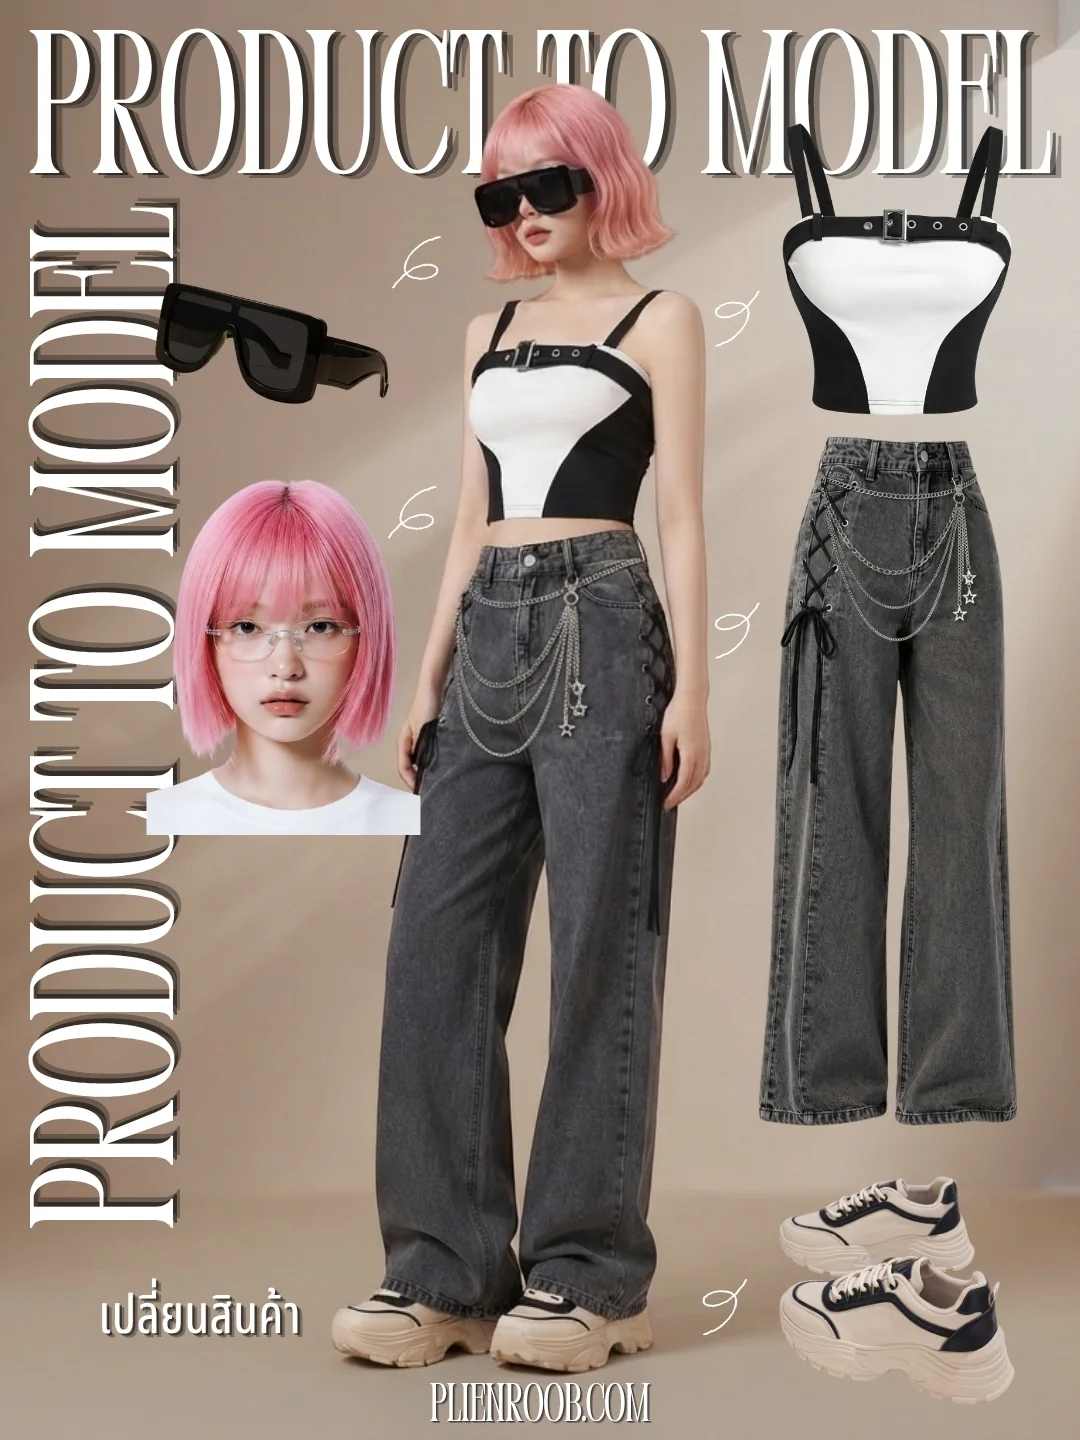
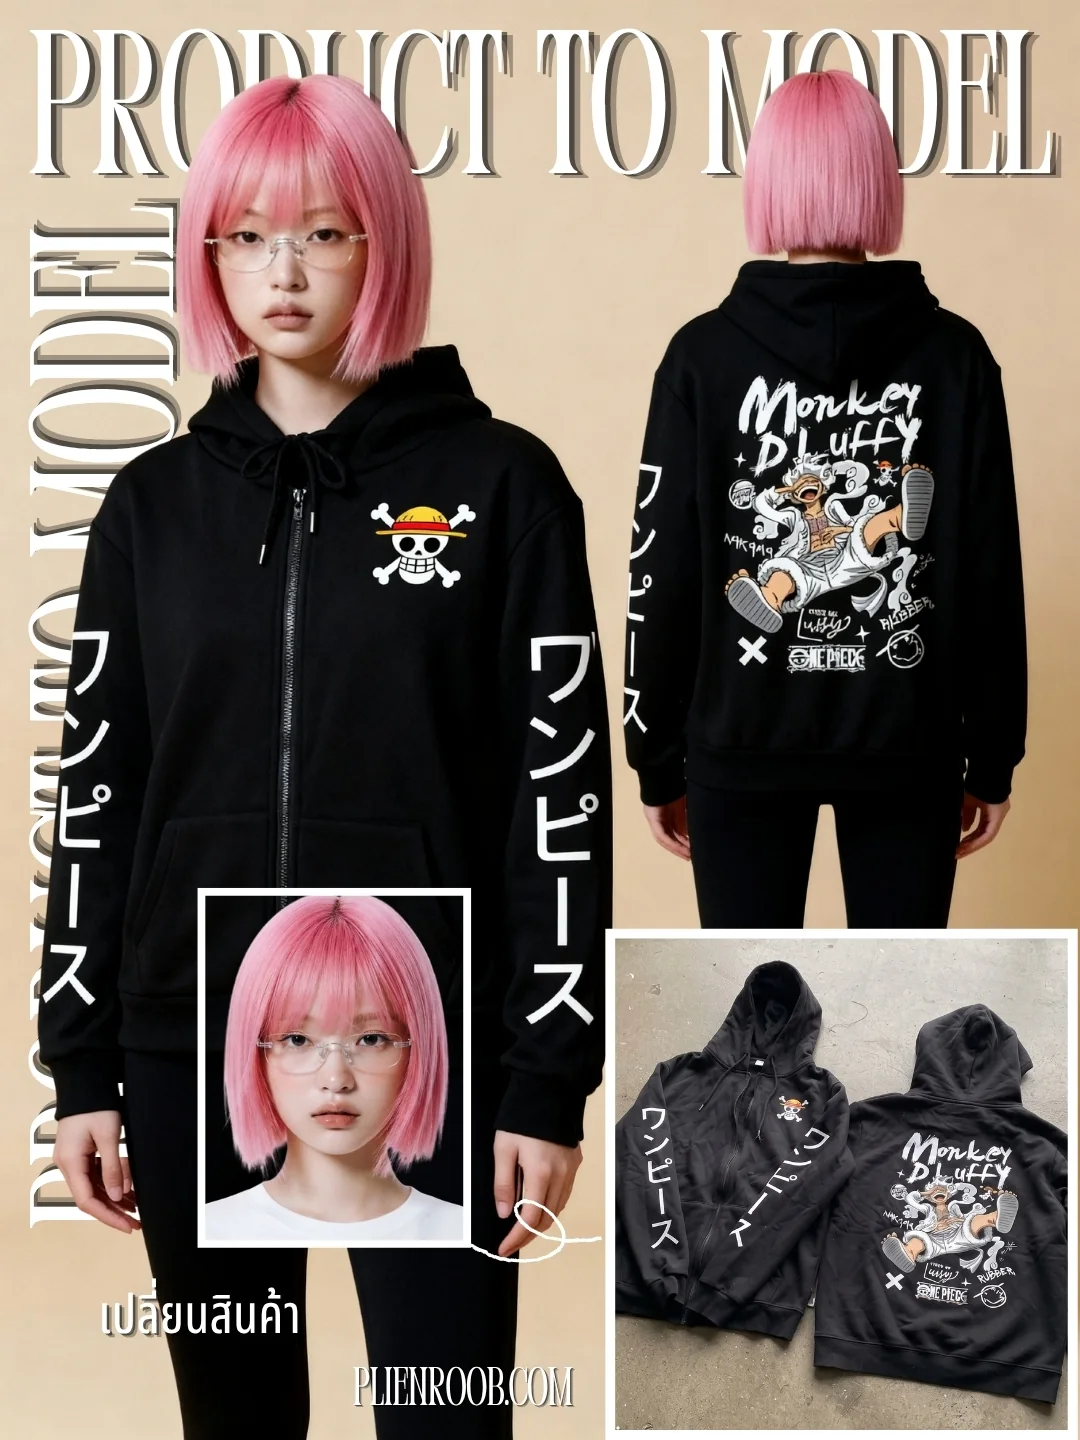
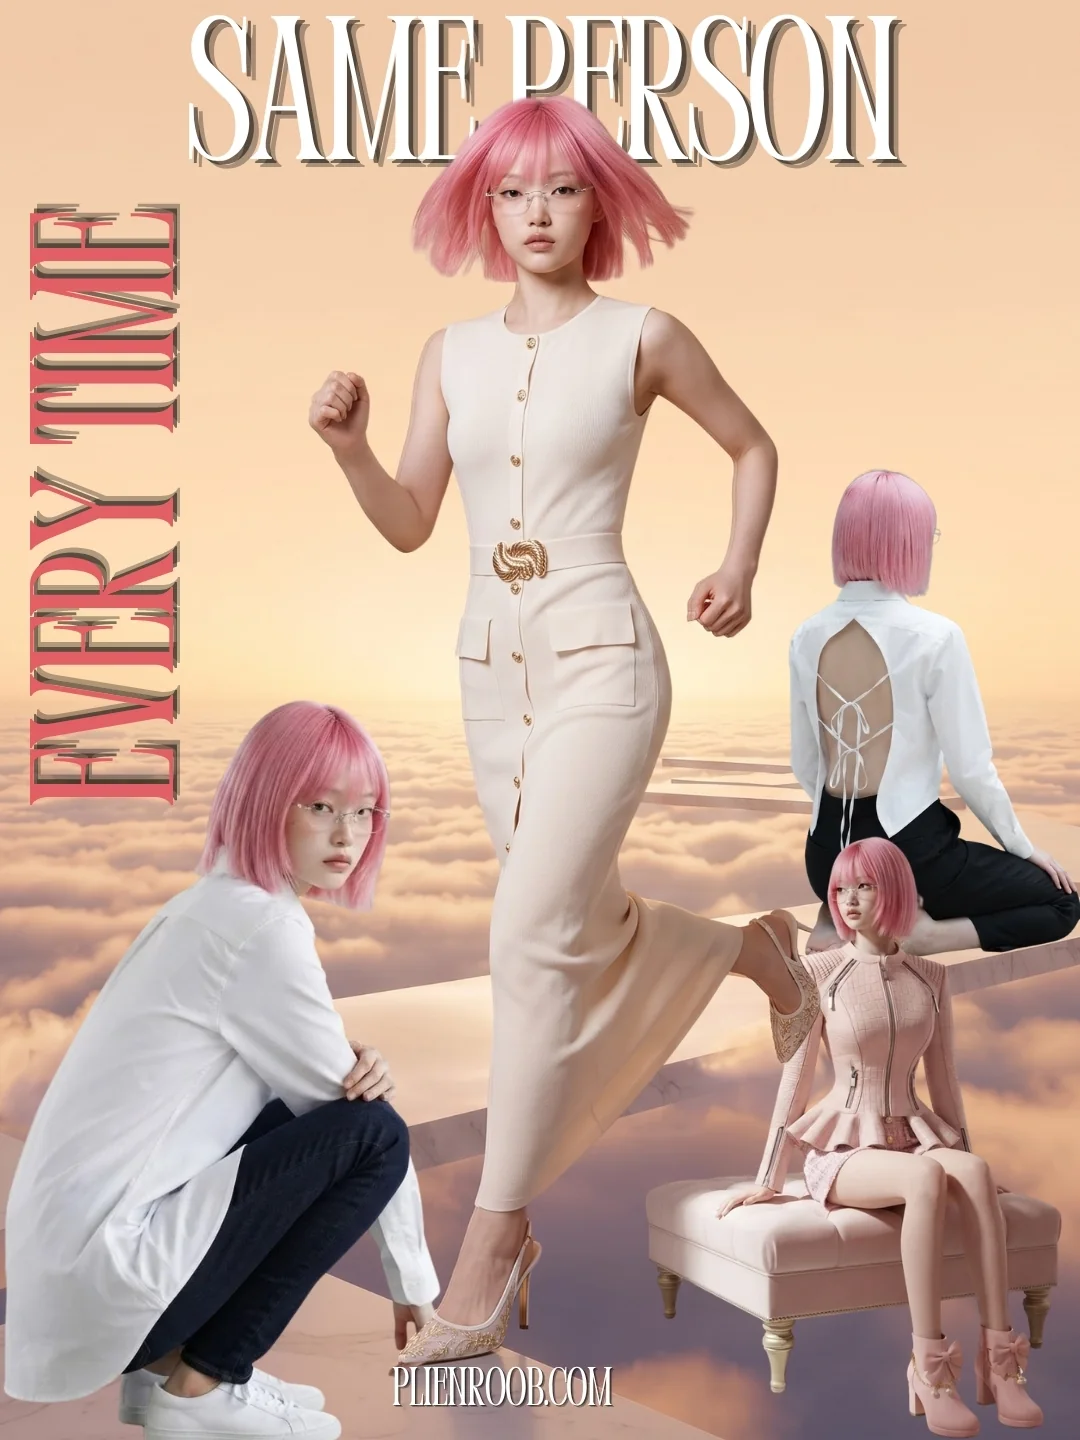
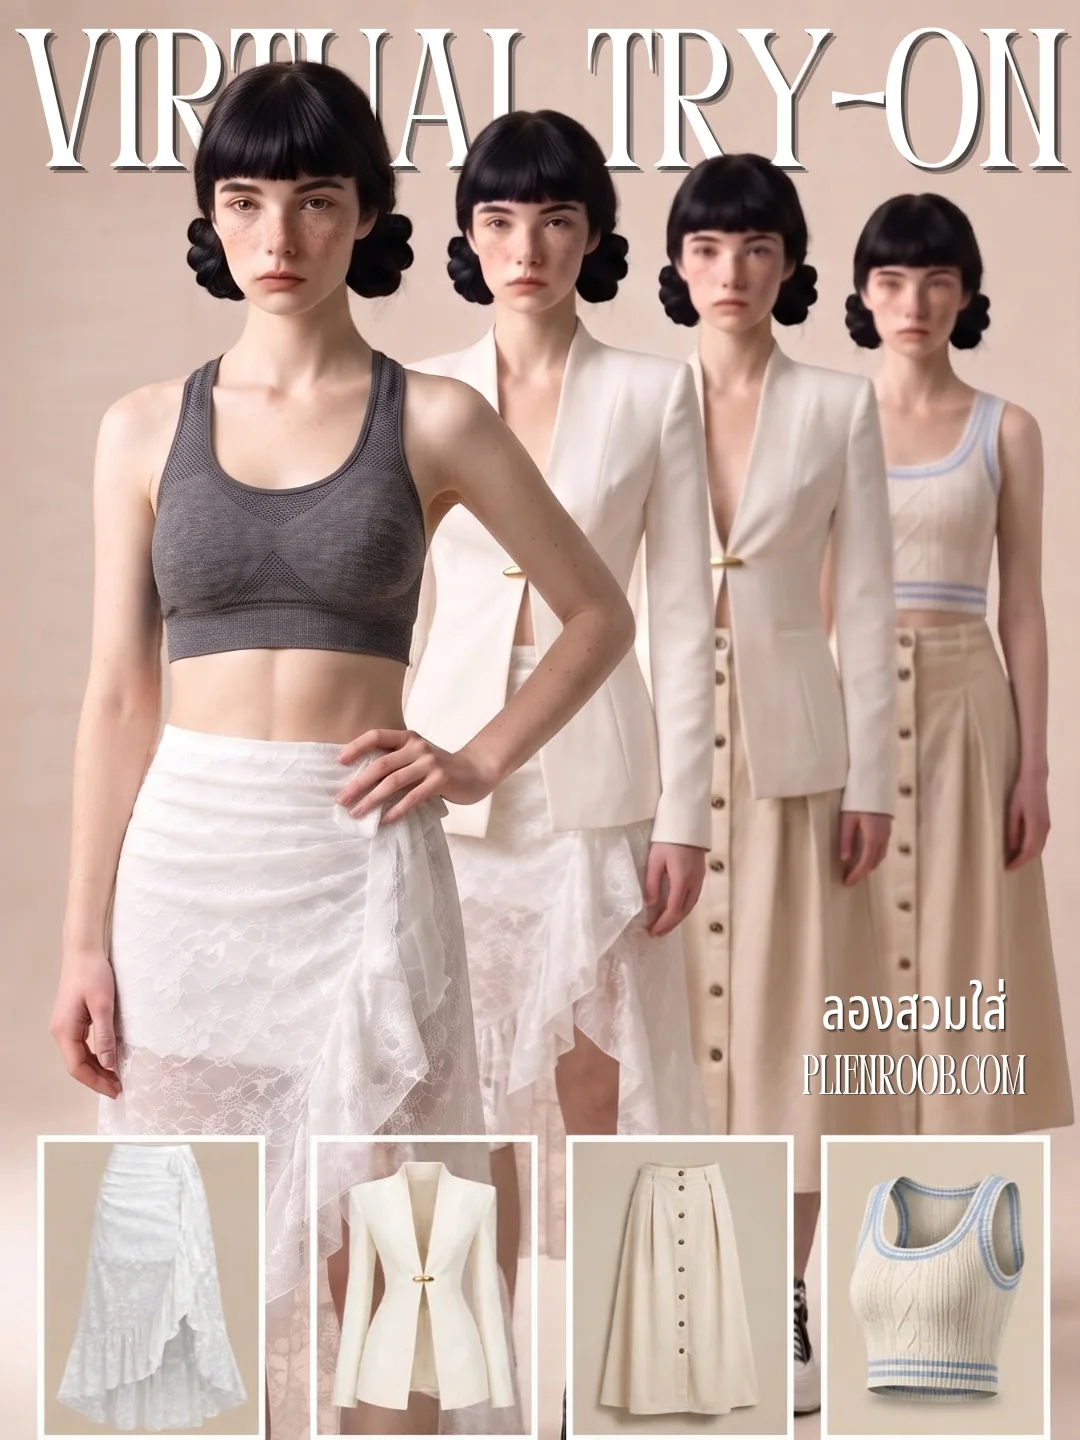
Three questions that narrow it down fastest
How many items came in this month? If it is only a few and you have the time, hanging or laying flat finishes the job and costs nothing. What stops those being worth it is not the price of equipment — it is the hours you repeat every week.
Does this garment hang well by itself? If it does, as a dress or a coat will, a hanger is enough. If it does not, as with a stretch t-shirt whose neckline pulls out of shape and whose body collapses, go with a flat lay or let the system build the shape.
Is there lettering or a fine print on it? If so, move closer until the letters are large and sharp in the source photo, and zoom in on every result before you list it, whichever method you chose.
 Illustration
The limits of the fourth method, before you press generate
The output is probabilistic, not deterministic. The same photo run twice will not be identical, and the dominant variable is the quality of the photo you upload. If the first run misses, run it again or change the source photo before concluding the tool cannot handle that product.
It does not invent what your photo never showed. Anything folded out of sight, a shoulder curled inward, a sleeve lying across the body: those are the parts it has to guess at, and guessing is where results go wrong.
Colours sometimes come back slightly lighter than the real garment. If colour is what closes the sale, compare the result against the physical item before you list it.
Small lettering is the riskiest case of all. We measured this ourselves on two Thai-print T-shirts, five runs each: a sharp 1280-pixel photo with large lettering held its shape correctly 5 times out of 5, while a blurred 720-pixel photo with small lettering managed 3 out of 5, and the Thai lettering printed on the garment came out wrong all 5 times.
One thing to zoom in on for every image before you list it. While choosing models we found that some of them invent a brand tag on the collar that does not exist: unreadable lettering that passes for a real label at a glance. We dropped that option, but checking the collar before you list is still worth doing. A product photo carrying a brand tag that is not on the real item misrepresents the item, and that risk sits with the seller.
You can try it first, but free-plan images after the first carry a watermark
Signing up gives you 10 free credits, once, with no card required — enough for five ghost mannequin images at standard quality, which is enough to tell whether the kind of clothing you sell suits the tool. The thing to know before you press generate is that your first image on the free plan has no watermark, but every image after it carries our watermark burned into the file itself, not laid over the screen, so it cannot be removed and those images cannot be listed for sale. The free credits are for judging quality before you decide, not for real work.
If what you actually want is a photo with a person in it
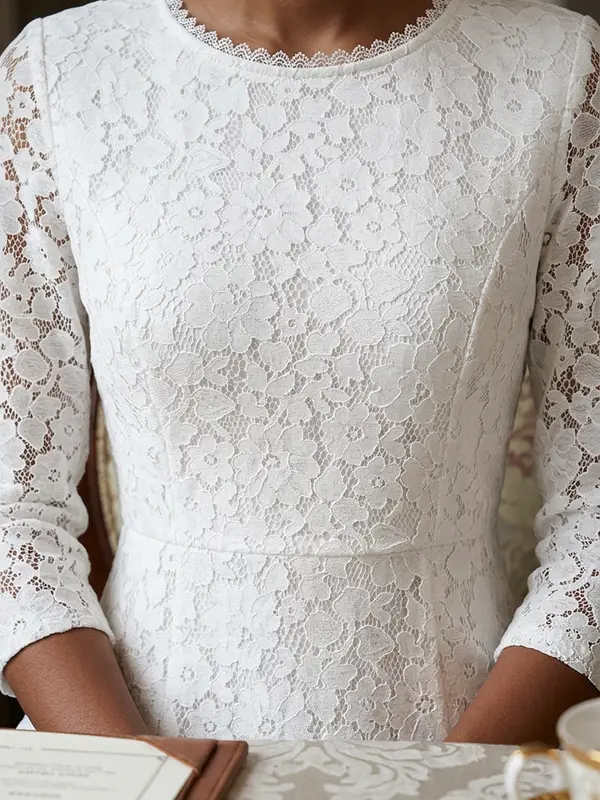
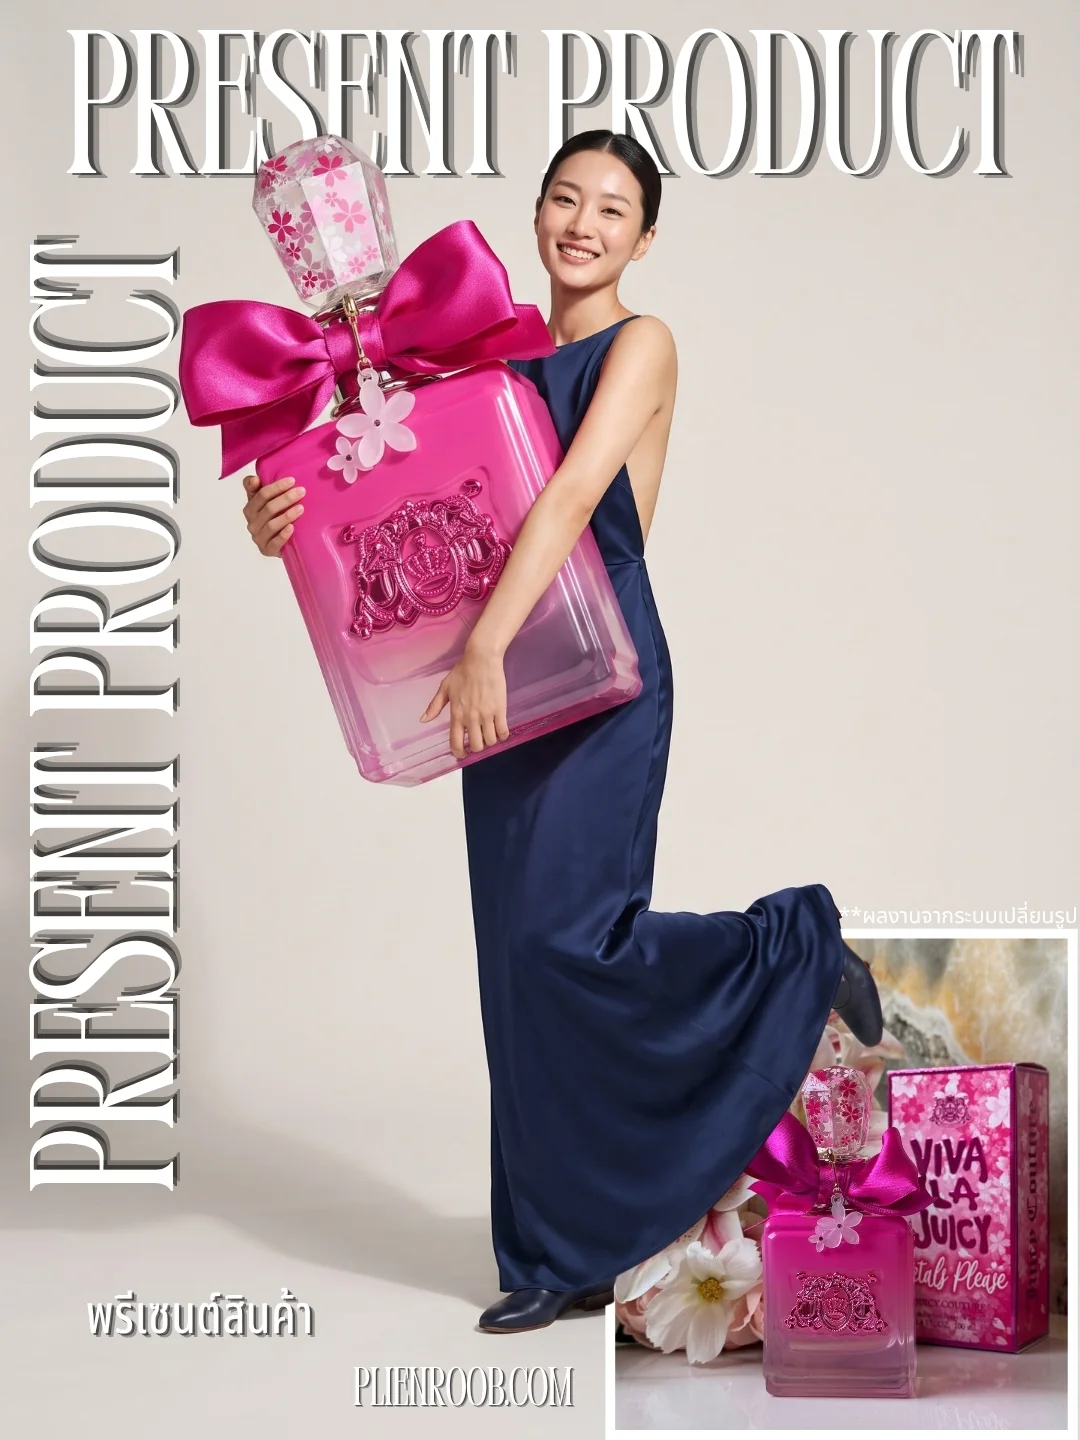
The photo at the top of this page is not a ghost mannequin. It is a real result from a different tool, Product to Model: a white lace dress shot close, with the frame ending above the neck so no face is visible, which leaves the garment filling the frame with the lace and the waist seam clearly readable. The source was a single product photo, and the person in it was generated by the system rather than hired for a shoot. That tool costs 2 credits per image at standard quality and 5 at premium, and this image was made at premium. If your shop needs both the no-person shot for the product page and the worn shot for social posts, both can come from the same product photo.
Frequently asked questions
Do I need to buy a mannequin to photograph clothes without a model?
No. Three of the options need no mannequin at all. Hang the garment on a hanger and shoot, which suits dresses, long skirts and coats that hang well by themselves. Lay it flat and shoot straight down, padding under the shoulders and inside the body with a rolled towel or crumpled paper. Or shoot one sharp photo yourself and let the Ghost Mannequin tool build the worn shape, at 2 credits per image at standard quality and 4 at premium. A dress form only pays off if new stock arrives every week in a similar size range, because it carries a one-off cost up front and needs somewhere to live.
Is a photo on a hanger good enough?
Yes, for garments that hang well by themselves — dresses, long skirts, jackets and coats — because a hanger shot shows the true length and how the fabric falls, which a flat lay cannot. It is not good enough for t-shirts and stretch fabrics, where the hanger pulls the neckline out of shape and the body collapses inward so the garment reads narrower than its real size. Two things help immediately: use a hanger the same colour as the background or clip the fabric behind so the hook stays out of frame, and step back far enough that the hem is fully in the picture.
Can I get catalogue-style photos where the garment holds its shape, on my own?
There are two routes. The traditional one is to shoot the garment twice on a dress form and composite the frames in an editor to remove the form, which takes time per item. The other is to shoot one sharp flat lay or hanger photo and run it through the Ghost Mannequin tool, at 2 credits per image at standard quality and 4 at premium. The output is probabilistic, so the same photo run twice will not be identical, and the dominant variable is the photo you upload: the shorter side must be at least 480 pixels, at least 1024 pixels is recommended, and around 1280 pixels and up is what has been proven to work best.
Can I list the result straight away?
Yes on a paid plan, and for your first free-plan image, because every free-plan image after the first carries a watermark burned into the file that cannot be removed and cannot be listed for sale. Before listing any image, zoom in on three things: the collar, to check no brand tag has appeared that is not on the real garment; the lettering, to check every character matches the real print; and the colour, to check it has not come back lighter than the physical item.
Plien Roob
Ready for your first product photo?
Photos by Avtar Singh · Hennie Stander · Mediamodifier · XinYing Lin on Unsplash