AI Tools
White-background product photos, ready for a marketplace listing
Last updated 2026-09-07From Plien Roob — AI model photography for online stores
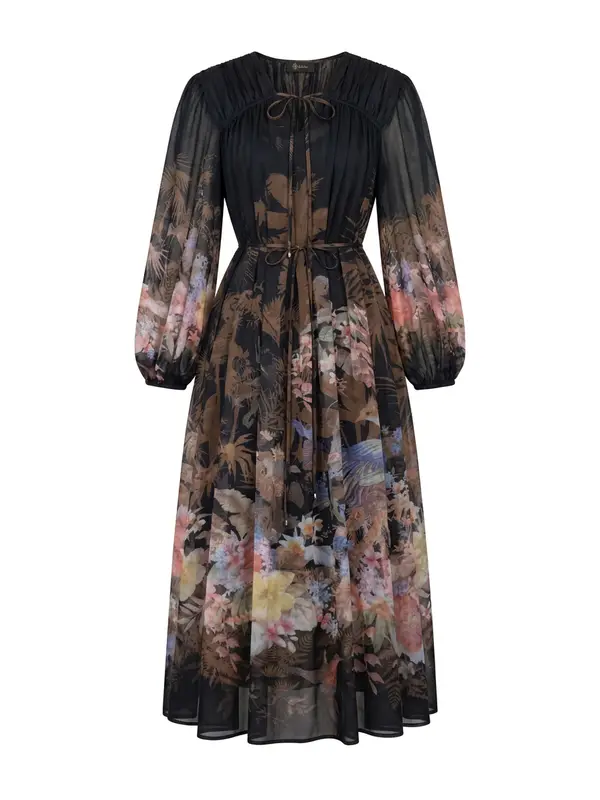

You are about to list something new, and the photo you took has your bedroom, a wooden table or a bedsheet behind the product — so you came looking for a way to make the background white. This page answers two things: how to get that photo out of the one you already have, and what to do with the result so the job is actually finished. But one thing has to come first, because it is where people get caught out most often, and our own system is part of the reason. A white background and a transparent background are not the same thing, and the tool of ours called background removal gives you the second one.
White versus transparent, and why it matters
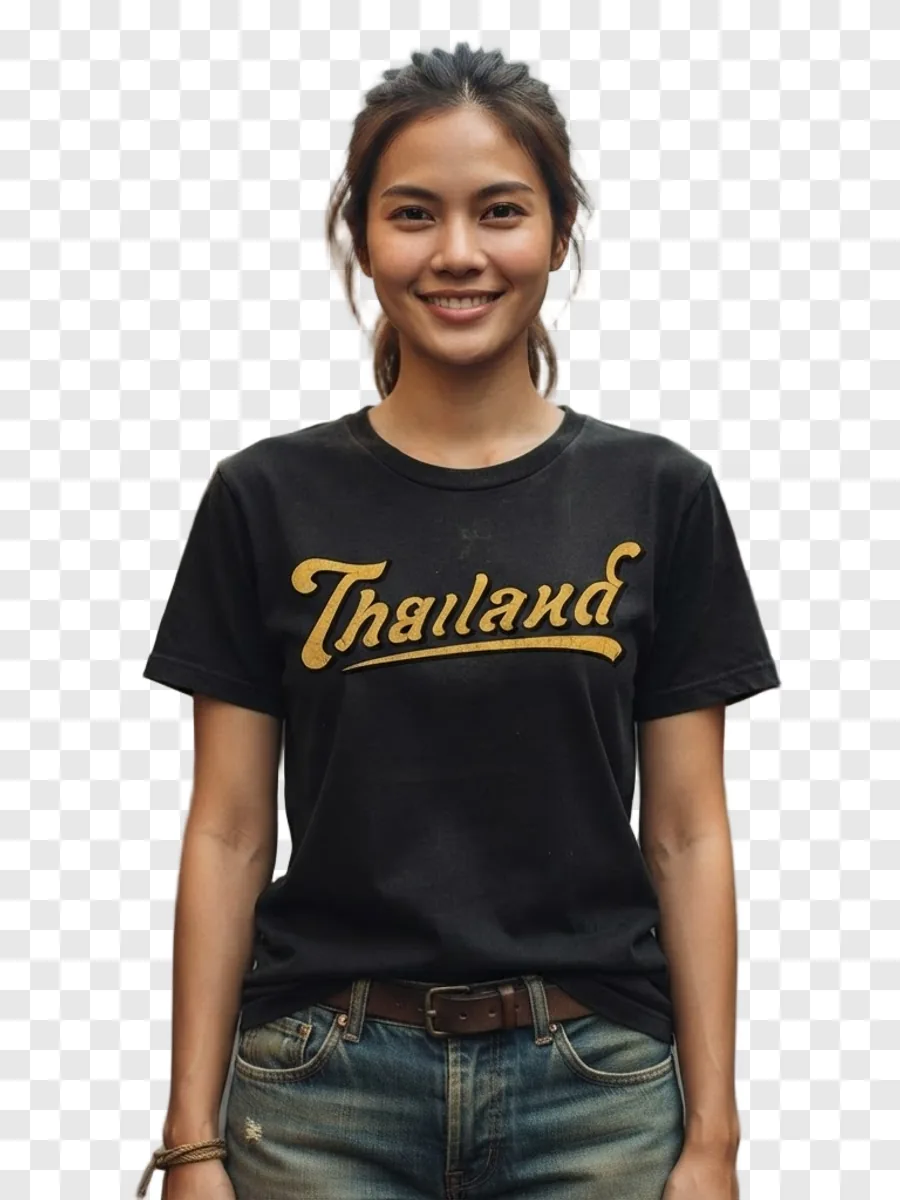
A white background means there is actual white behind the product. Open the file anywhere and it looks white. A transparent background means there is nothing behind the product at all, so what colour it appears to be depends entirely on what you place it on: white on a white web page, black on a black banner. A file like that has to be a PNG, because JPEG cannot store transparency at all. That is why background removal here always returns a PNG, with no exceptions. And when you open one on your own device you will usually see a light grey-and-white checkerboard behind the product. That pattern is not in the image. It is how photo viewers show you that the area is empty.
The step that actually catches people is the next one. Inside our own system, if a transparent file gets written out as a JPEG, the empty area comes back black, not white — which is why we made background removal always return a PNG. What you have to watch for is that photo apps do not agree on this: some fill transparency with white, some with black. Do not assume white. If you want a white background, put a white layer under the product yourself, see it with your own eyes, and only then save.
The two routes available here
Ghost mannequin, 2 credits per image at standard quality and 4 at premium. It takes a single garment photo and returns the garment holding the shape of a body that is not there. The instruction we send asks for a plain, seamless white background with a soft contact shadow underneath, so you get a usable image in one step. The trade-off is that it works on clothing only, and what you get back is a new image rather than your original.
Background removal, 1 credit per image, one quality level. It cuts the original background away and returns a transparent PNG, keeping the product, the camera angle and the framing of your photo exactly as they were. The trade-off is the extra step of placing it on white yourself.
Neither tool has a text box to write instructions in. Pick the photo, press generate, done.
If what you have is a photo of someone wearing the item, ghost mannequin still works. It removes the person and keeps the shape the garment held while worn. There is a control to tell it whether the source is a flat lay or a worn shot.
Background removal is not tied to clothing the way ghost mannequin is — there is no control asking what the product is. But to be straight with you, we have not tested it systematically on other kinds of product.
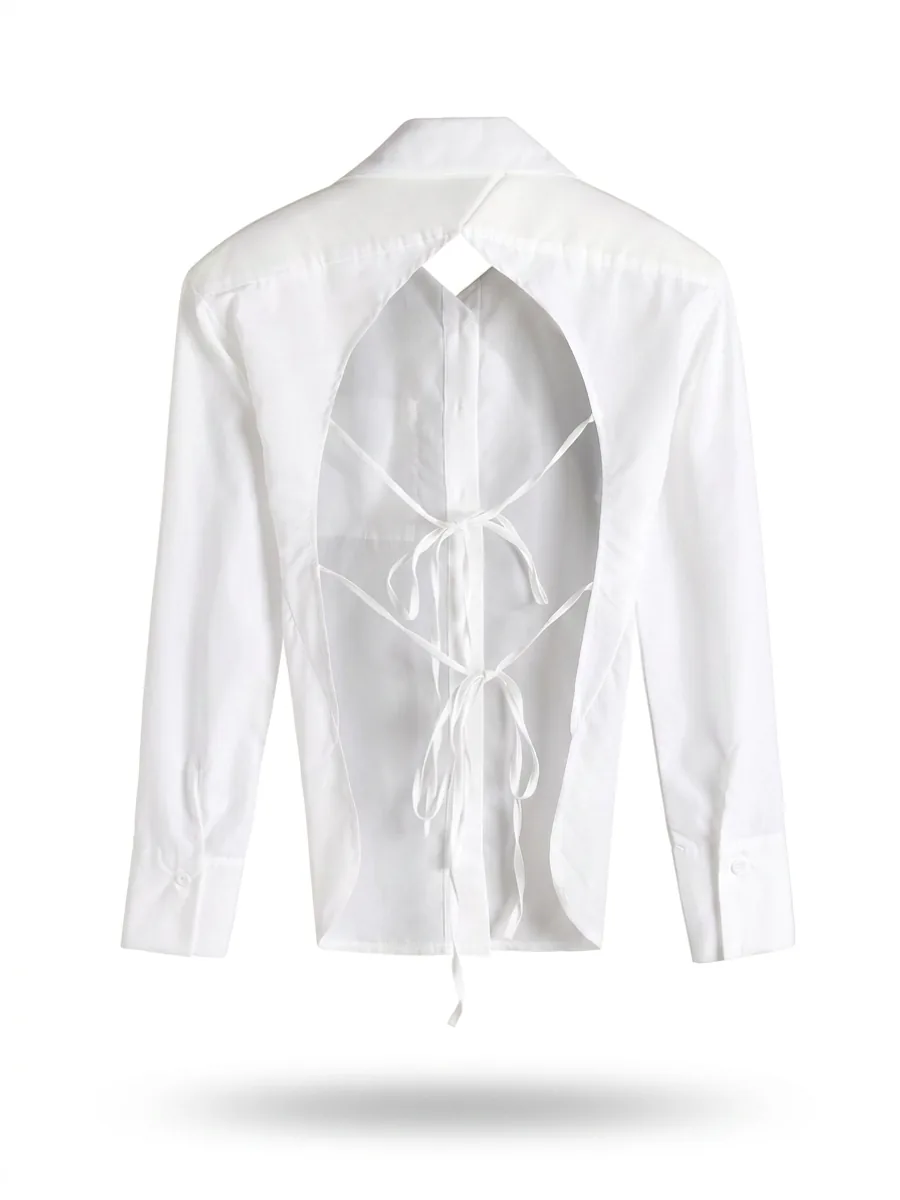
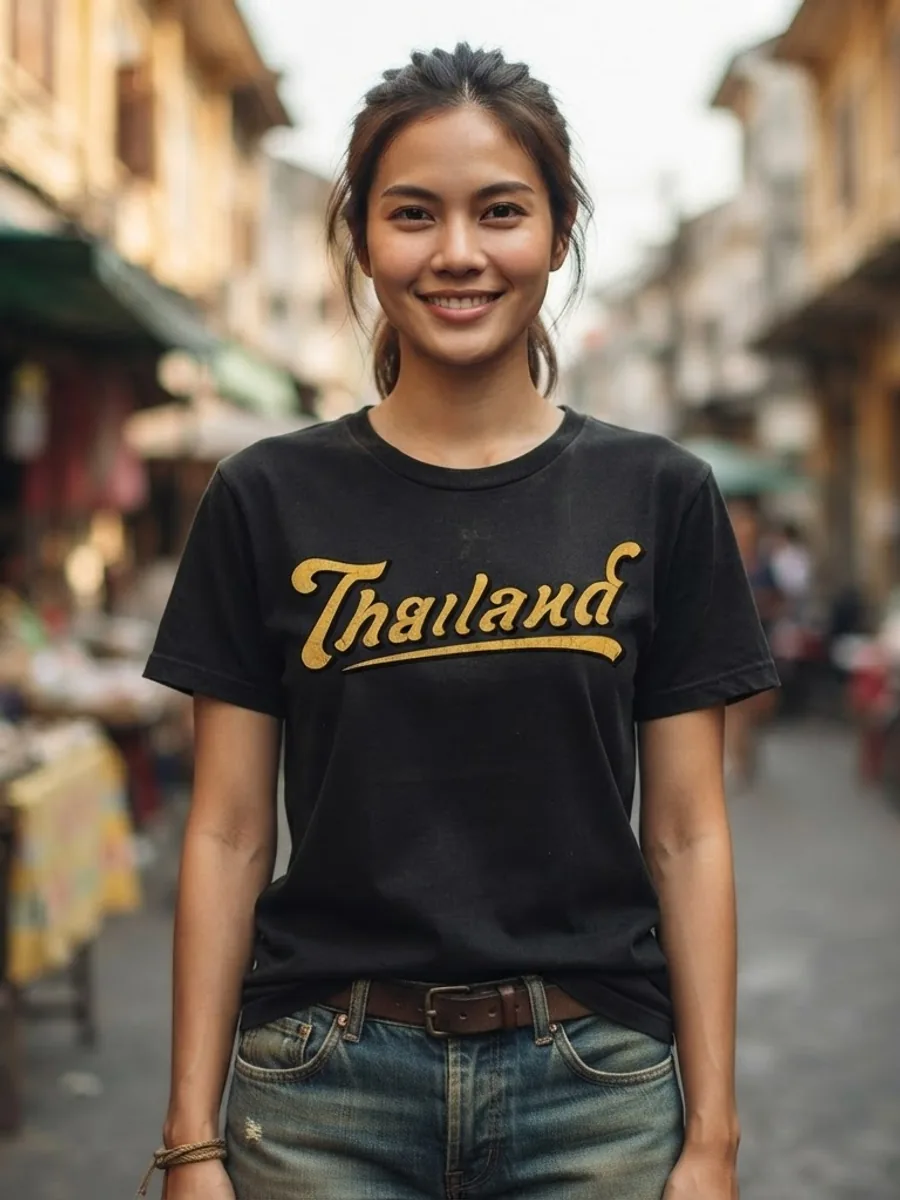
Doing it, step by step
Find the original file first. Photos forwarded through chat apps were compressed on the way, while the real file is usually still in the camera roll of the phone that took it. The two look identical on screen and are not the same inside.
Upload it. The shorter side must be at least 480 pixels, at least 1024 is recommended, and around 1280 upward is what has proven to work best.
Pick the tool. If the item is clothing and you want something listable in one step, use ghost mannequin. If you want to keep the angle and framing of your own photo, use background removal.
On ghost mannequin there is an aspect-ratio control before you generate, offering 1:1, 4:5, 3:4 and 9:16. If the place you are listing on wants a square image, choosing 1:1 here saves you work later. Background removal has no such control, because it is not drawing a new picture — it is cutting up the one you gave it.
Press generate. The button tells you how many credits it costs and roughly how many seconds it takes before you press.
Zoom in on the edges of every single result yourself. Do not judge from the thumbnail in the gallery grid, because thumbnails make everything look tidy.
If you need it cropped square, press the edit button under the result. It has ready-made crop frames for square and portrait, it runs on your own device rather than sending an AI job, so it costs no extra credits — and a transparent PNG stays a PNG through the crop, so the transparency survives.
Download it, and do not delete your original. The day you want a different kind of image of the same item, the original is the only thing that will do.
How to check the cut-out is actually clean
Always put the transparent file on a dark surface first. Leftover white fringing along the edge shows up immediately against dark, and is completely invisible against white — where you will only find out about it when a buyer mentions it.
Zoom into the hardest parts of the image first: the hem, thin straps, the gap between an arm and the body, and flyaway hair if there is a person in the shot.
If the product is close in colour to its original background, expect it to be harder. We have always said so in our own help centre, and it is a limit shared by every background-removal tool, not just ours.
Where you can choose, shoot against a contrasting surface from the start — pale garments on a dark surface, dark garments on a pale one. The edge you get that way is always cleaner than one repaired afterwards.
 Illustration
Here is what we have to say plainly: flyaway hair, lace, sheer fabric and layered ruffled hems are four cases we have never tested systematically through background removal. Everything we did try came back well, but those four are still a blank in our own notes, so we cannot tell you how they behave. If your product is one of them, spend free credits on it first and judge from the actual result — not from anyone's marketing, ours included.
The size and shape each marketplace asks for
We have deliberately not printed any platform's numbers here. Each one asks for something different, and they change without telling us. The right numbers for you are the ones on the help pages of the marketplace you are actually listing on — read them there and follow them there. Taking a figure out of anybody's article, ours included, can always be wrong. The one thing we can state with certainty is our own system's limits, because we wrote them.
What it costs in credits
Background removal: 1 credit per image, one quality level, no premium option.
Ghost mannequin: 2 credits per image at standard quality and 4 at premium.
Upscale: 1 credit per image.
Try-on: 2 credits per image.
Product to model: 2 credits per image at standard quality, 5 at premium.
Failed jobs are always refunded.
The edit button, for cropping and drawing on a result, costs nothing at all, because it runs on your device rather than sending an AI job.
Signing up gives you 10 free credits, once, with no card required — 10 background removals, or 5 ghost mannequin images. That is enough to answer whether the kind of product you sell comes out well. One thing to know before you spend them: your first image on the free plan has no watermark, but every image after it carries our watermark burned into the file itself, not laid over the screen, so it cannot be removed and the image cannot be listed for sale. The free plan is there for judging quality, not for doing real work.
Frequently asked questions
How do I get a white background on a product photo?
There are two routes in Plien Roob. The first is ghost mannequin at 2 credits per image at standard quality: it takes one garment photo and returns the garment holding a worn shape, and the instruction we send the AI asks for a plain, seamless white background, so the result is usable in one step. It works on clothing only. The second is background removal at 1 credit per image: it cuts the original background away and returns a transparent PNG that keeps your original angle and framing, but you then have to place it on white yourself, because transparent is not white. Neither tool has a text box to write instructions in — pick the photo and press generate.
Does background removal give me a white background?
No. What you get is a PNG with a transparent background, meaning there is no colour behind the product at all, and it will look like whatever you place it on. If you specifically need white, put that file on a white layer in a photo app and save it again — and make sure you can see the white before you export as a JPEG, because apps do not agree on what to fill transparency with. In our own system, a transparent file written out as a JPEG comes back with a black background, which is why background removal here always returns a PNG. If you want white in one step and your product is clothing, use ghost mannequin instead.
How many credits does background removal cost?
1 credit per image, at a single quality level with no premium option. For comparison: upscale is 1 credit, try-on 2, product to model 2 at standard quality and 5 at premium, and ghost mannequin 2 at standard quality and 4 at premium. Failed jobs are always refunded, and cropping or drawing with the edit button costs nothing at all because it runs on your own device. Signing up gives you 10 free credits, once, with no card required, which is 10 background removals — but every image after your first on the free plan carries a watermark burned into the file, which cannot be removed and cannot be listed for sale.
What image size do marketplaces need?
Each platform asks for something different and they change over time, so we do not print any platform's numbers here. Open the help pages of the marketplace you are listing on and take the numbers from there. What we can guarantee, because it is our own system, is this: an uploaded image needs a shorter side of at least 480 pixels, at least 1024 is recommended, and around 1280 upward works best. JPEG, PNG and WebP are accepted, up to 15 MB per file. On shape, ghost mannequin lets you choose 1:1, 4:5, 3:4 or 9:16 before you generate, and if you would rather crop afterwards, the edit button under the result does it free.
Can I get a white background for free?
If you shoot on white yourself, it costs you nothing. With our tools you can try it free, but the amount is limited: signing up gives you 10 credits, once, with no card needed. Your first free-plan image has no watermark; the images after it do. Once the credits are used, background removal is 1 credit per image, or 2 credits for ghost mannequin, which returns a white background in one step (clothing only). We are not an unlimited free white-background service.
Is it better to shoot on white myself, or let the system cut the background out?
Shooting on white yourself is better if you can, because the edge of the product is genuinely clean rather than something a tool had to guess at, and it costs you no credits. Cutting the background out afterwards earns its keep when reshooting is not an option — the item has sold, or one old photo is all that is left. The limits worth knowing first: very complex edges such as flyaway hair or sheer fabric may not cut cleanly everywhere, and a product close in colour to its background is always harder to separate. Where you can choose, shoot against a contrasting surface.

Plien Roob
Ready for your first product photo?
Photos by Ryan Hoffman on Unsplash