Photo Guide
Flat lay clothing photos that still show the shape
Last updated 2026-09-07From Plien Roob — AI model photography for online stores

You have the garment in your hands, but there is no model, no mannequin, and nobody to hold it up for you. That leaves one option: lay it flat and shoot straight down. It is a perfectly legitimate approach and large shops use it. The trouble is that a garment simply placed on the floor tends to read as a folded pile of fabric rather than as something that looks good worn. This page is about one thing only: making a flat lay show the real shape, with the collar, shoulders, sleeves and hem all visible in a single frame.
Why a garment lying flat looks deflated
When someone wears a shirt, their body pushes it out from the inside. Shoulders fill the shoulders, the chest fills the body, arms fill the sleeves. Put it on the floor and all of that support disappears at once. The side seams fold inward so the garment reads narrower than it is, the shoulders curl in, the collar flops onto itself, and the sleeves flatten until they look shorter than they are. Nobody scrolling past thinks that shirt is lying flat. They think that shirt has a bad shape, and they keep scrolling. Styling a flat lay is the work of putting back the volume that went missing, without making the shape different from the real garment.
What you need, all of it already in the house
A plain flat surface in a plain colour: the floor, a table, or a light sheet laid over either. Avoid a colour close to the garment's own, or the edges melt into the background.
Something to pad with, such as a rolled towel, crumpled tissue paper, or a plastic bag stuffed loosely. It goes under the shoulders, under the sleeves and inside the body.
An iron or a spray bottle of water, for the fold marks that came from the packaging.
Paper clips or pins, to gather excess fabric behind the garment so it never shows in frame.
A chair or one step of a ladder, so you can get high enough to shoot straight down.
Styling it one part at a time: collar, shoulders, sleeves, hem
Iron or spray the creases out first, every single time, especially the centre fold that comes from being packed. A crease running across a print is the one thing you cannot fix afterwards.
Collar: stand it up instead of letting it fold onto itself, then slip a small pad underneath so it keeps some height. The moment the inside of the collar is visible, the photo starts reading as three-dimensional.
Shoulders: pull both shoulder seams straight and open them out to the garment's real width. Then check by eye that the left and right match. An uneven shoulder line is the first thing that makes a photo look careless.
Body: slide a thin pad underneath so the fabric has some thickness, but do not overstuff it. A garment puffed up beyond its real size is a size the buyer will not receive.
Sleeves: lay them out at their true length, and do not roll them unless that is how you are selling it. If you angle them, angle both the same and keep the cuffs fully in frame.
Hem: pull it straight and keep it parallel to the edge of the frame. If there is a side split or a shaped hem, arrange it so a buyer can tell that is how it is made rather than fabric that got rumpled.
 Illustration
The angle and the light a flat lay needs
Stand so the camera sits directly over the middle of the garment and shoot straight down. Shooting on a slant from the foot end flares the garment at the bottom and pinches it at the top, which is not its shape.
Let the garment fill most of the frame with a modest margin around it. Do not pinch to zoom. Step closer or climb higher instead.
Lay the garment alongside a window so the light arrives from the side. Side light is what reveals fabric thickness and seams, while light coming straight from the front flattens everything equally.
Flash off, and keep your own shadow off the garment. If your shadow falls across it, move out of the beam or shoot from the other side.
If the side away from the window goes too dark, stand a sheet of white paper or white cloth there to bounce light back and lift the shadow.
 Illustration
A ten-second check before you upload
Collar, shoulders, sleeves and hem all visible in one frame, with no hand, no clip and no padding showing.
Shoulder seams even on both sides, and the hem parallel to the edge of the frame.
No crease or fold mark running across a print or across lettering.
Your own shadow is not on the garment, and the flash was off.
Open the file and check the shorter side is at least 1024 pixels and that it is the original, not a copy that travelled through a chat app. JPEG, PNG and WebP are accepted, up to 15 MB each, and up to 20 files per upload.
A well-styled flat lay can go one step further
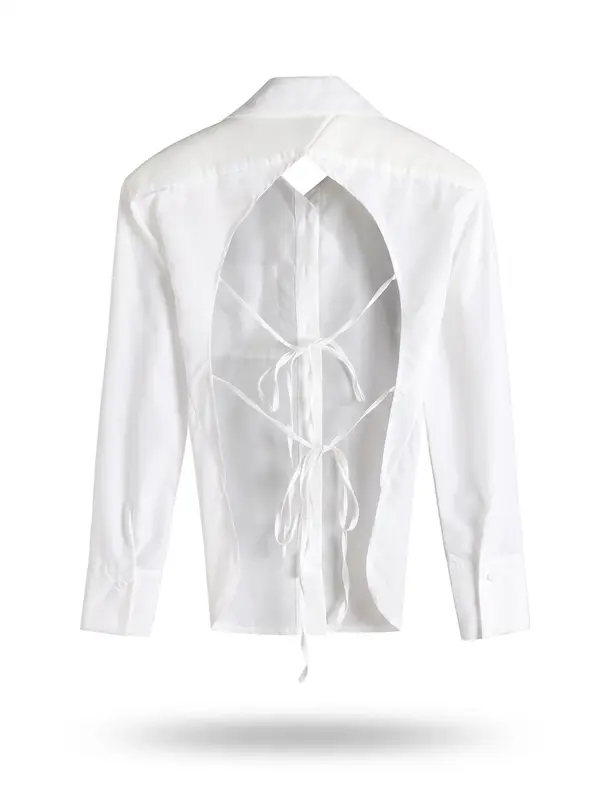
The photo at the top of this page is a real result from Plien Roob: a white long-sleeved shirt seen from the back, holding a full worn shape against a white background, its collar standing, its shoulders open to their true width and both cuffs fully in frame, with no person and no mannequin anywhere in it. The tool that produces those is called Ghost Mannequin. It takes a single product photo as its source and redraws the garment as if someone were wearing it. It costs 2 credits per image at standard quality and 4 at premium. The two levels differ only in how large the output is, not in how accurately lettering on the garment is reproduced. Its screen offers no library extras to add on, so nothing else is added to the price.
What the ghost mannequin does for you
It puts thickness back into the garment, so the volume of the fabric and the inside of the collar become visible, which padding with a rolled towel only gets you part of the way towards.
It gives you the plain catalogue-style background instead of the floor of your house.
It works from a flat lay and from a photo of someone wearing the item.
The result can go straight into background removal for a transparent file, or into upscale if you need a larger one.
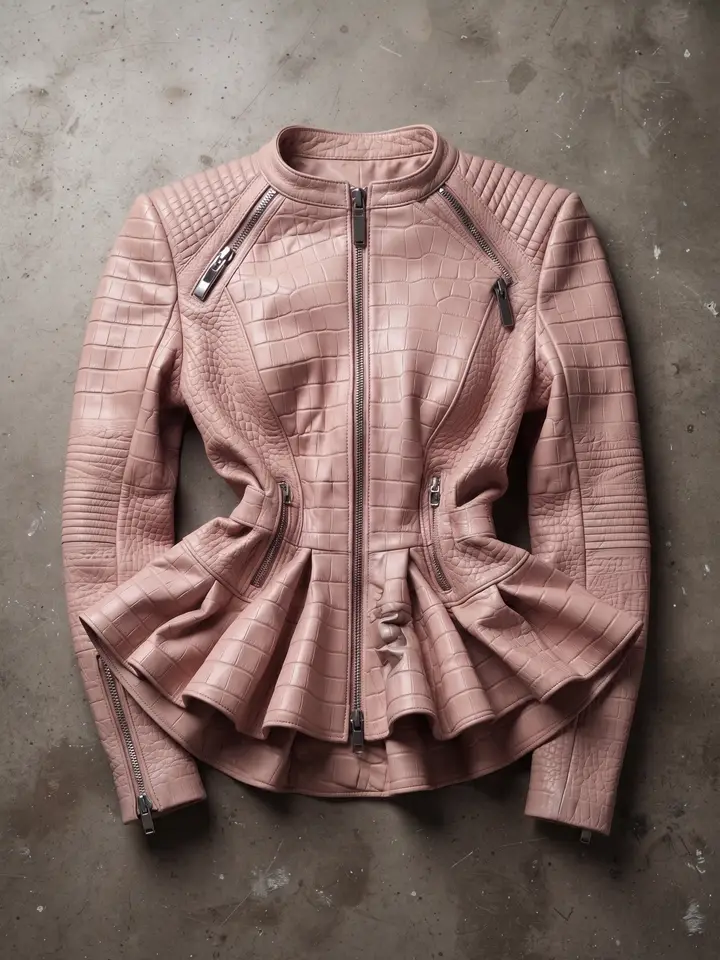
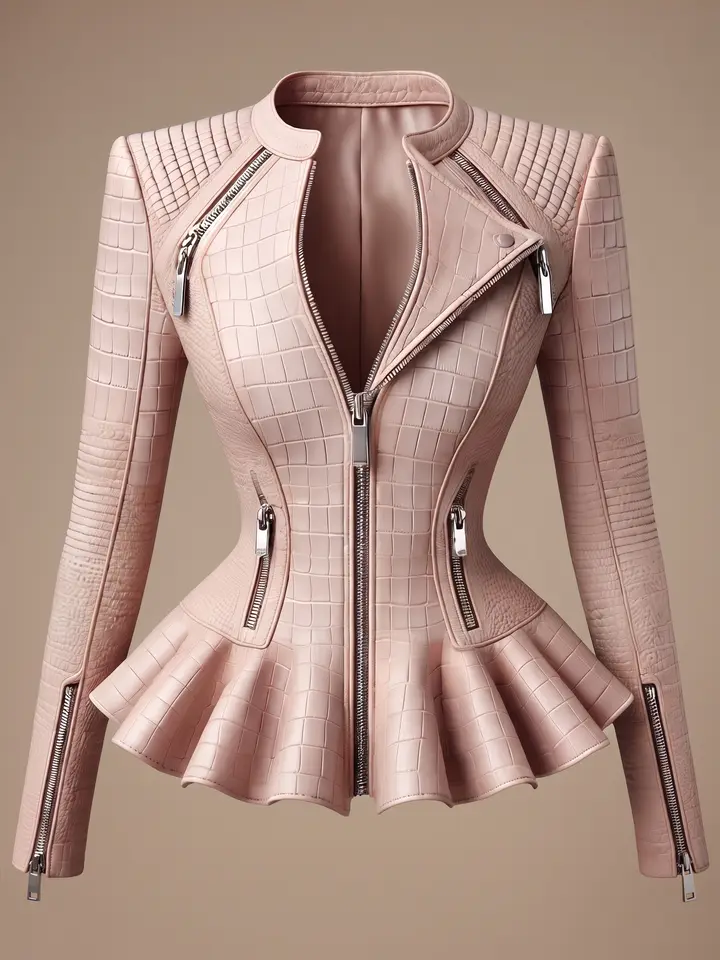
And what it does not do
It does not invent what your photo never showed. Anything folded out of sight, a shoulder curled inward, a sleeve lying across the body: those are the parts the system has to guess at, and guessing is where results go wrong.
The output is probabilistic, not deterministic. The same photo run twice will not be identical, and the dominant variable is the quality of the photo you upload. If the first run misses, run it again or change the source photo before concluding the tool cannot handle that kind of product.
Colours sometimes come back slightly lighter than the real garment. If colour is what closes the sale, compare the result against the physical item before you list it.
Small lettering is the riskiest case of all. We measured this ourselves on two Thai-print T-shirts, five runs each: a sharp 1280-pixel photo with large lettering held its shape correctly 5 times out of 5, while a blurred 720-pixel photo with small lettering managed 3 out of 5 and the Thai lettering printed on the garment came out wrong all 5 times.
One thing worth checking on every image before you list it. While choosing models we found that some of them invent a brand tag on the collar that does not exist: unreadable lettering that passes for a real label at a glance. We dropped that option, but zooming in on the collar and on any lettering before you list is still worth doing. A product photo carrying a brand tag that is not on the real item misrepresents the item, and that risk sits with the seller.
Frequently asked questions
Do I need a mannequin to photograph clothes flat?
No. Lay the garment on a plain flat surface in a plain colour and shoot straight down from above. What stands in for a mannequin is padding you already own, such as a rolled towel or crumpled paper tucked under the shoulders, under the sleeves and inside the body, to put back the thickness that disappears when the garment lies flat. Then pull both shoulder seams straight, stand the collar up, lay the sleeves out at their true length, and straighten the hem. The rule that matters most is that the collar, shoulders, sleeves and hem all have to be visible in a single frame.
My flat lay photos look flat. How do I fix that?
They look flat because nothing is pushing the garment out from the inside. There are three fixes. Pad under the shoulders and inside the body with cloth or paper so the fabric has thickness. Lay the garment alongside a window so the light arrives from the side, because side light is what reveals thickness and seams, while flash and straight-on front light flatten everything equally. And stand so the camera is directly over the middle of the garment shooting straight down, rather than on a slant from the foot end.
Can a flat lay be turned into a photo where the garment holds its shape?
Yes. The Ghost Mannequin tool takes a single flat-lay photo as its source and redraws the garment as if someone were wearing it, with no person and no mannequin in the frame. It costs 2 credits per image at standard quality and 4 at premium. The output is probabilistic, so the same photo run twice will not be identical, and the dominant variable is the quality of the photo you upload. A well-styled, sharp flat lay is still the part you have to do yourself.
What should I watch out for when the garment has lettering on it?
Two things. First, keep creases and fold marks from running across the lettering, and turn that panel square to the camera. Second, shoot it large and sharp. We measured this on two Thai-print T-shirts with five runs each: a sharp 1280-pixel photo with large lettering gave a correct result 5 times out of 5, while a blurred 720-pixel photo with small lettering gave 3 out of 5, and the Thai lettering printed on the garment came out wrong all 5 times. When the image is small the system cannot read the text, so it guesses and writes a new, correctly spelled word in its place, which looks convincing enough that almost nobody catches it.

Plien Roob
Ready for your first product photo?
Photos by Mediamodifier · ian dooley on Unsplash