Back to contents

Getting started

Choosing the right tool

Each tool does a different job. This page helps you decide which one your photo belongs in.

From Plien Roob — AI model photography for online stores

The fastest way to choose is to look at the photo you already have, not at the result you want, because each tool takes a different kind of input.

Every tool at a glance

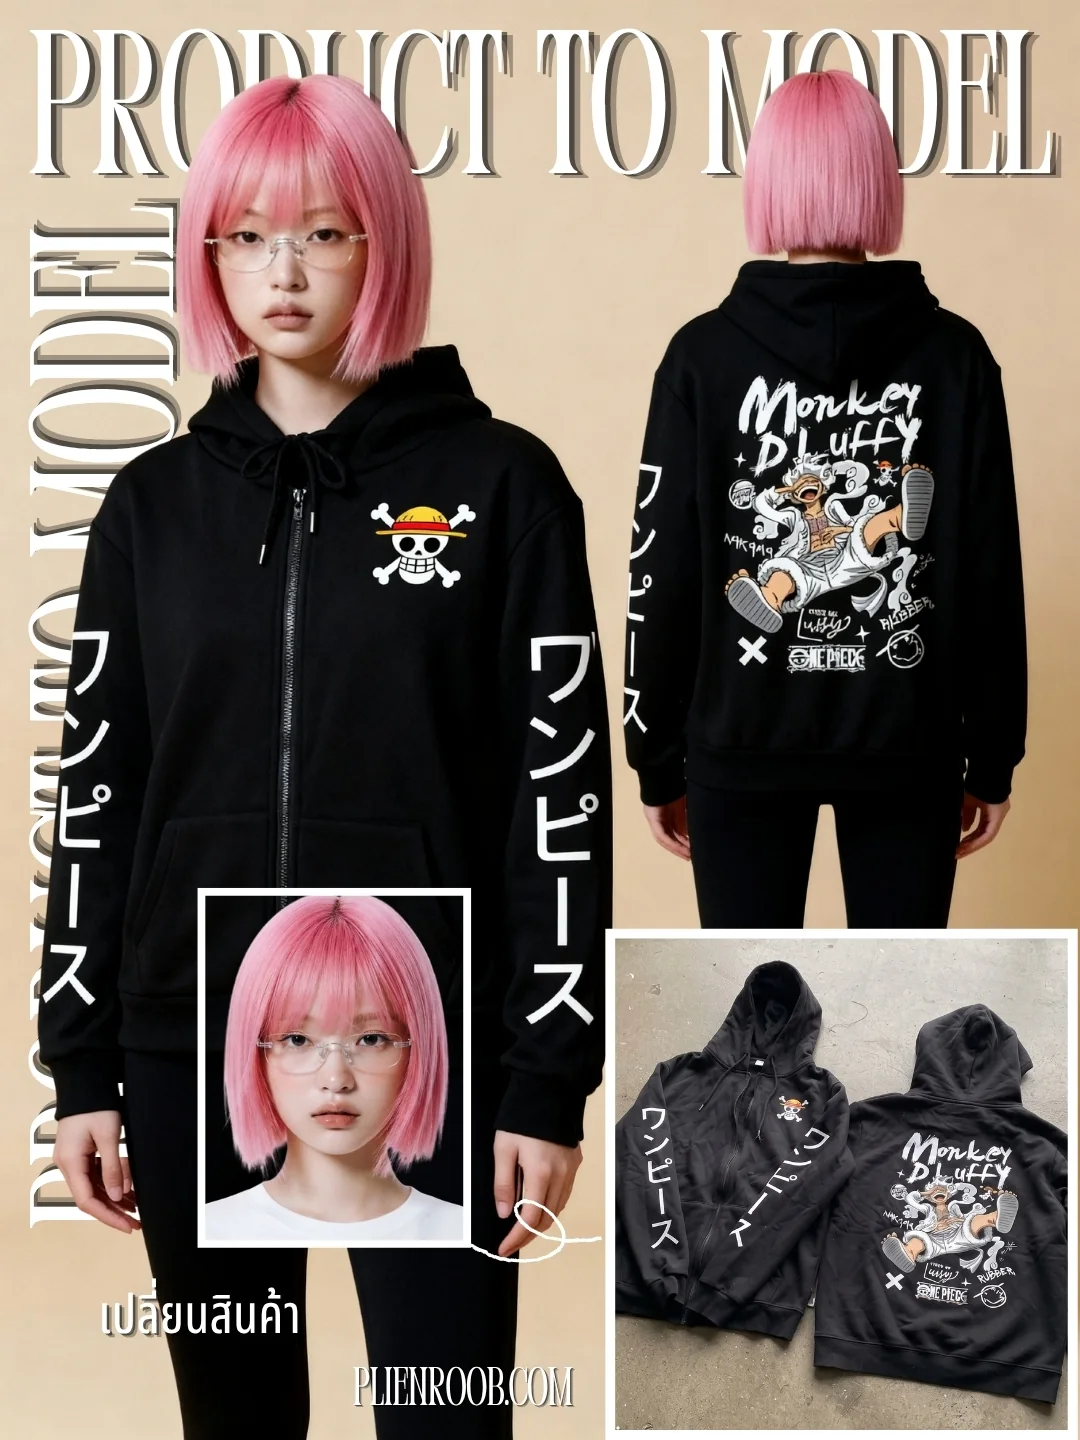
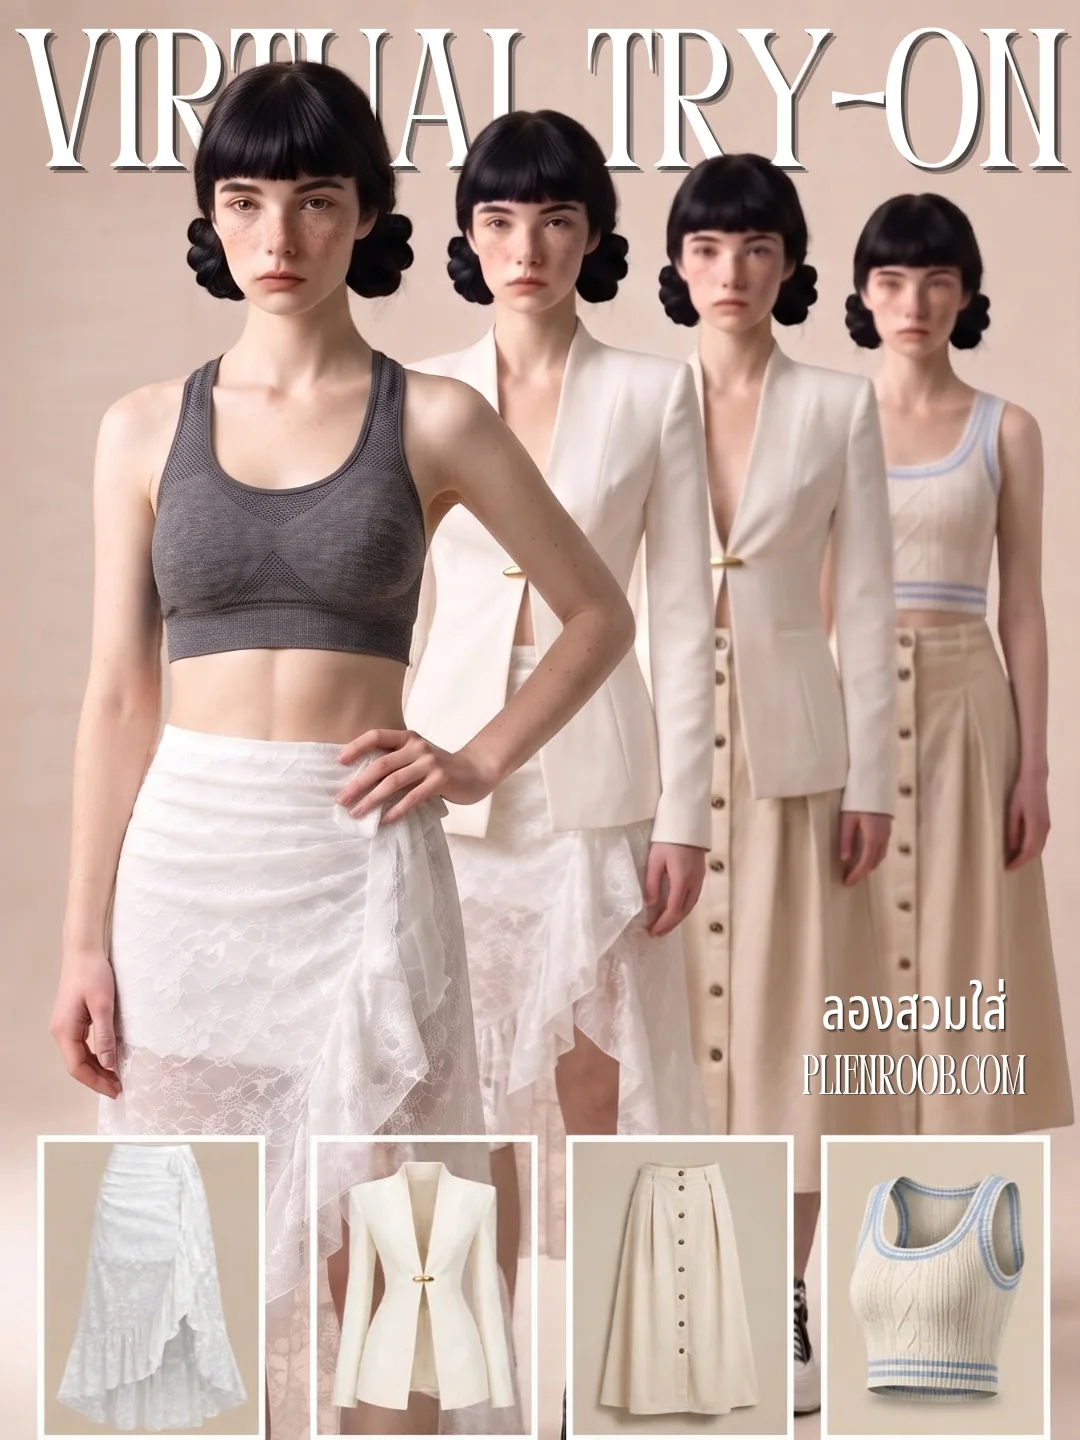
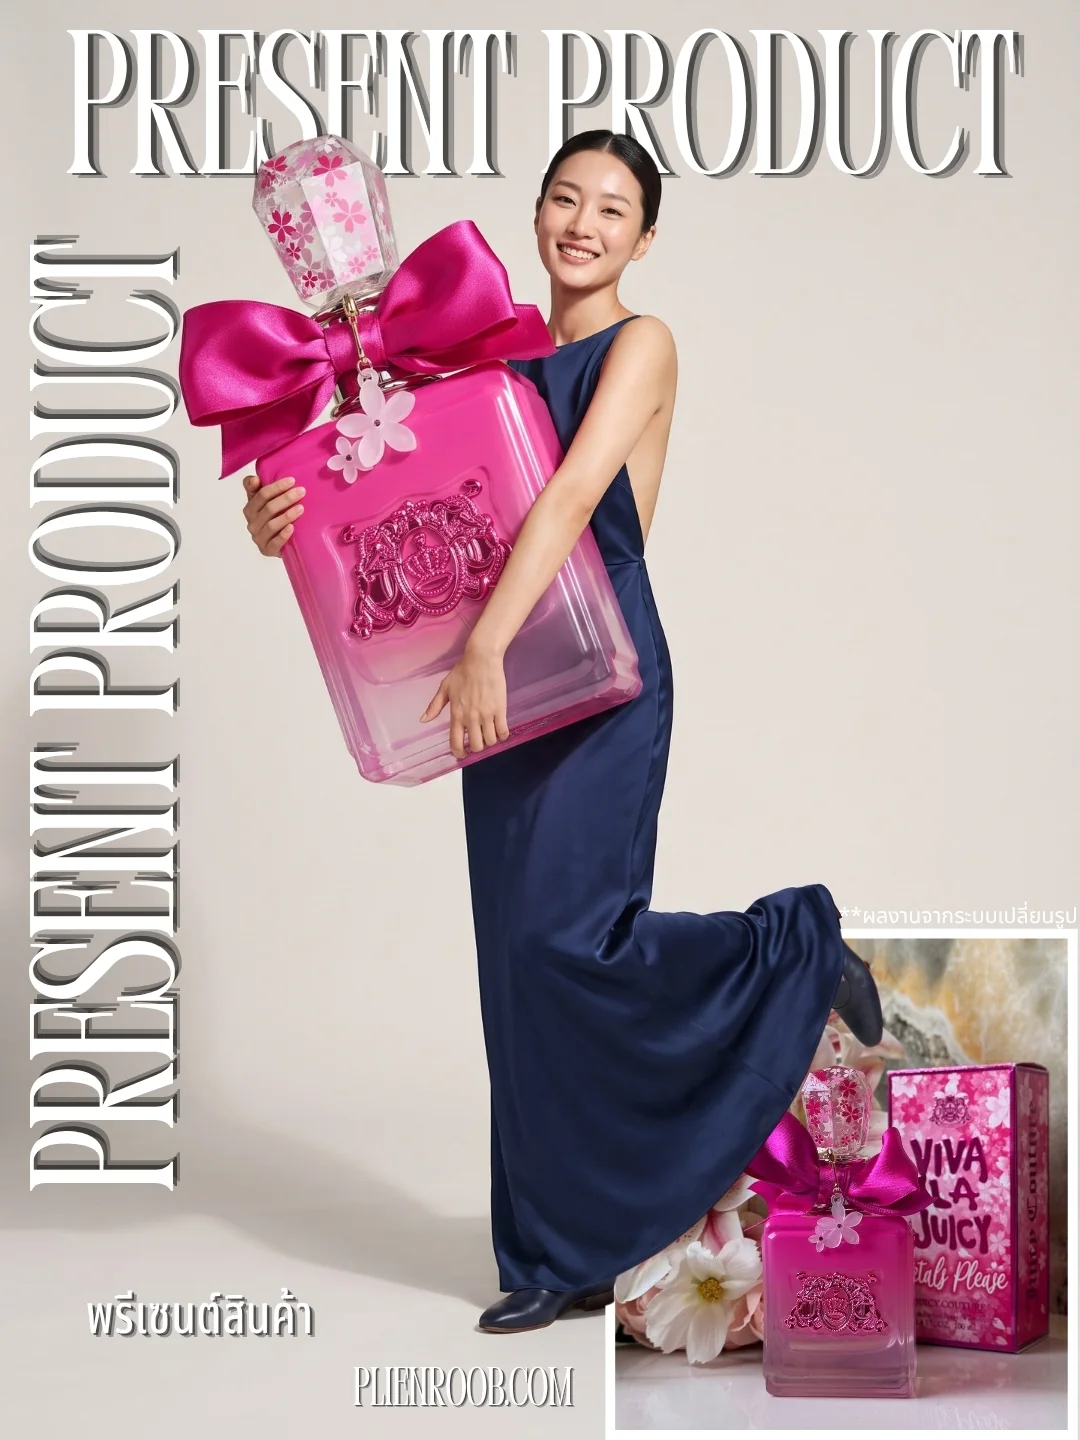
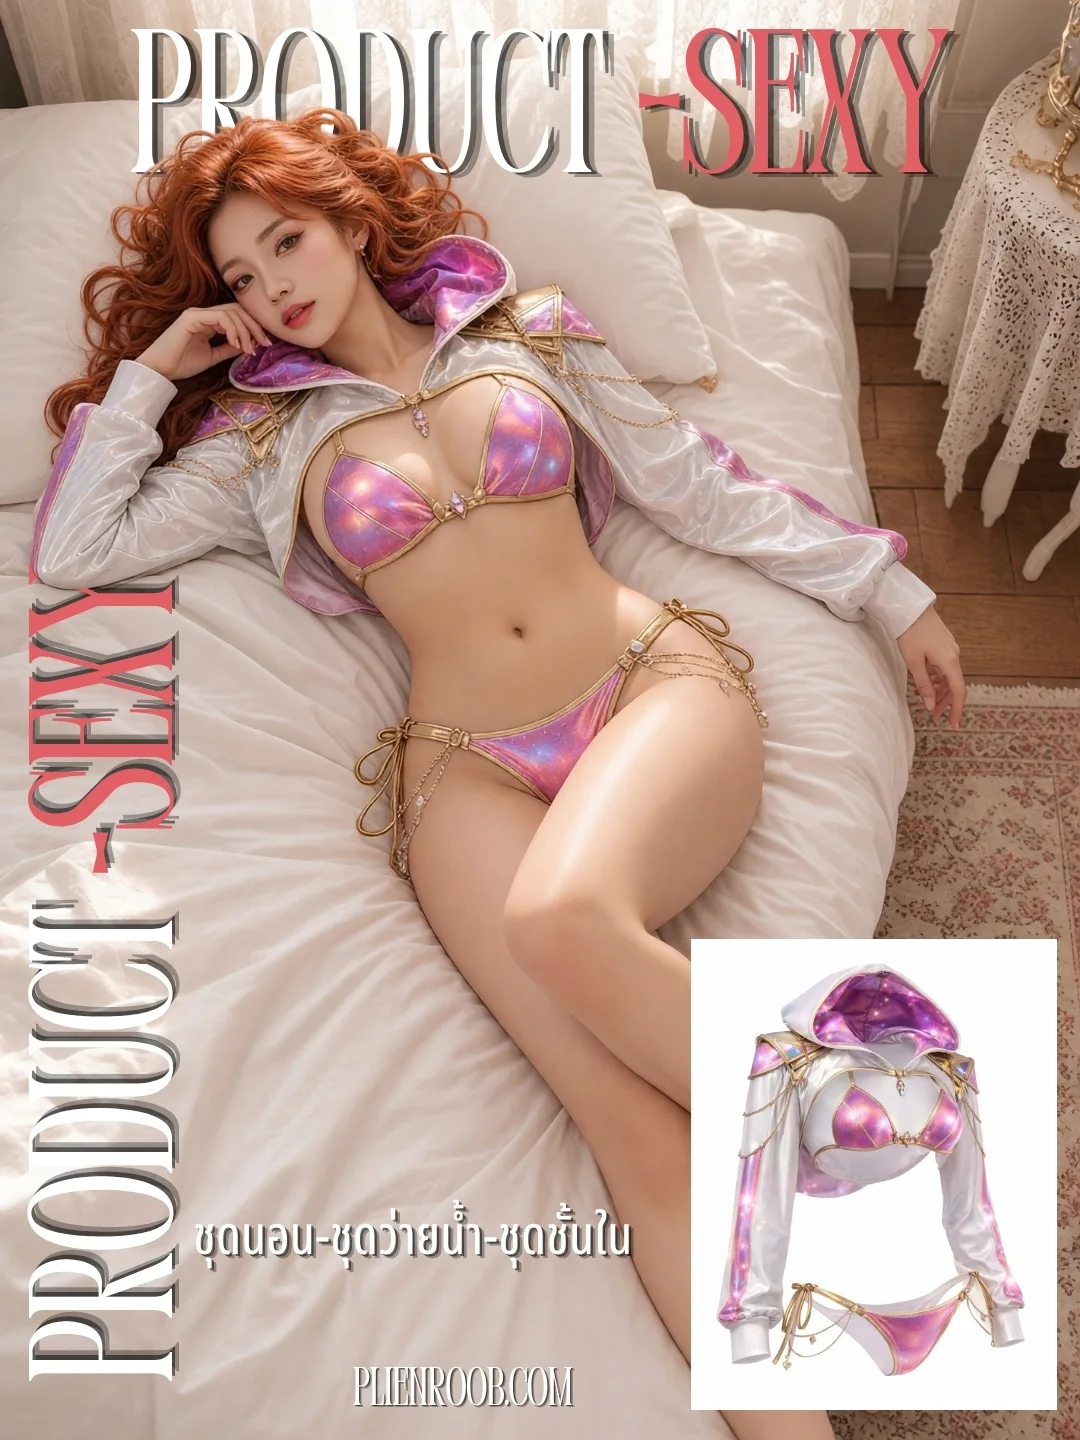
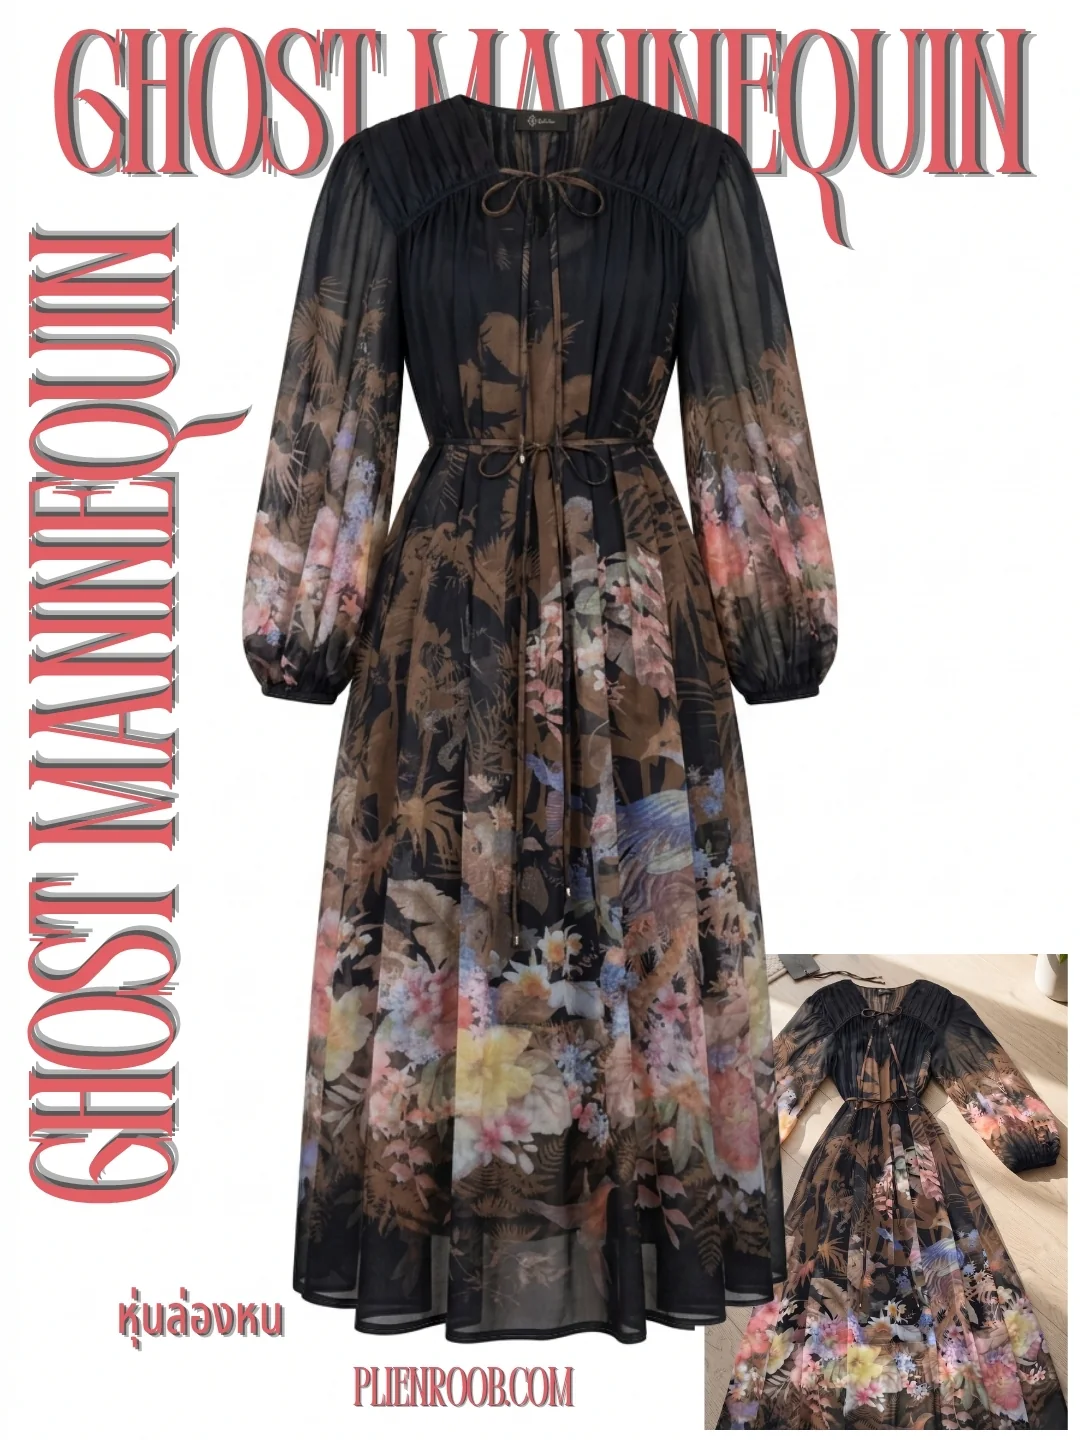
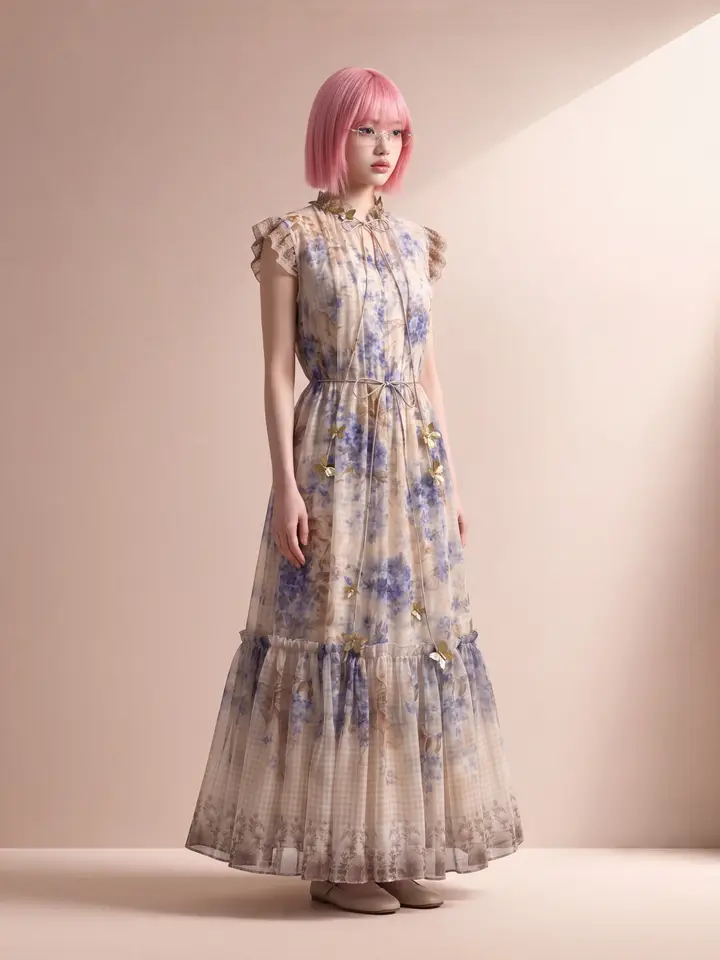
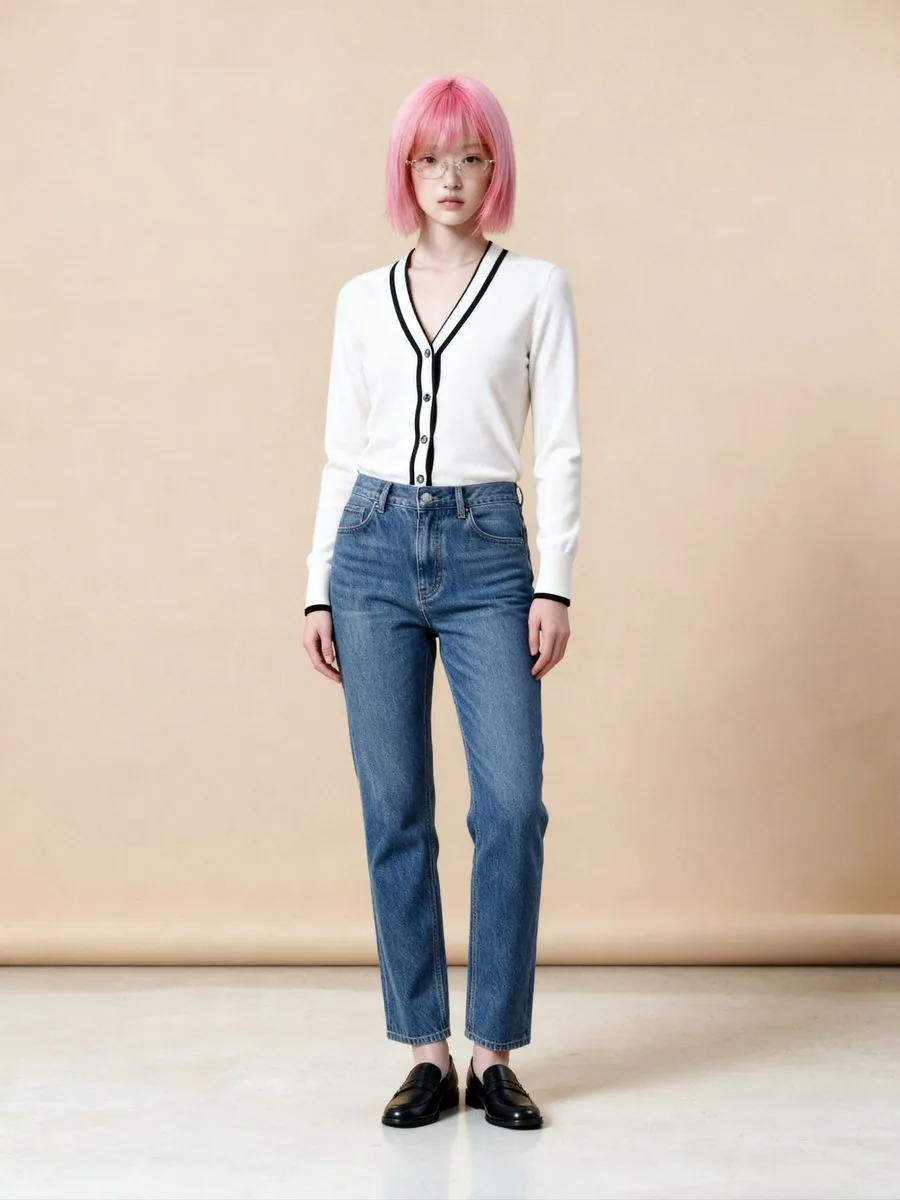
What you can make on this site. Each card is that tool's cover image; tap it to read how the tool works.
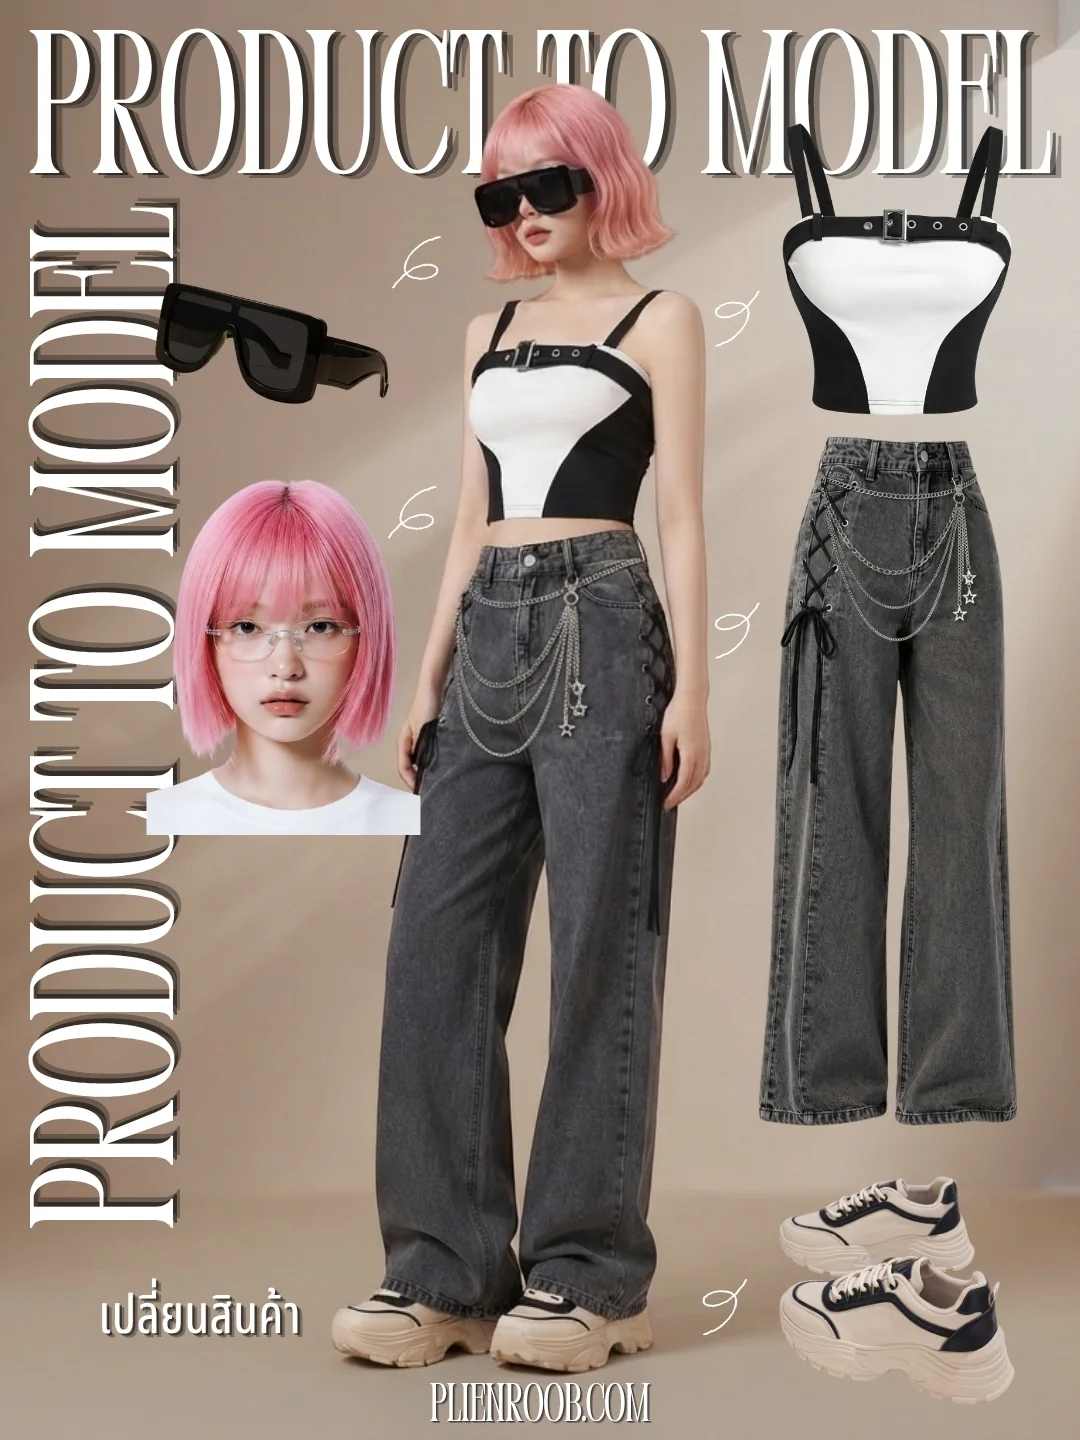
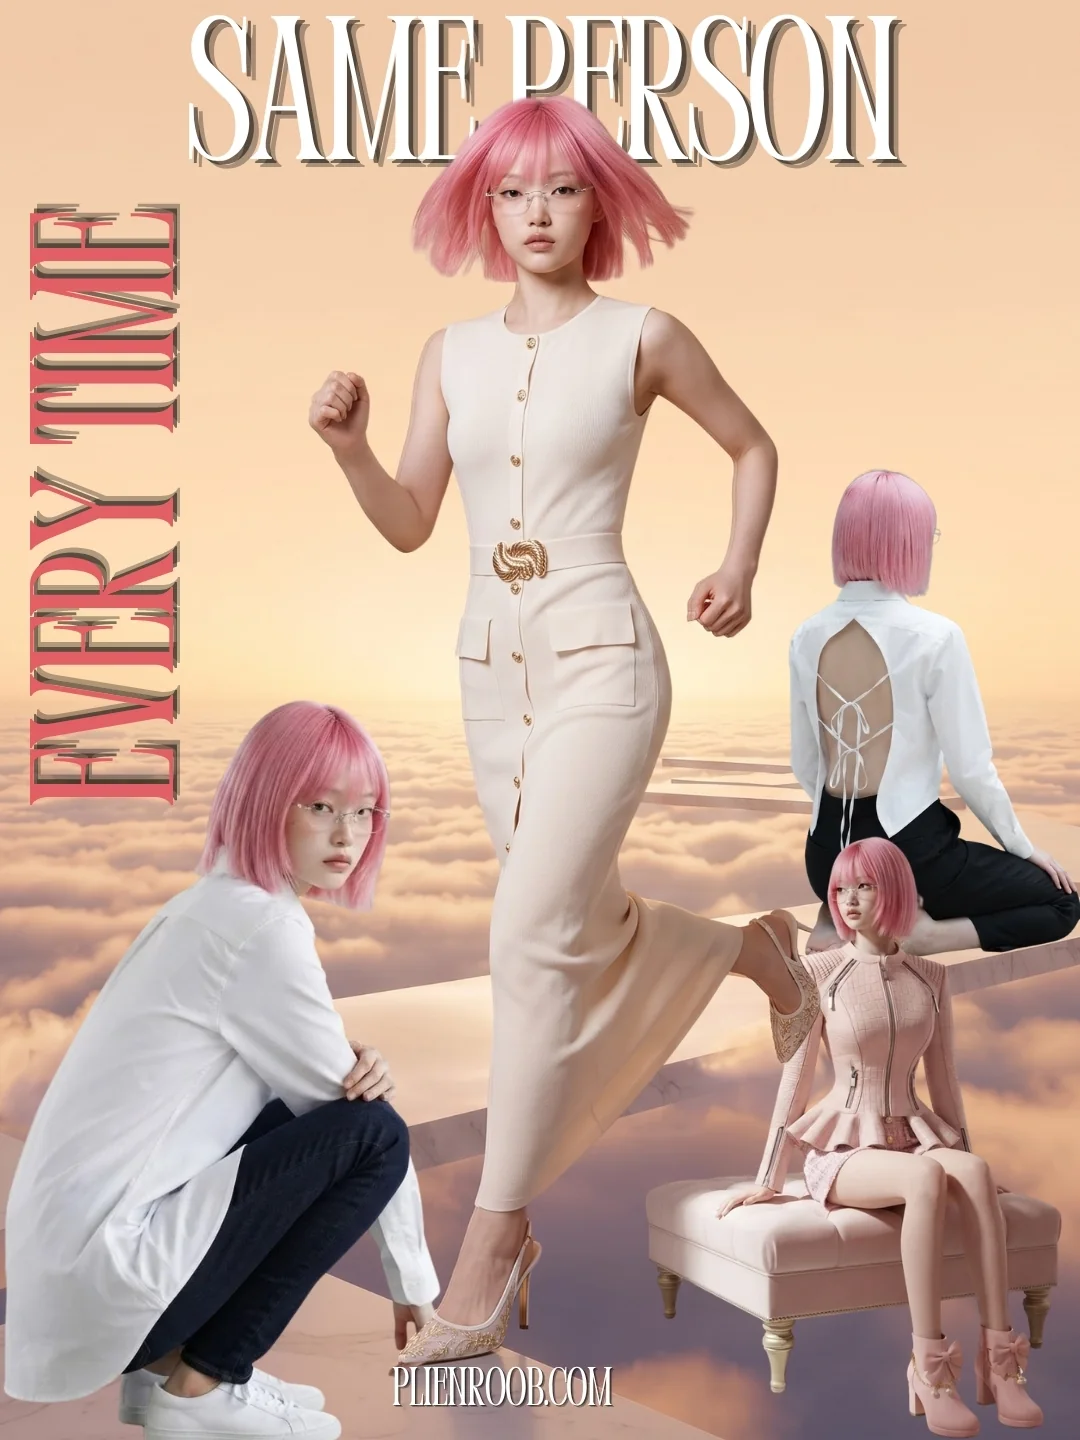
If you only have a flat product photo

Product to Model is your main tool. It takes one flat-lay photo and returns a photo of a person wearing that item. You can pick the model, scene and pose from the library, or leave it to the system.
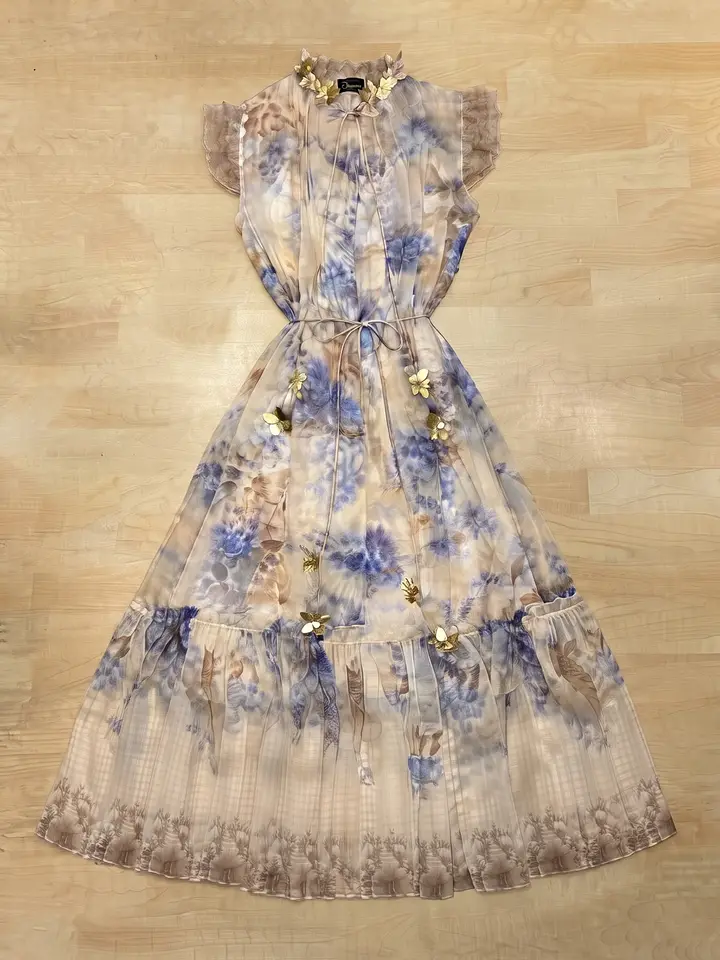
The uploaded photo: a long sheer cream dress with a blue and violet floral print, short ruffled sleeves, a high collar trimmed with gold flowers, small gold flowers scattered over the dress, a waist tie and a ruffled hem, laid flat on a wooden floor
The result: a model with a pink bob and glasses in the same floral dress, standing full length at a slight angle against a pale pink wall with a diagonal band of light, with the gold flowers at the collar, the waist tie and the ruffled hem all visible
The first image is the flat-lay photo of a dress on a wooden floor that was uploaded; the second is the real result our system made directly from it, a model in the same dress with the gold flowers, the waist tie and the ruffled hem still there

If you already have a model photo

Use Try-On. It puts your garment onto an existing model photo while keeping the face, pose and background. This suits shops that already have good photos and want to change only the product.
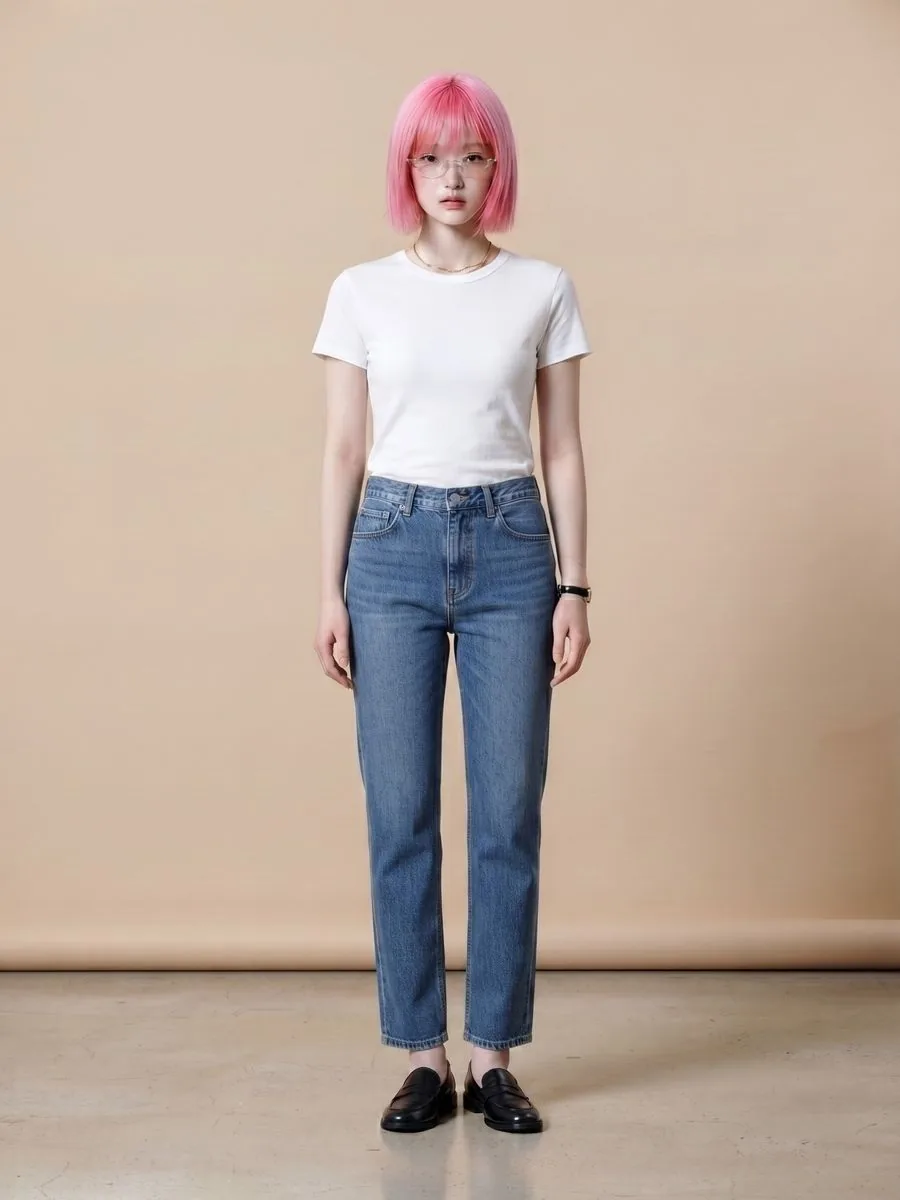
A person from the system library: pink bob, glasses, a white T-shirt, jeans and black loafers, standing straight in front of a beige backdrop
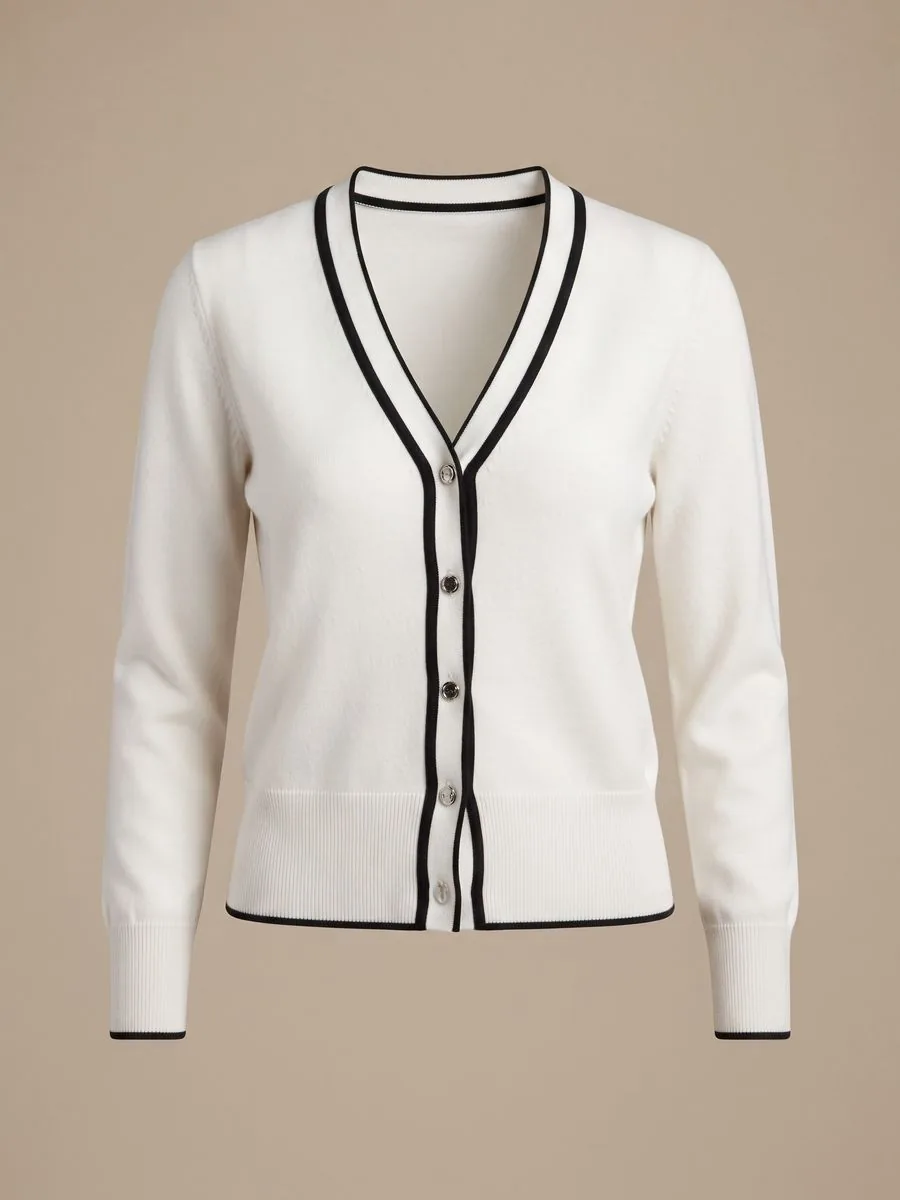
The uploaded product photo: a white V-neck knit cardigan with black edging and silver buttons, on a beige background
The result: the same person in the same pose, now in the black-edged cardigan instead of the T-shirt, tucked into the waistband, still wearing the same glasses, jeans and loafers, in front of the same beige backdrop
The first image is the existing photo of a person, here one from the system library; the second is the uploaded cardigan; the third is the real Try-On result from our system. The face, hair, glasses, standing pose, jeans, shoes and backdrop are unchanged and the top is now the cardigan, though the thin necklace in the first image is gone

If you want catalogue photos with no person in them

Use Ghost Mannequin. The garment holds its worn shape but nobody is in the picture. This suits marketplace product pages that need a clean, consistent look across the whole shop.
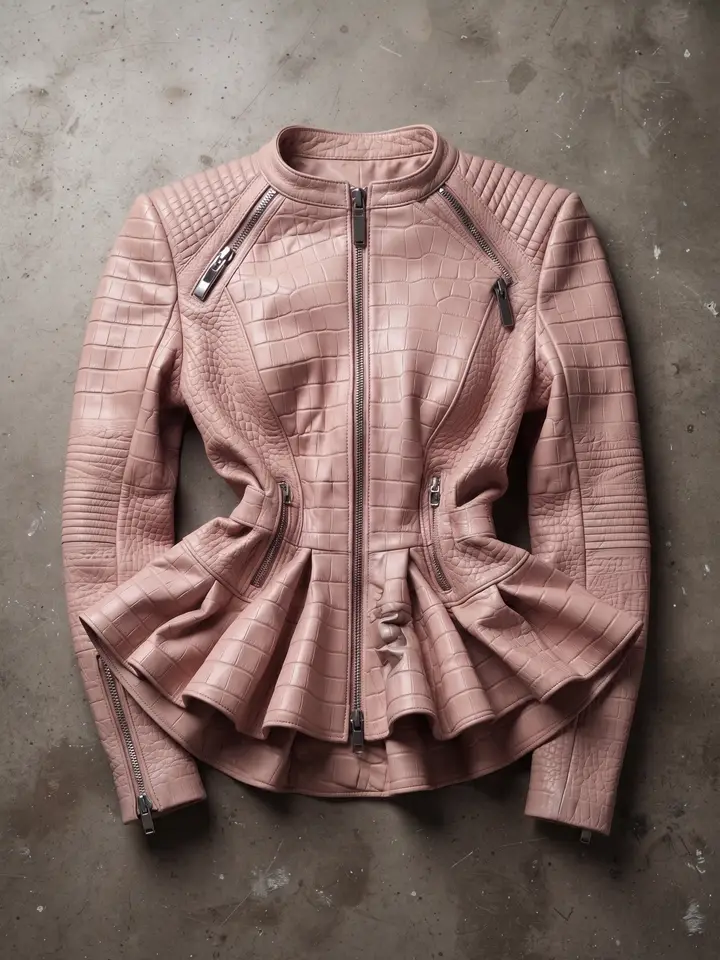
The uploaded photo: a pink croc-embossed leather jacket with a ruffled peplum hem, a front zip, diagonal chest zips and zipped cuffs, laid flat on a grey concrete floor
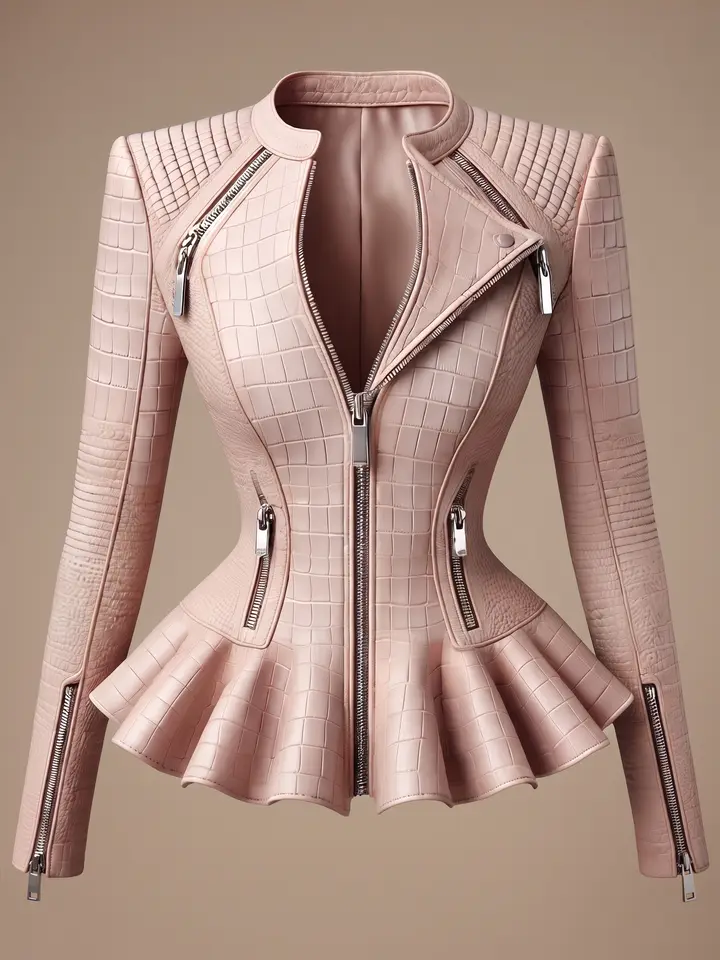
The result: the same jacket shaped as if someone were wearing it, on a beige background, the front zip opened partway to show the inside and one side of the front folded back into a lapel with a button, with the leather texture, the peplum hem and every zip still there and no person or mannequin in the shot
The first image is the flat-lay photo of a jacket on the floor that was uploaded; the second is the real Ghost Mannequin result from our system, the same jacket holding the shape of being worn with no person or mannequin in the shot. The opened front zip and the folded-back lapel were drawn by the system; in the upload the jacket is zipped to the collar.

If the product isn't clothing, or is lingerie or swimwear

  • Products people hold or use, such as perfume, skincare, cups, food, sports gear or vehicles: use Product Showcase. One product photo becomes a photo of a person holding or using that item.

  • Sleepwear, lingerie and swimwear: use Product-Sexy. The product photo must have no person in it, and the model is built from the trait buttons you tap.

If you have an image that is not quite ready to publish

Too small or not sharp enough: use Upscale.

Need a transparent background to place on something else: use Background Remove.

If you have many products, or want many angles

  • One product, several angles in one go: use Image Set, which gives 7 images per product.

  • Many products treated the same way: use a Batch job. Set it up once and let it work through the list.

None of the tools has a prompt box. The instructions sent to the AI are written into the system and are the same every time. What you control is the photo you upload and what you pick from the library.

Still stuck?

Message us, and include the email you signed up with so we can answer the right question straight away.