Solutions
Never used AI? Model photos of your products, without writing a prompt
Last updated 2026-09-17From Plien Roob — AI model photography for online stores

If you've tried an AI app before, you may have met this screen: one empty box waiting for you to describe the photo you want. Type too little and you get a dress that isn't the one you sell. Type more and you get a setting you never asked for. Try after try, there's still nothing you'd dare put in your shop. The problem isn't that you can't use AI. It's that tools like that leave all the instructions to you.
Plien Roob was built by someone who spent 10 years as a model and ran a rental photo studio, so we know a photo that sells means thinking about light, camera angle and setting. When learning AI from scratch, we found every one of those things had to be typed out, and it was far harder than expected. So Plien Roob started from one question: what if you never had to type an instruction, and still got photos you could actually sell with?
No prompt box, in any tool
Every step here is a tap: you choose a photo, then press buttons or picture cards, and the instructions the AI needs are already prepared. In Product to Model, for example, every image carries instructions to keep the product's pattern, colours and lettering as in your photo, and never to add a logo the product doesn't have.
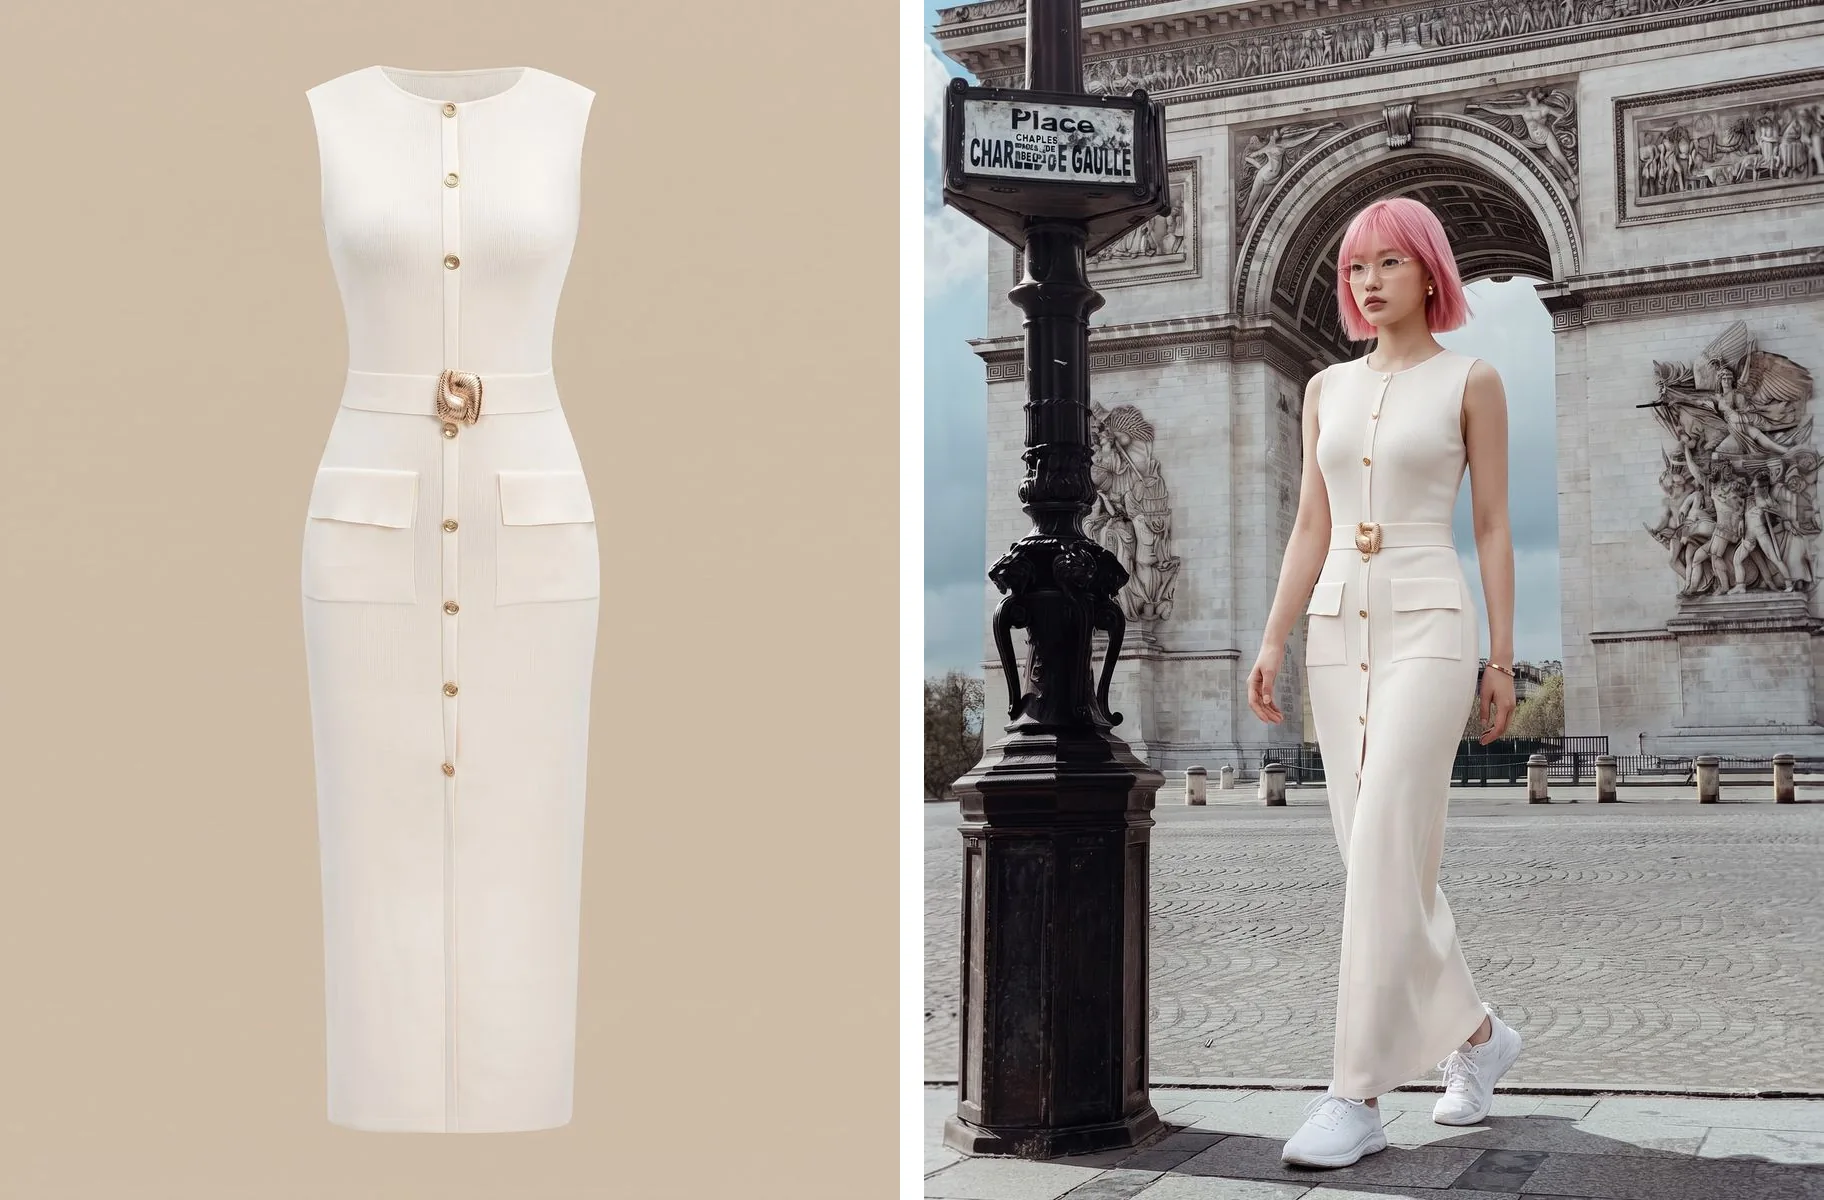
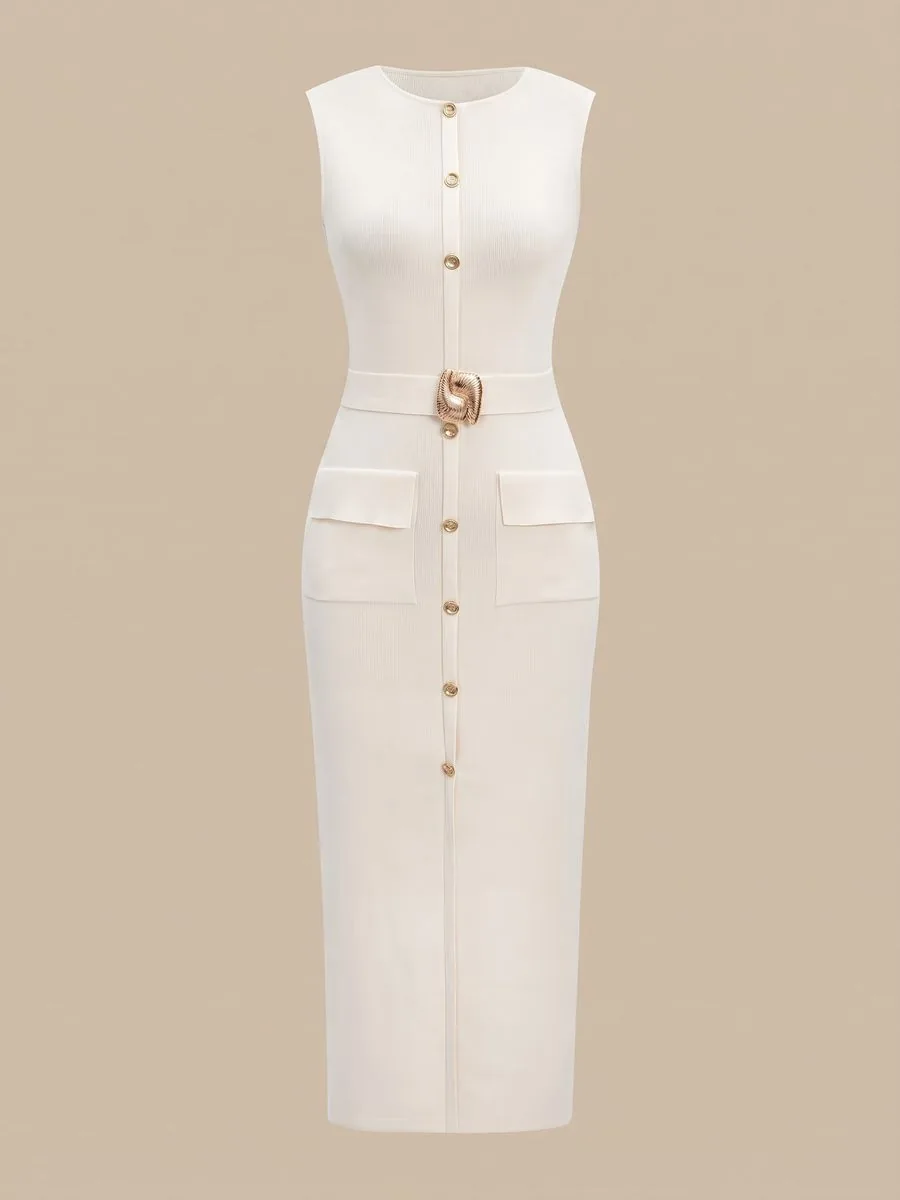
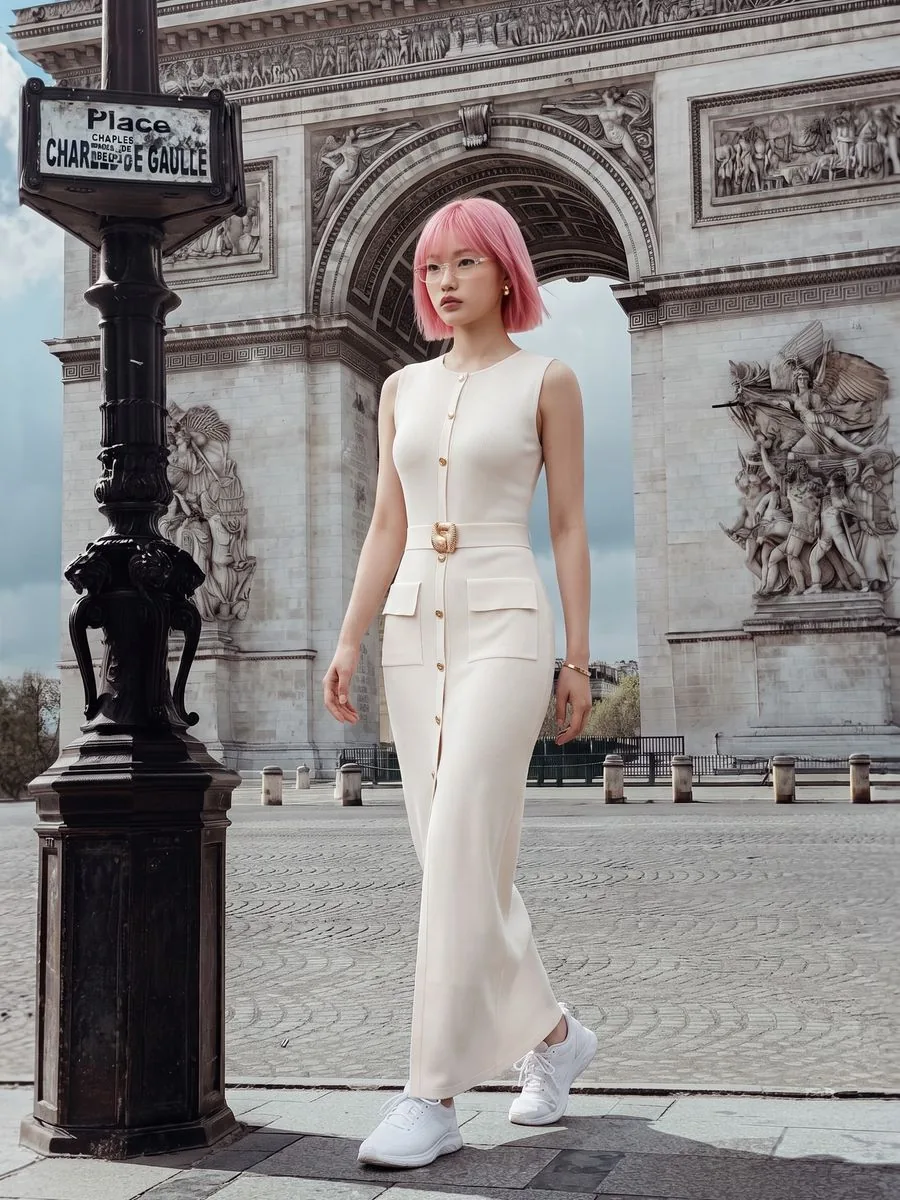
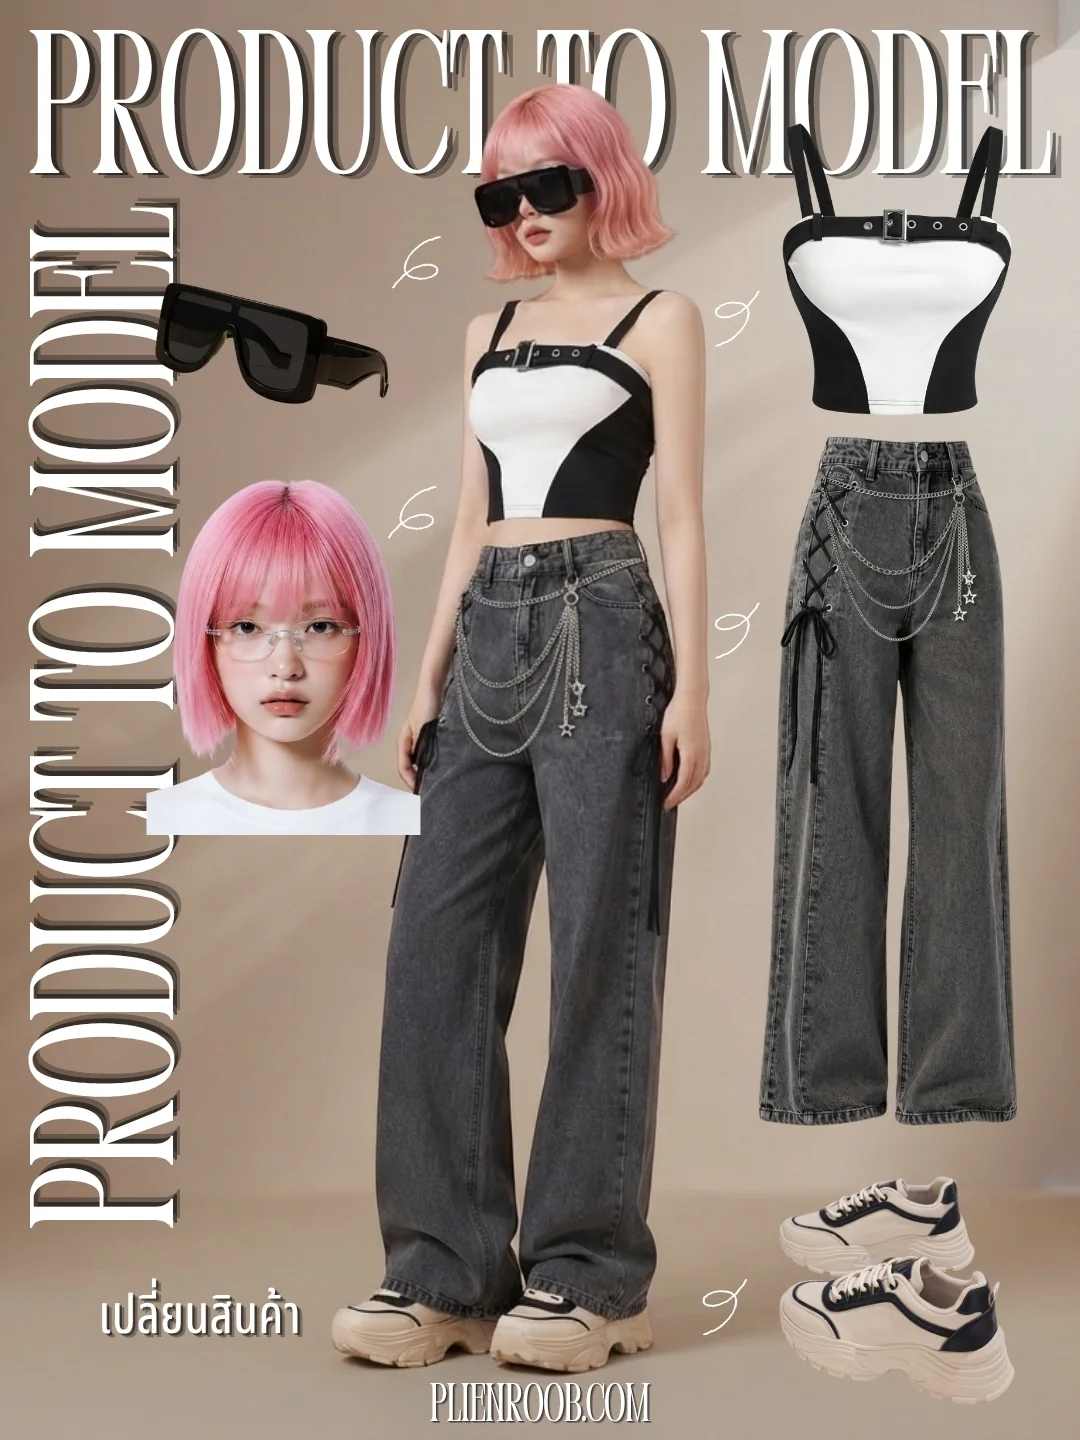
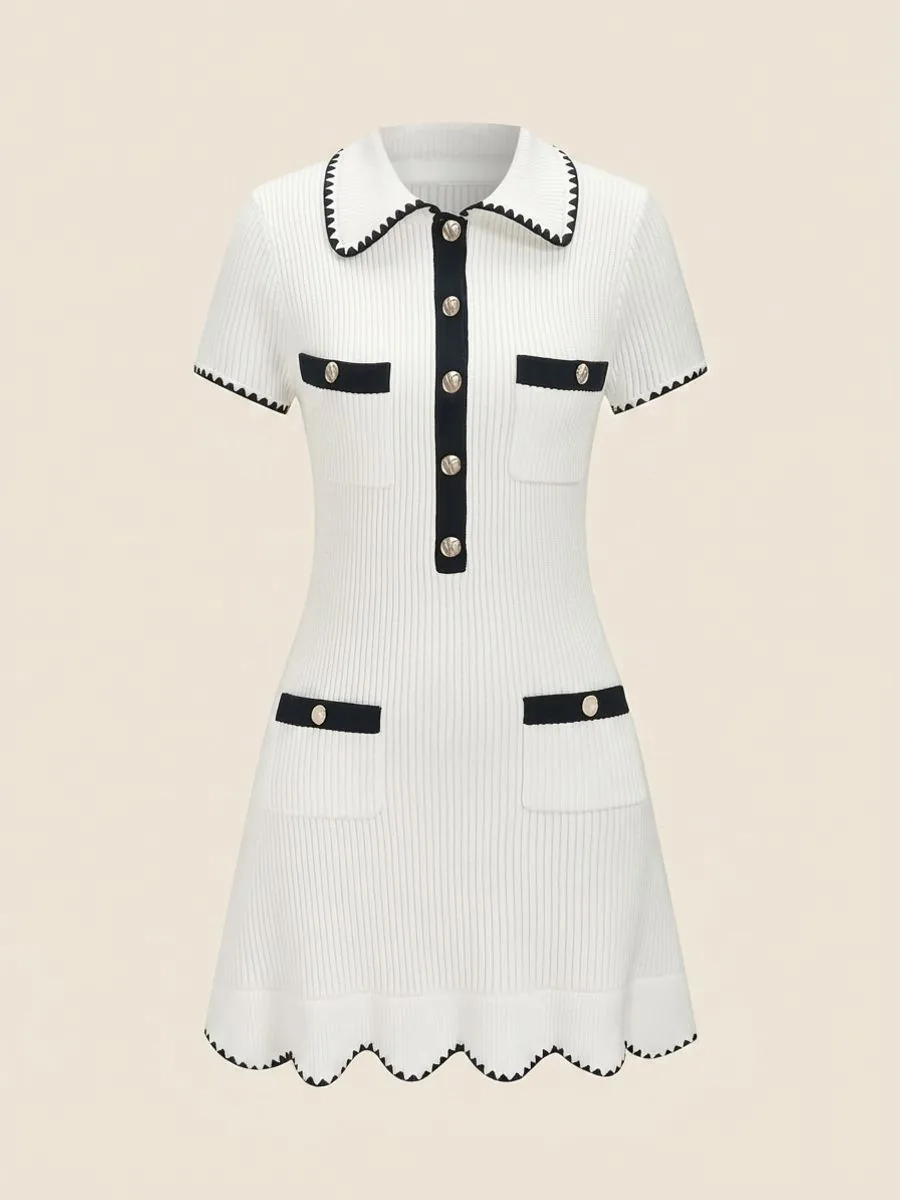
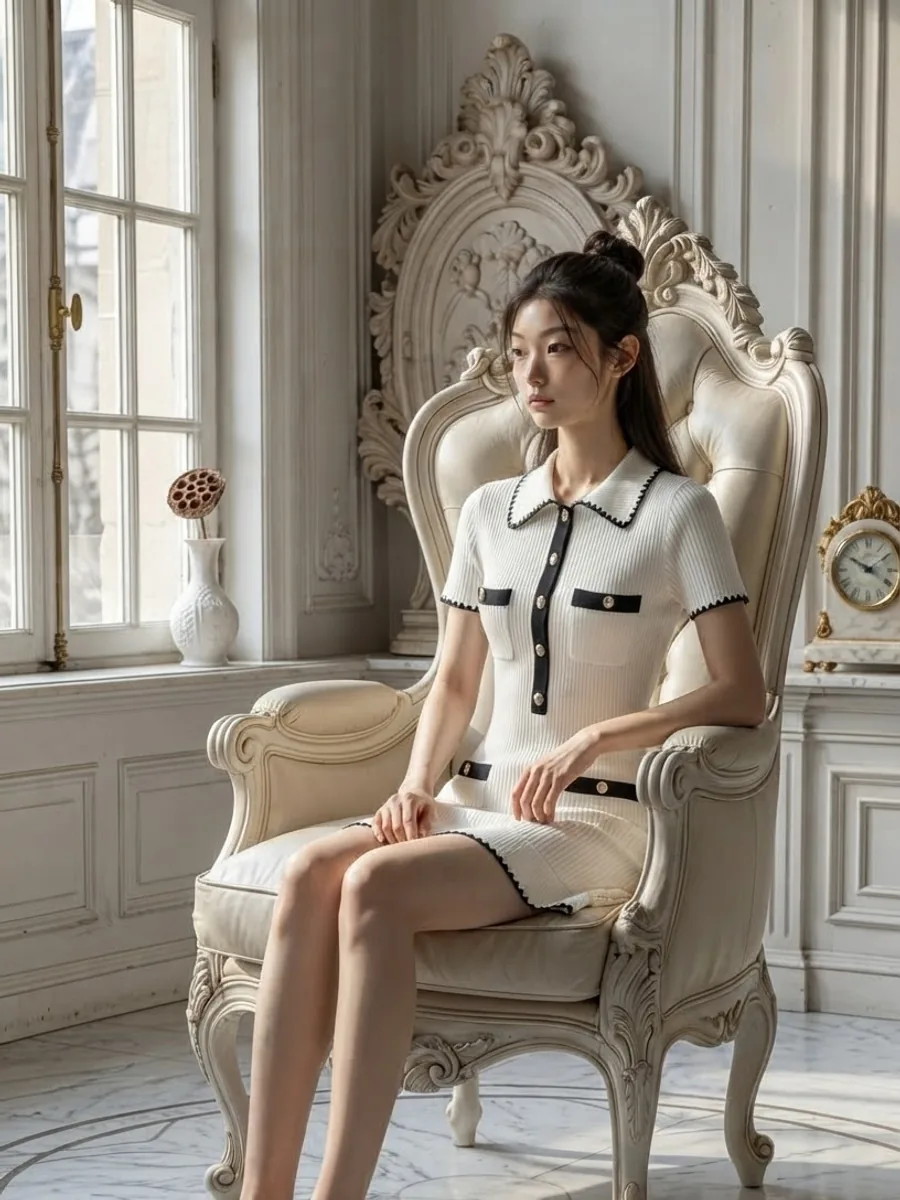
Product to Model: upload a product photo, choose a person, pose, scene and styling pieces from the library, and generate
Virtual Try-On: upload a garment photo, choose a person from the library or upload your shop's own model photo, and generate
Ghost Mannequin: upload a garment photo, tap the garment category and which side it shows, and generate
Product Showcase, for products that aren't clothing: tap a category such as perfume, plated food or car
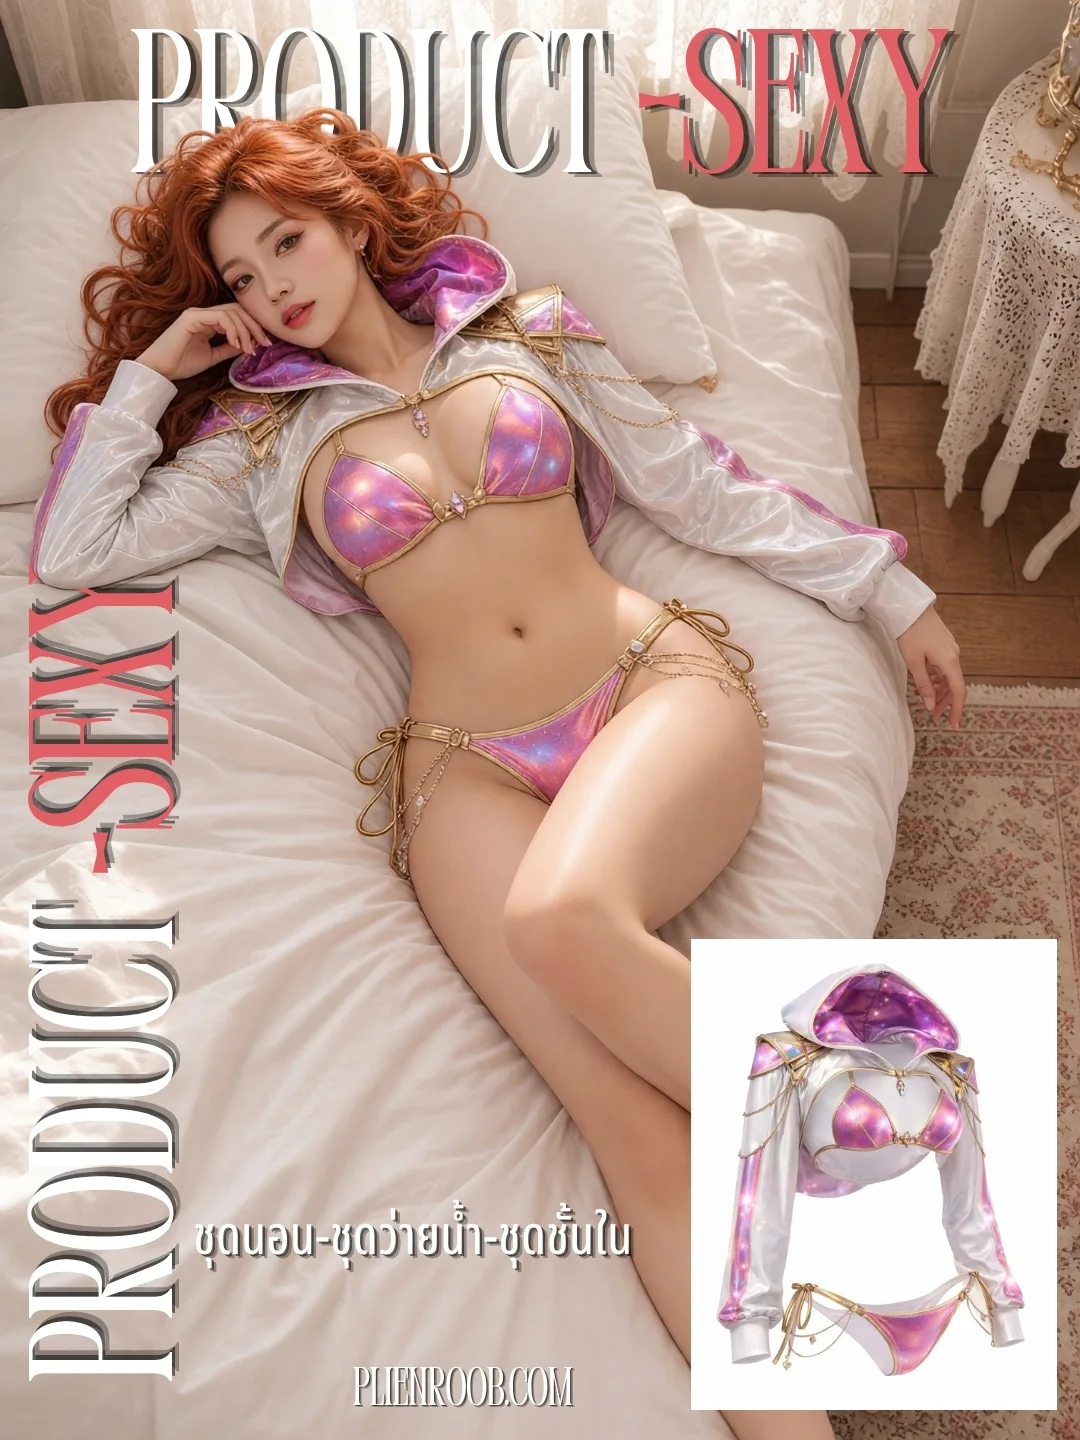
Product-Sexy, for sleepwear, lingerie and swimwear: choose the model's look, the scene and the pose with buttons
Upscale and Remove Background: choose an image and press one button
Choose from over 1,000 options instead of typing
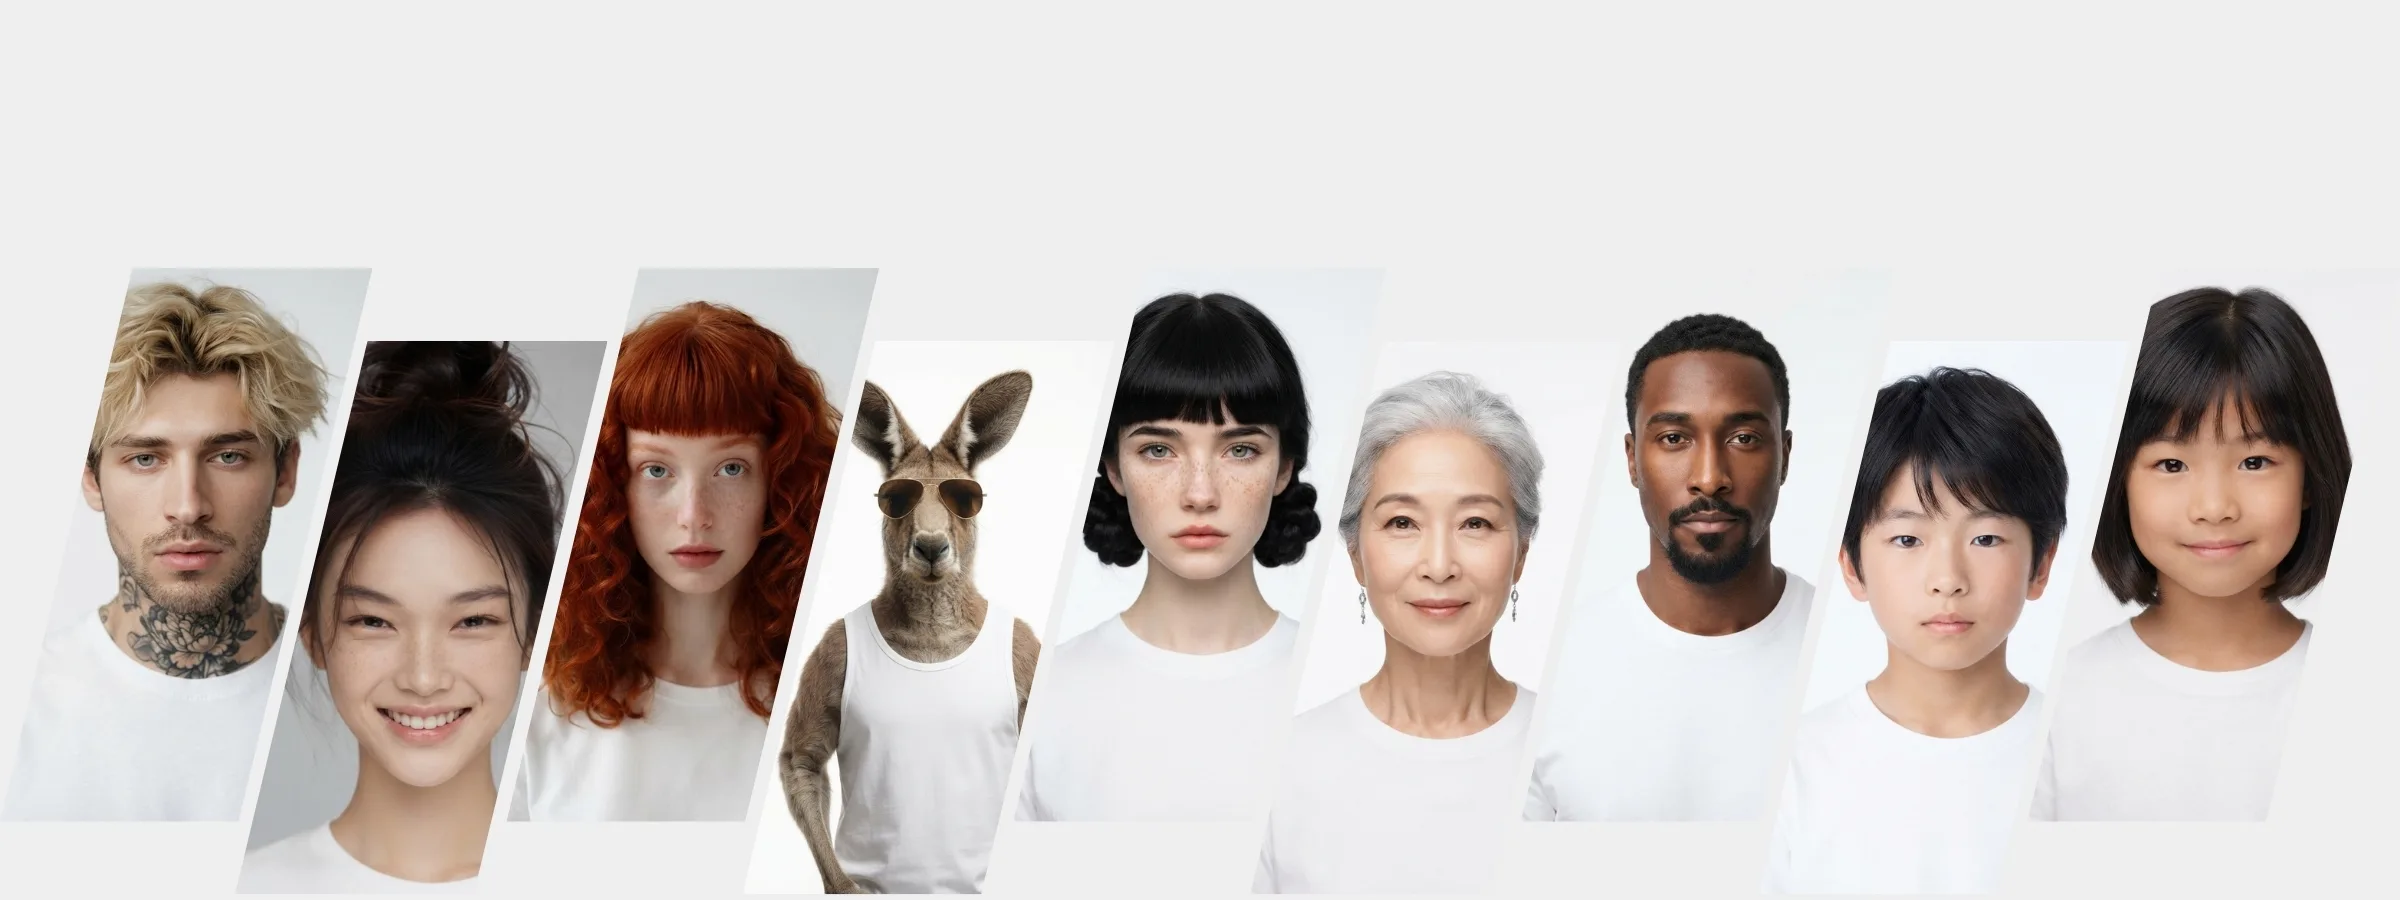
326 people in the library: female models, male models and face-focused portraits
84 poses
360 scenes: Thailand, international, indoor, outdoor and plain single-colour backdrops, every one created with AI
250 styling pieces: tops, jackets, trousers, skirts, shoes, hats, jewellery and glasses
The people, poses and scenes in the full Premium library alone pair up into nearly 10 million combinations. Every count in this section comes from that full library. Other plans open part of it — 235 of the scenes, for example — and styling pieces start from the Basic plan.
Never used AI? These images are all tap-to-choose
What you can do with an AI model on this site. Each card is that tool's cover image; tap it to read how the tool works.
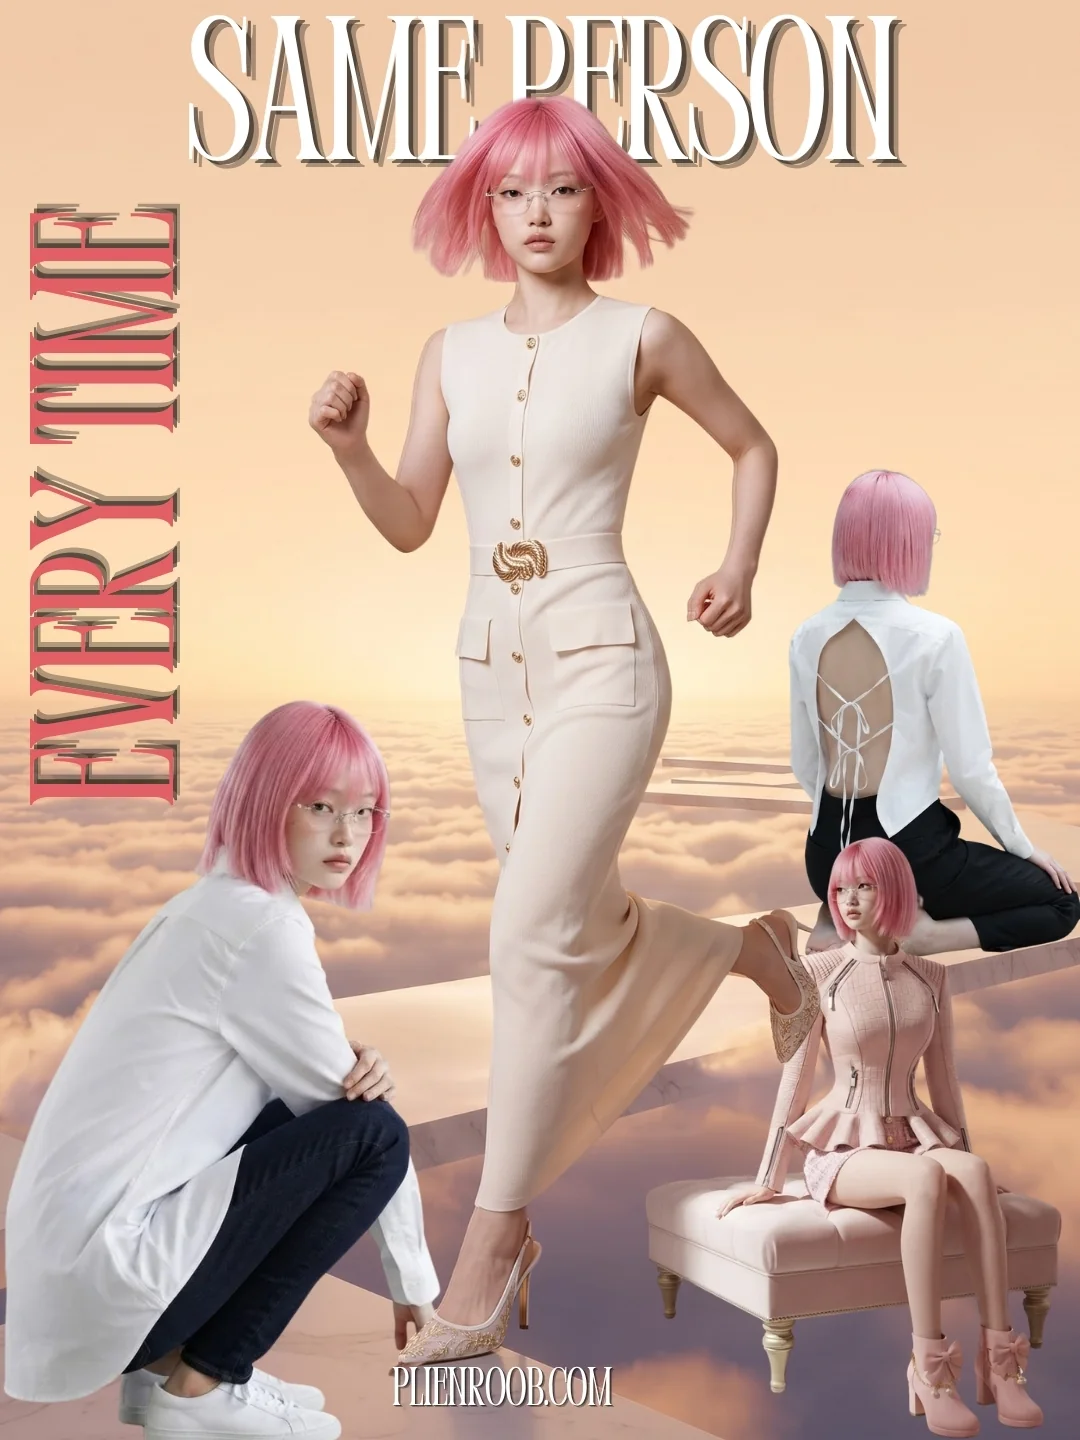
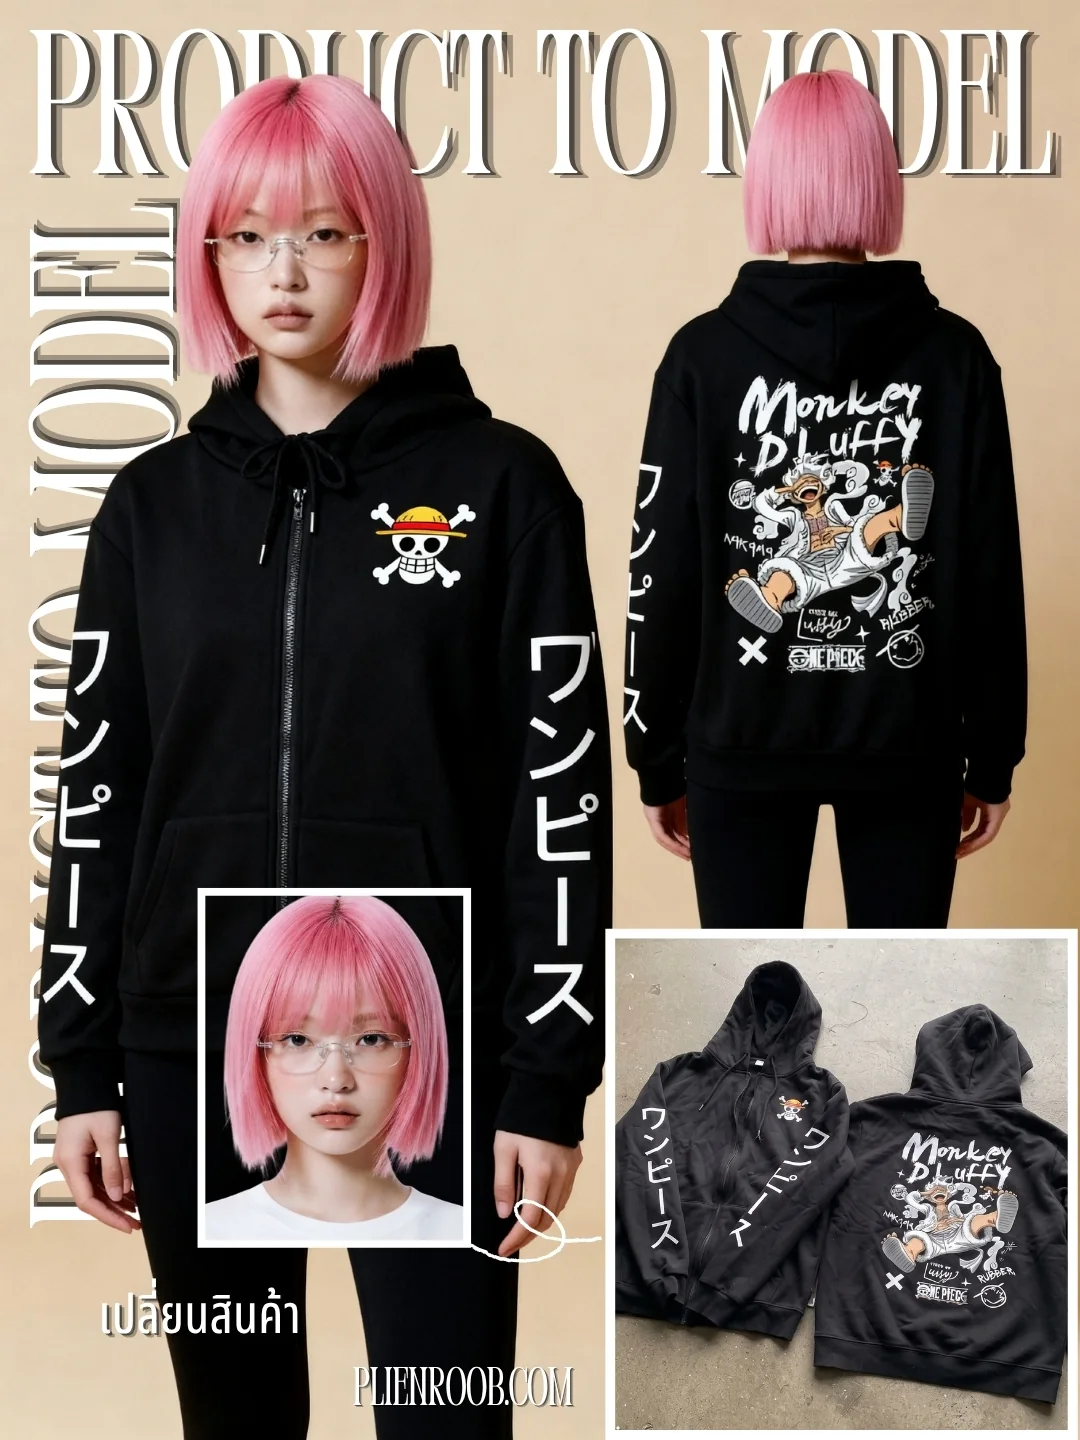
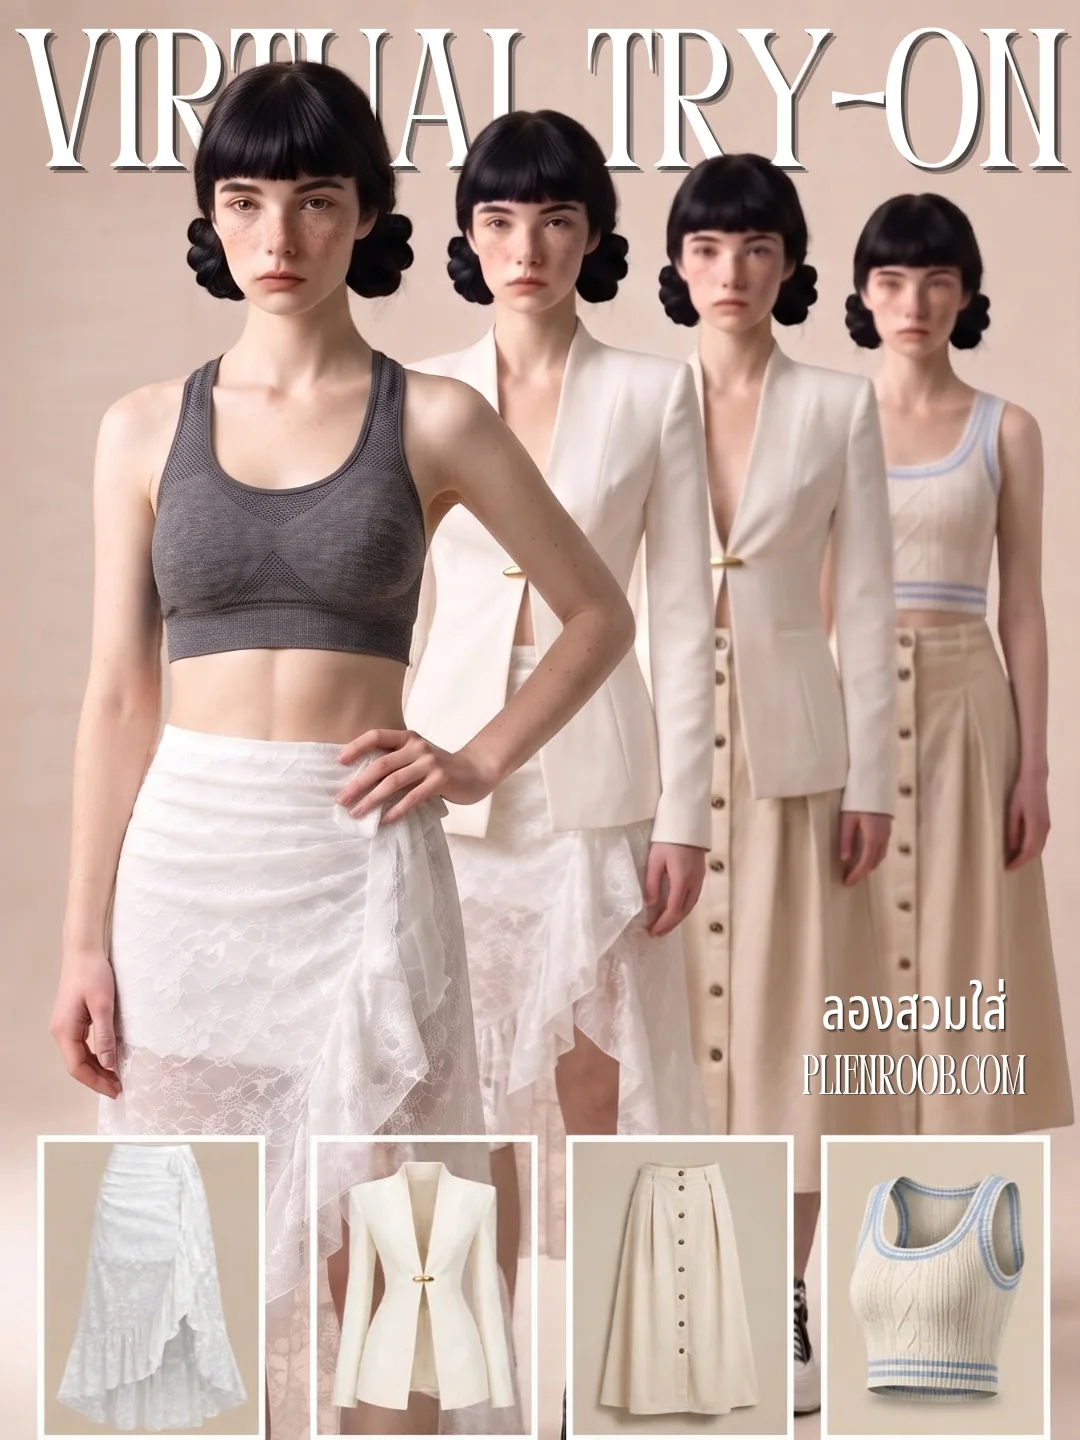
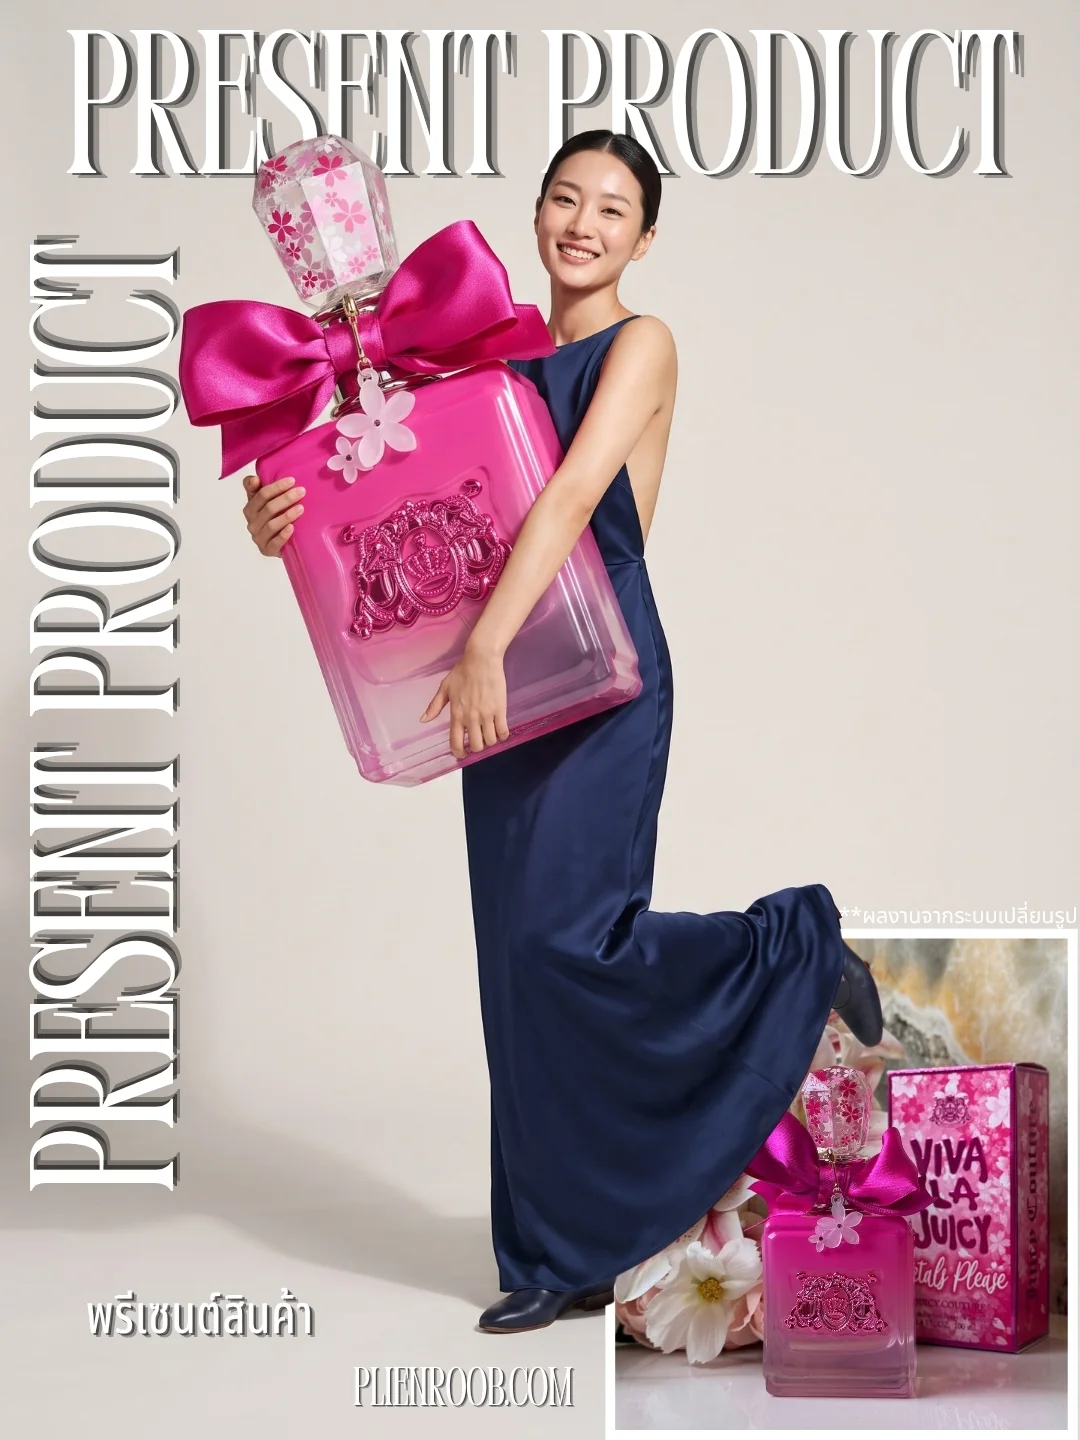
What you tap, from upload to finished image
Open the studio and choose Product to Model
Upload a product photo, or pick one you uploaded before
Tap the product type, such as clothing, shoes or a bag. The system sets a suitable shot for you, and you can change it
Choose a person from the library, or leave it empty and let the system create one. If you already have your shop's own model photos, use Virtual Try-On instead
For more control, tap a pose, a scene and styling pieces, or skip them
Choose a quality level, check the credit count on the button, then generate
Pricing
The generate button shows the credit count before every press. Baht prices are calculated from real plan prices, from Premium yearly up to the smallest credit top-up.
Product to Model, Standard 1K: 2 credits per image, about ฿4.17–฿7.00, ready in about half a minute
Standard 2K: 3 credits per image, about ฿6.26–฿10.50
Premium 4K: 5 credits per image, about ฿10.43–฿17.50
A person from the library adds 1 credit at 1K and 2K; Premium 4K adds nothing
Scenes, poses and styling pieces together: 1–2 items add 1 credit, 3–5 items add 2
If a job fails, the credits come back automatically
Studio tips for photos ready to sell
Use photos your shop took of the real item: one item per photo, filling the frame, from the original file rather than one sent through a chat app
The short side must be at least 480 pixels, with 1,024 or more recommended. A clearly blurred photo is refused at upload, before any credits are spent
Styling pieces are sent as a description, so you get an item that matches the card rather than the exact piece on it. Adding them also makes a failed generation more likely than leaving them out; if a job fails, the credits come back automatically
If the source photo is small or blurred, lettering on the garment may be guessed. Zoom in on the pattern, lettering and buttons in every image before you list it
The AI creates a new image every time you press, so the same product photo run twice won't come back identical. If an image misses, generate again or change the source photo before concluding it doesn't work.
Frequently asked questions
I've never used AI. Can I make model photos of my products?
Yes. No tool on Plien Roob has a prompt box; every step is a tap. Upload a product photo, choose a person, pose, scene and styling pieces from over 1,000 options on the Premium plan, or let the system choose, and generate. The generate button shows the credit count before every press, and if a job fails the credits come back automatically.
Do I have to type instructions in English?
No. There is no box to type into, in Thai or in English. The instructions the AI needs are already prepared: in Product to Model, every image carries instructions to keep the product's pattern, colours and lettering as in your photo and never to add a logo the product doesn't have. What you do is tap the person, pose, shot, scene and styling pieces.
How much does an AI model photo of my product cost?
Product to Model at Standard 1K is 2 credits per image, about ฿4.17–฿7.00 depending on your plan, and a person from the library adds 1 credit. Premium 4K is 5 credits per image, about ฿10.43–฿17.50, with no charge for a library person. Sign up free for 10 credits, given once. Your first free-plan image has no watermark; the images after it do.
Plien Roob
Ready for your first product photo?
Sign up free for 10 credits, given once, with no card needed. Your first free-plan image has no watermark; the images after it do.