AI Tools
How Product to Model works, and why there is no prompt box
Last updated 2026-09-07From Plien Roob — AI model photography for online stores
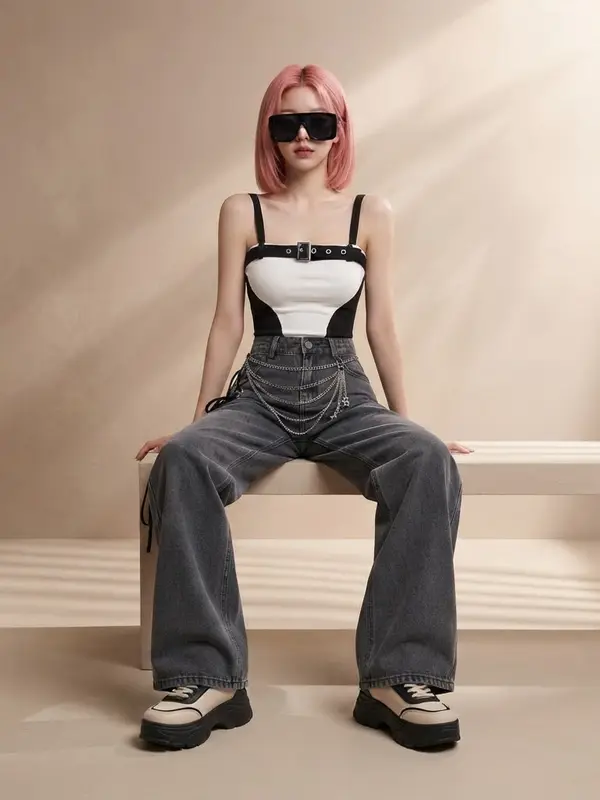

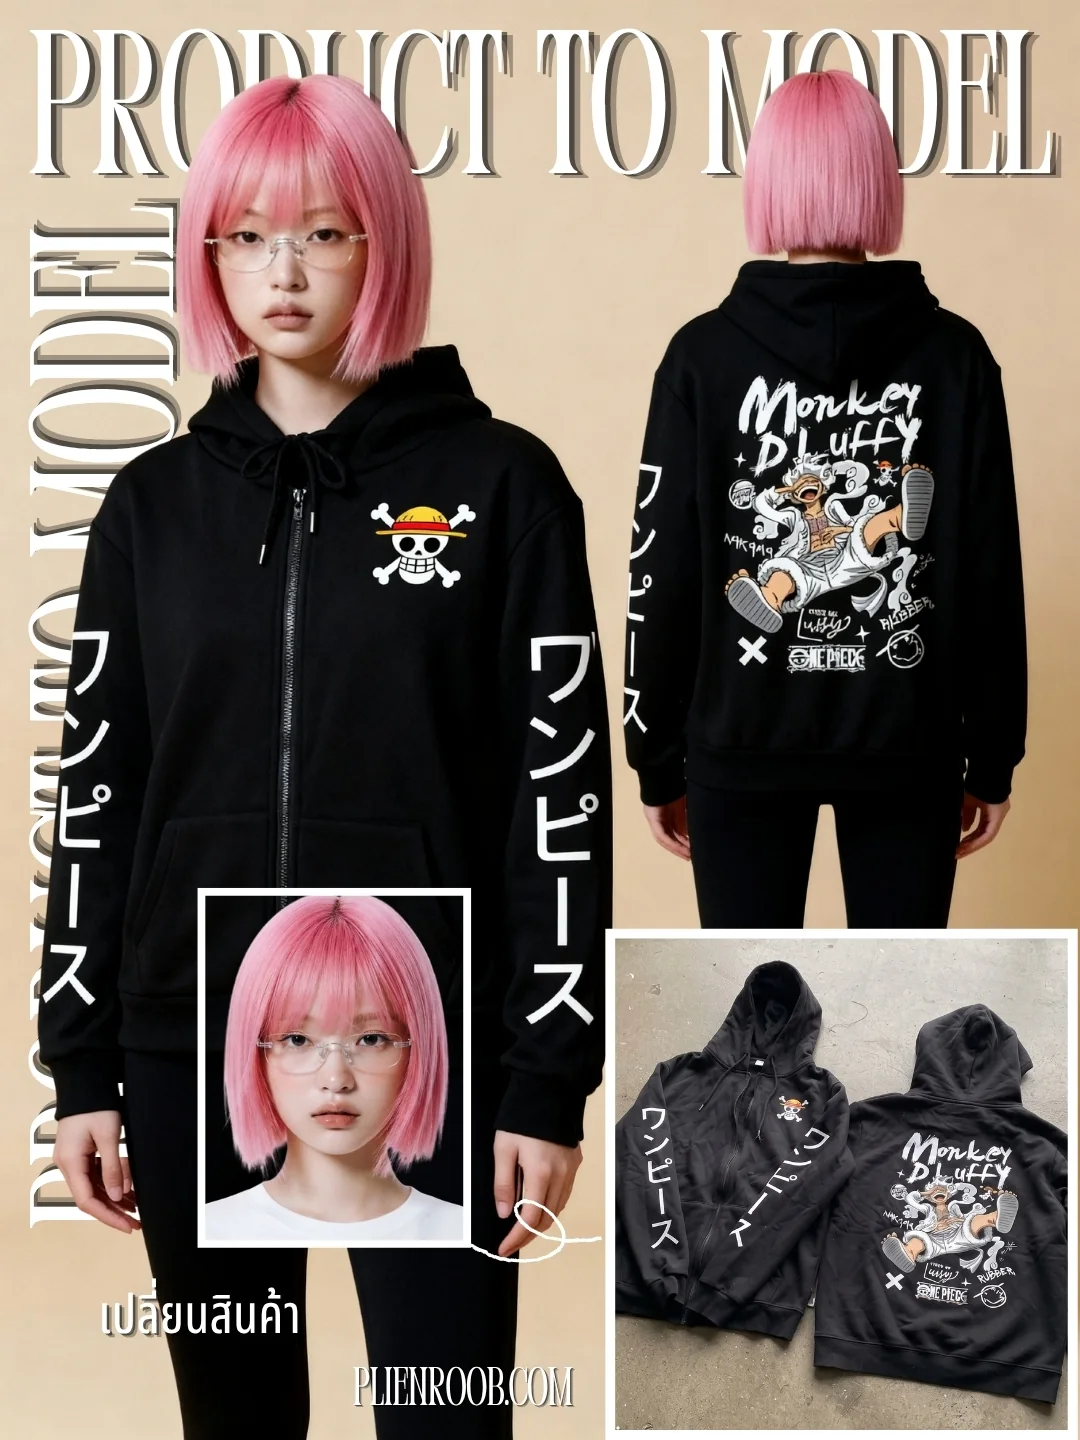
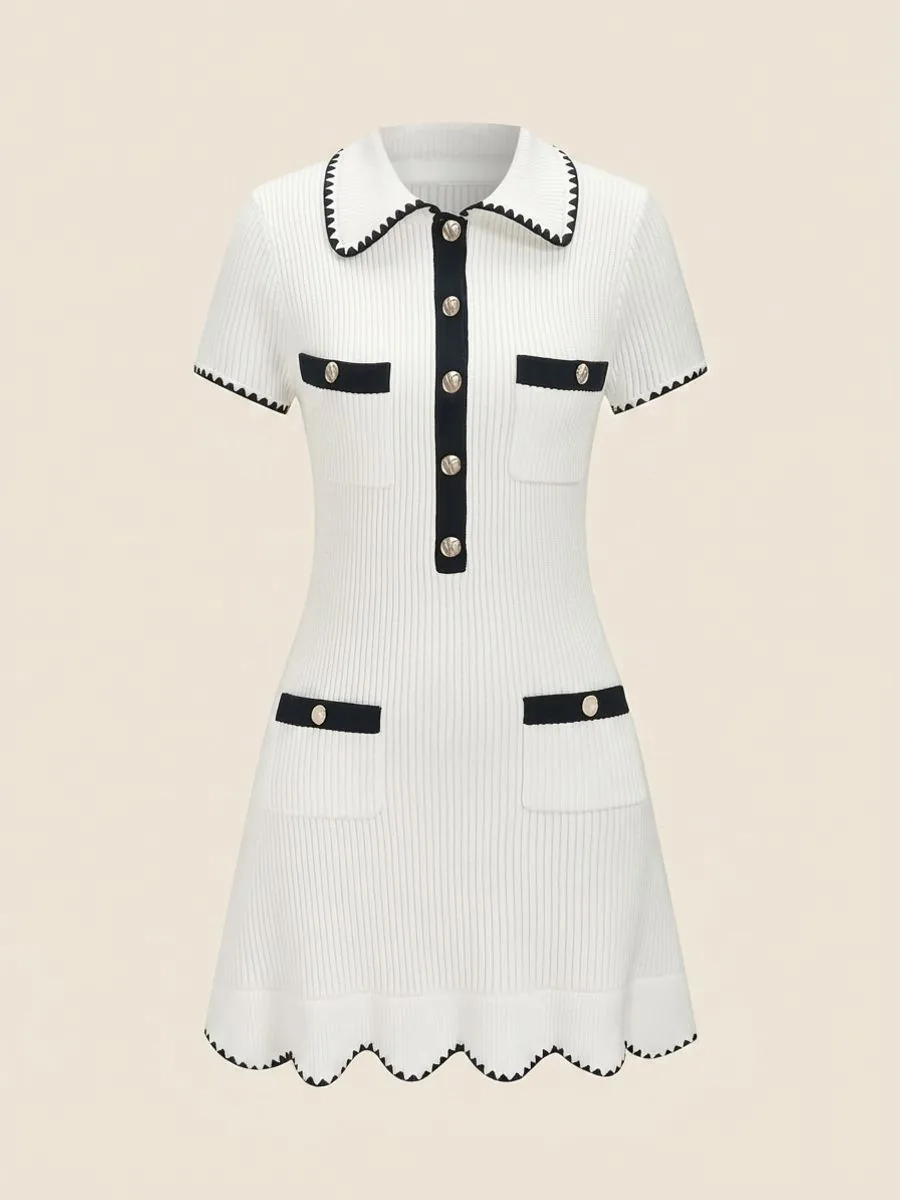
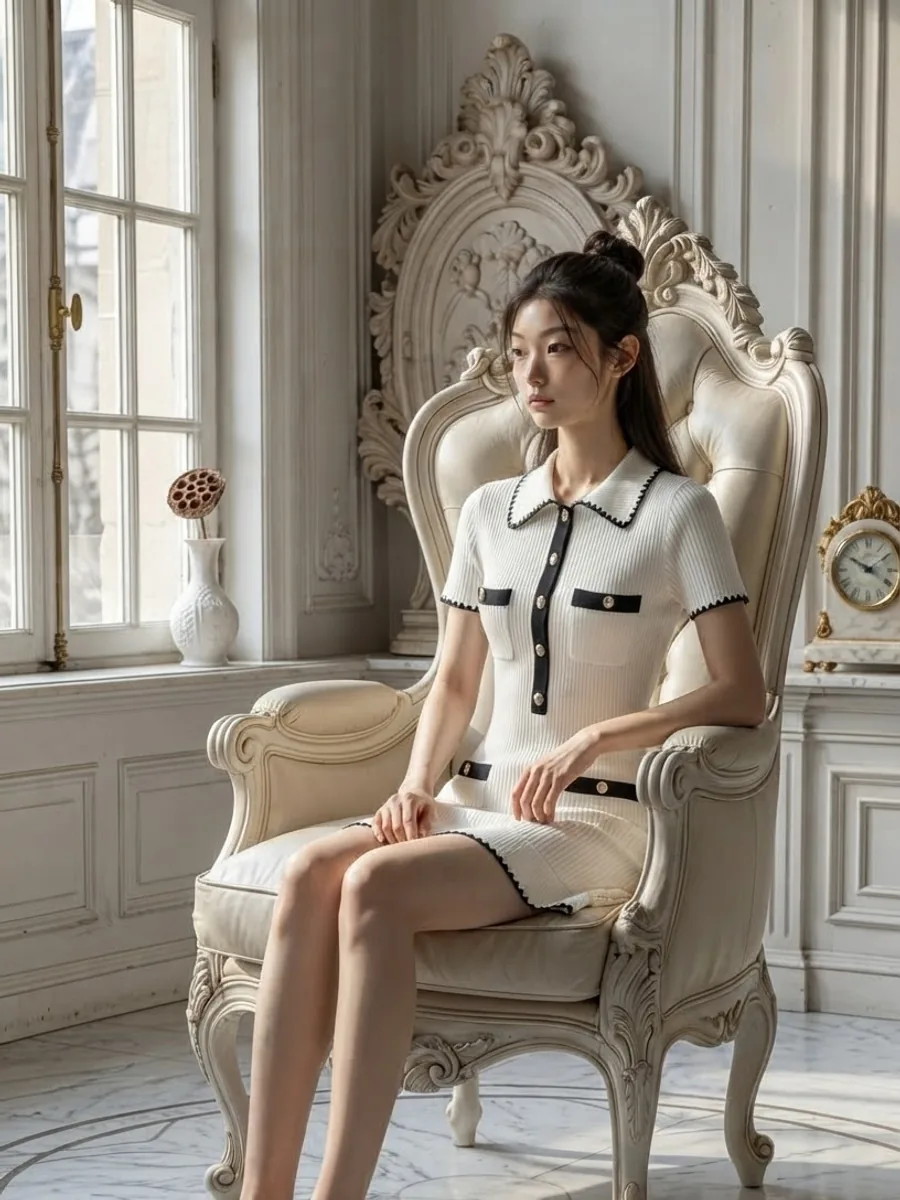
Plien Roob's Product to Model takes one product photo — flat-lay or already worn — and returns a photo of a person wearing that exact garment. You never type a prompt, because the instructions sent to the AI are written into the system and are the same on every run.
Why there is no prompt box
A free-text prompt gives you freedom and hands you all of the responsibility. One missing sentence is a garment quietly redesigned. We fixed the instructions instead, and spent the screen space on buttons that pick from prepared libraries. Someone who has never used an AI tool can get a usable result on the first try, and today's output rests on the same instructions as next month's.
What the system locks down for you
Every run carries the same garment-fidelity rules:
Print artwork, any lettering on it, and its spelling stay as they are
Silhouette, neckline, hemline and fabric texture stay as they are
No redesigning, no restyling, no simplifying any part of the garment
No inventing a brand tag that does not exist on the product
The model's gender and age range are pinned to the garment rather than left to the AI
That last rule comes from a real failure during testing: an open-ended instruction once cast a female model in a men's size L shirt, and once lit the scene with coloured stage lights that shifted the product's colour — which defeats the whole exercise, since accurate colour is what prevents returns.
What else you can do with an AI model
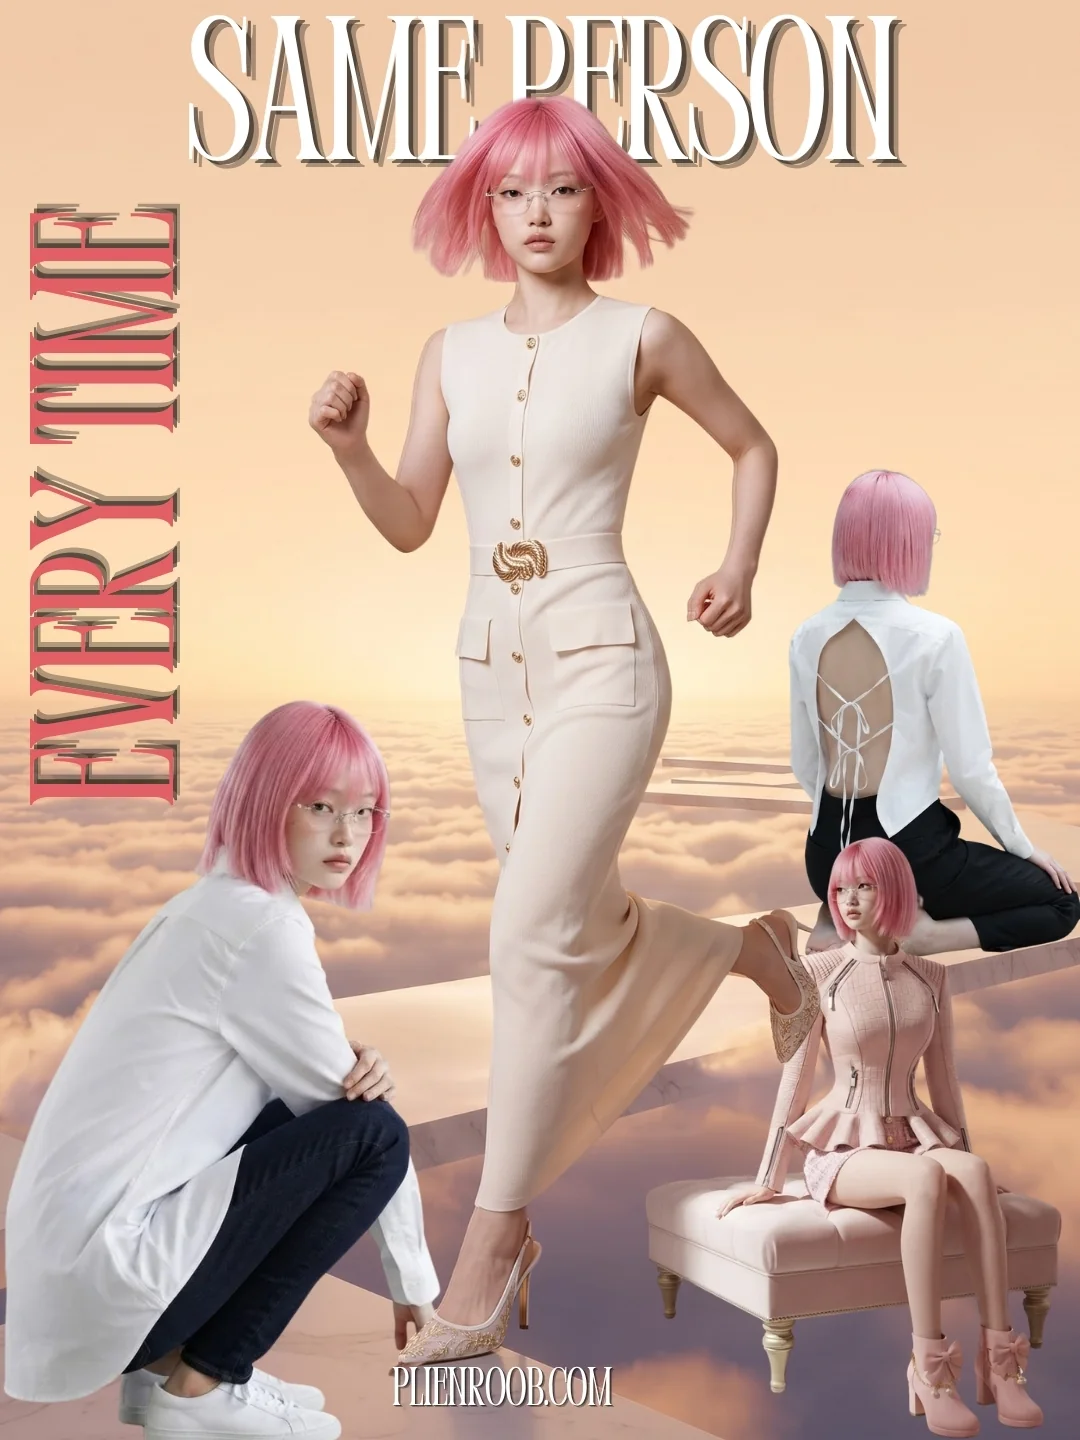
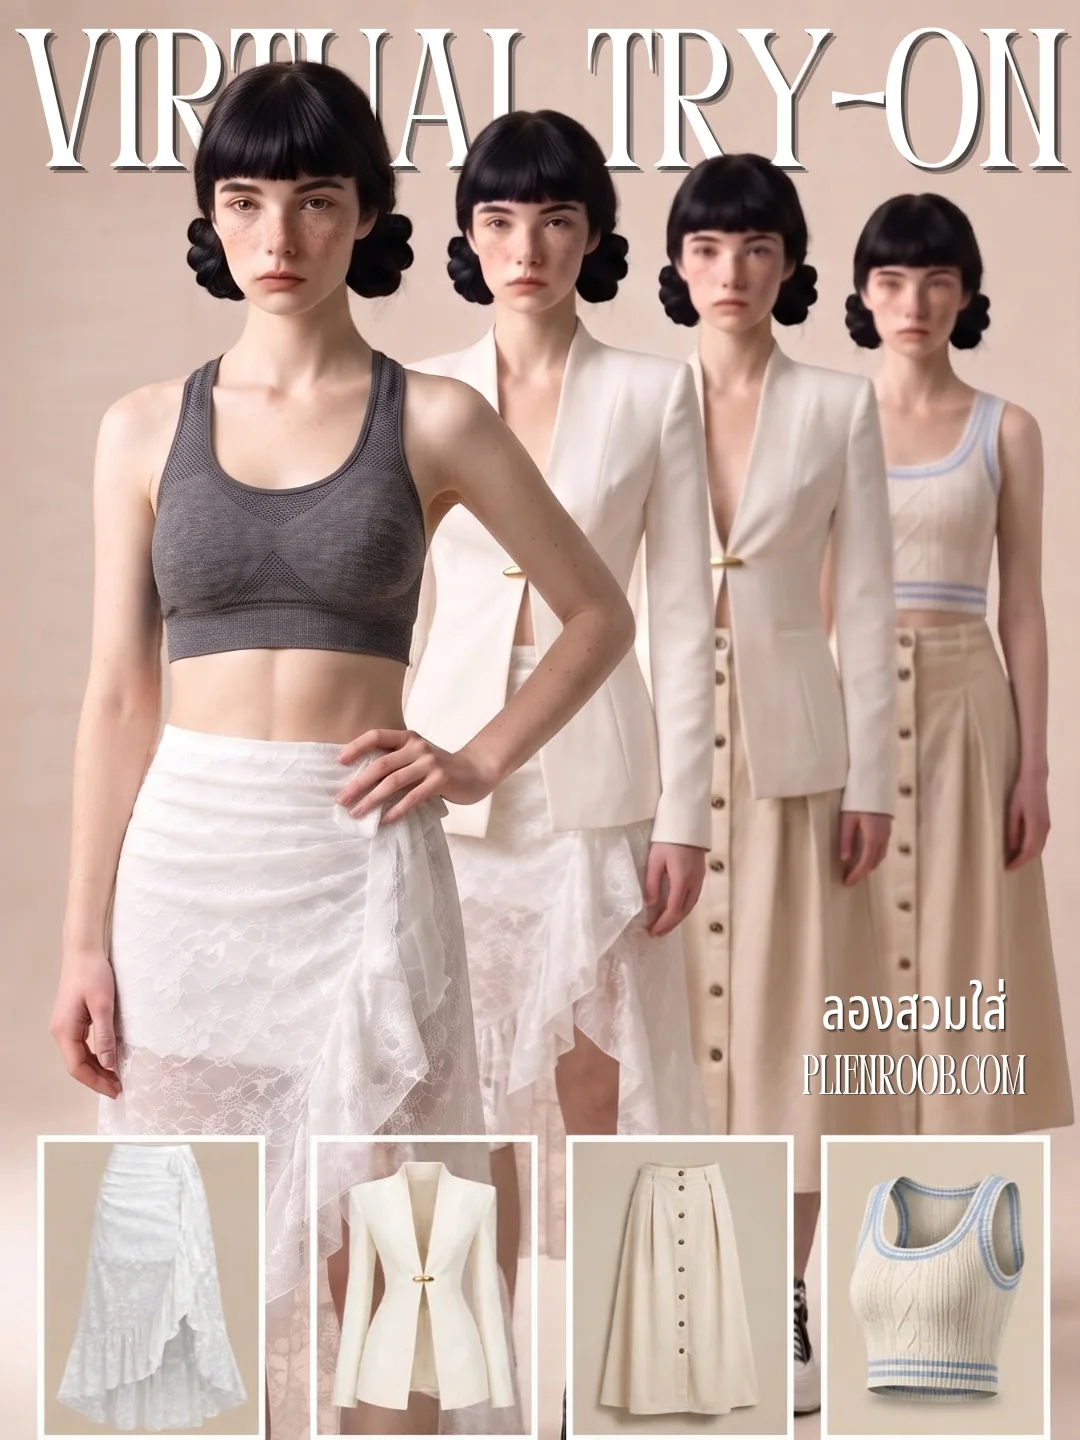
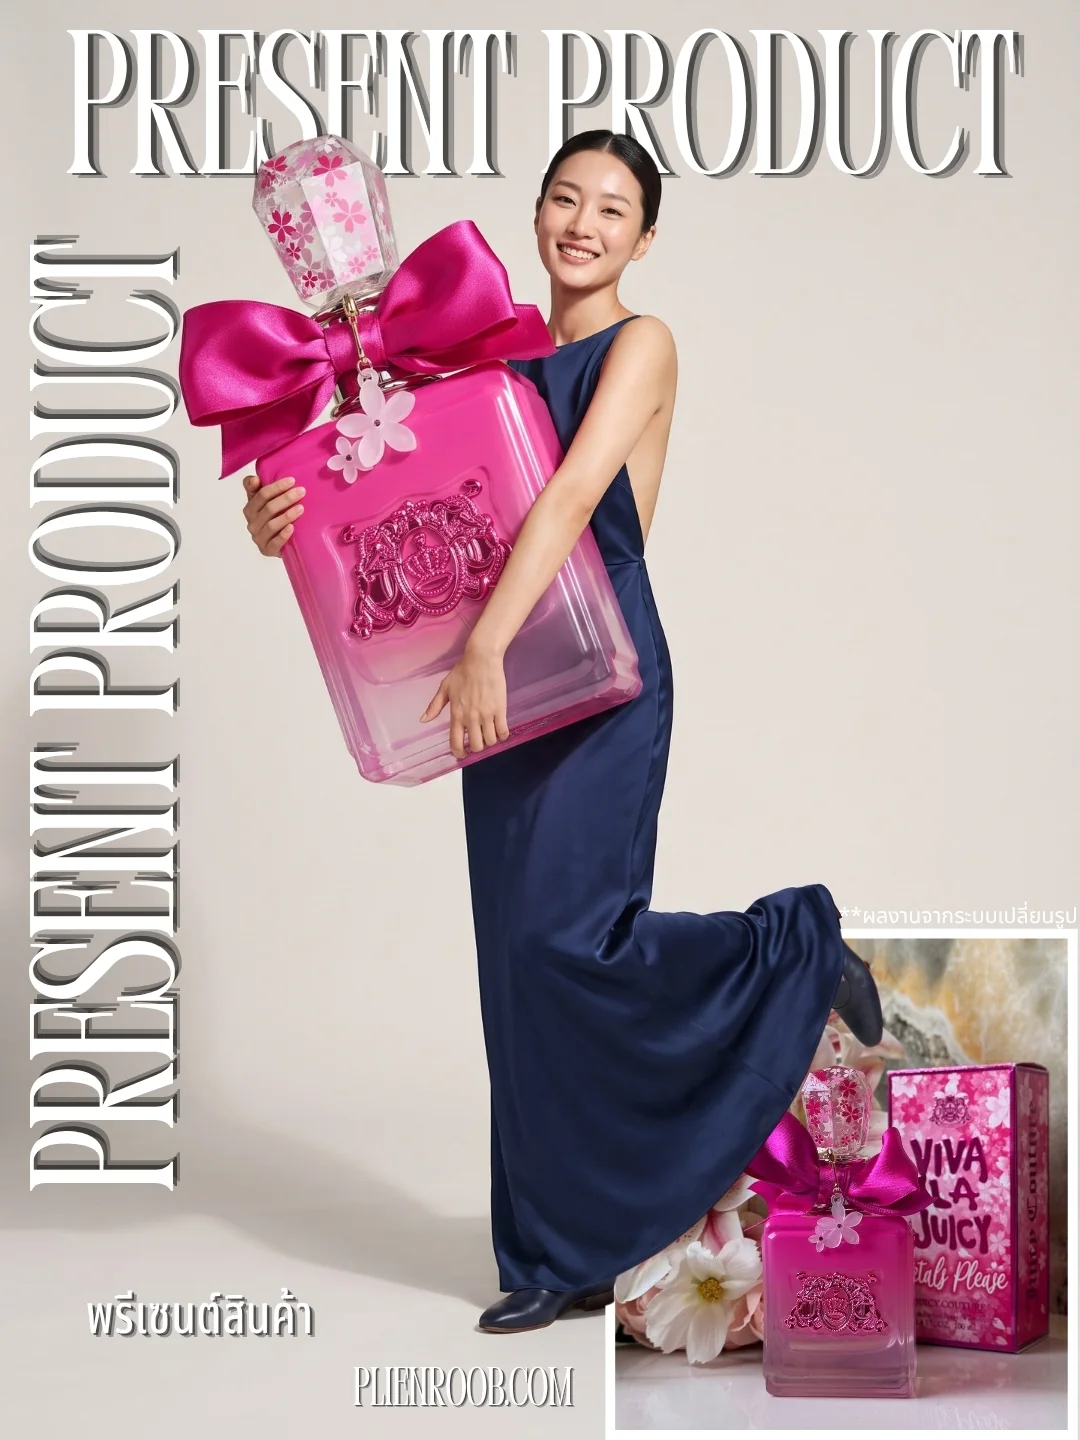
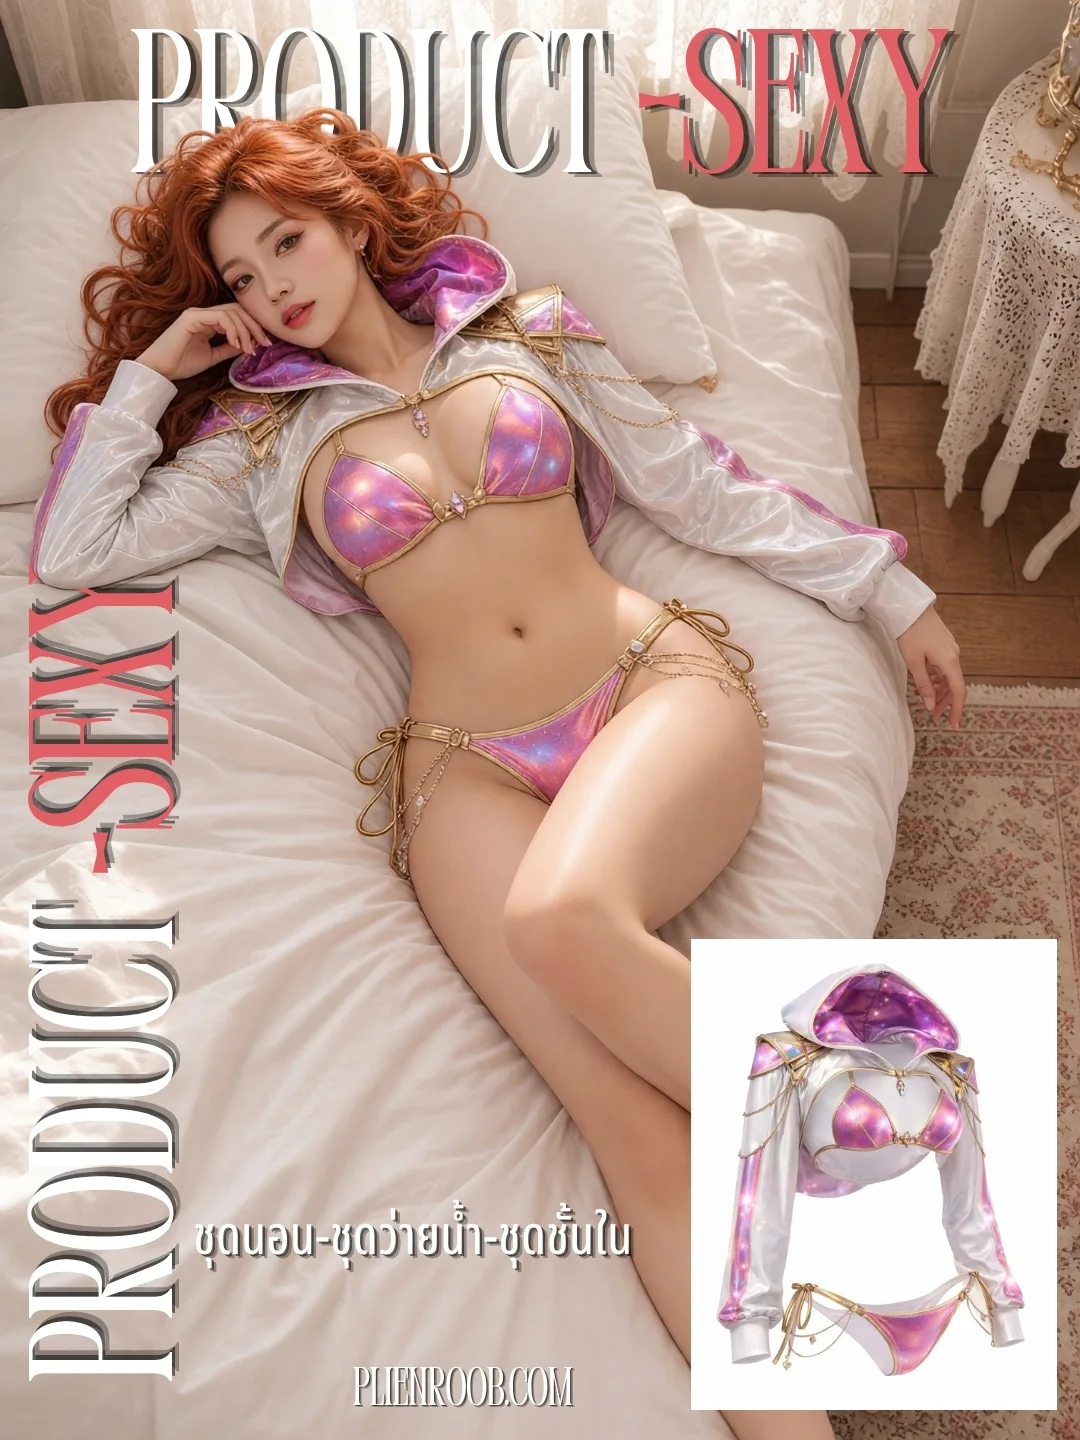
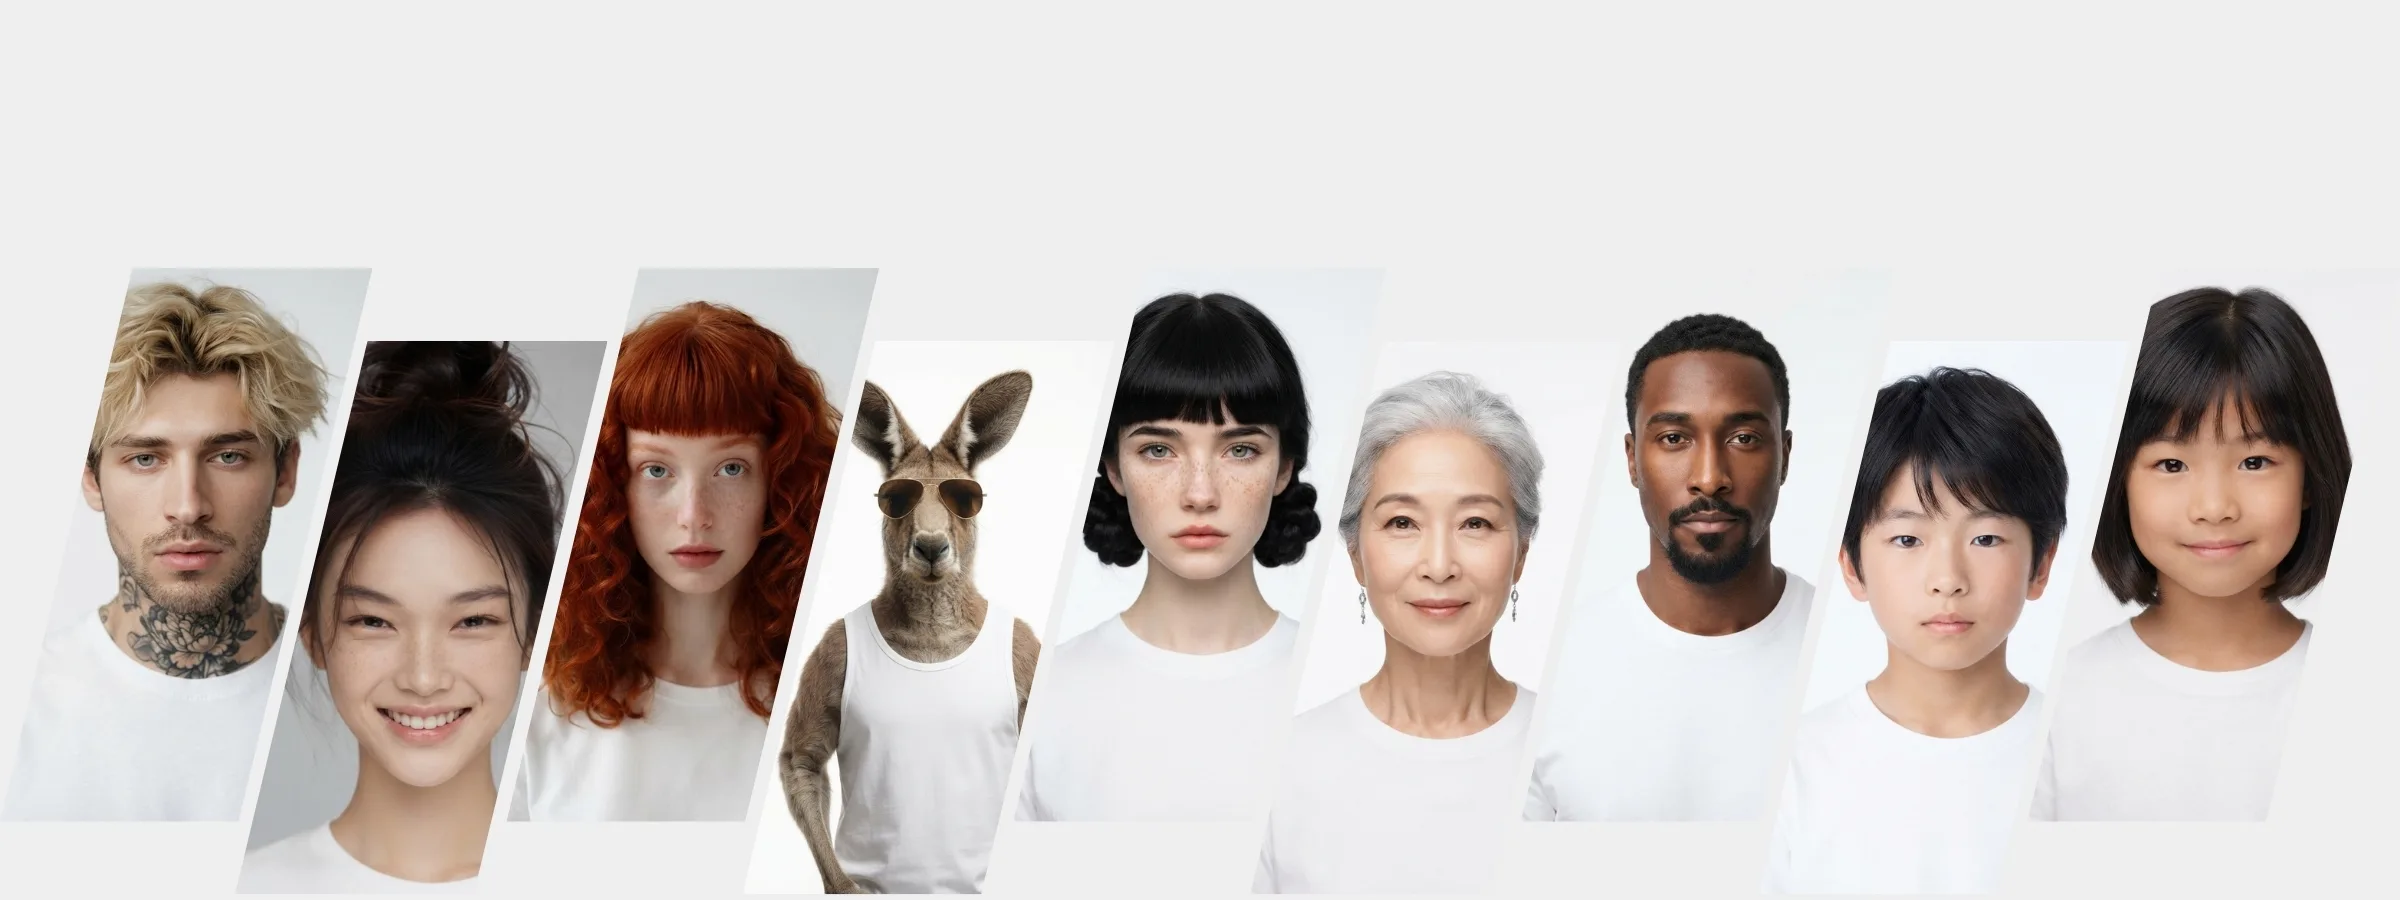
What you can do with an AI model on this site. Each card is that tool's cover image; tap it to read how the tool works.
What you choose
The person — pick from the library, or let the system design one from the product itself
The scene — pick from the Thai and international libraries, or let the system stage it
The pose — including back-facing poses, which tell the system the lens is seeing the back of the garment
The framing — full body, half body, or close-up on fabric and stitching
Styling pieces — up to 3, such as a bag or shoes
What a back-facing pose does
Choosing a pose turned away from the camera adds a second instruction set: the surface the lens sees is the back of the garment, plus two rules that matter a great deal — never mirror the front print onto the back, and never invent a print, lettering or seam on the back that no reference photo shows. Where the back is not shown, it stays plain.
Credits
Standard: 2 credits per image
Premium: 5 credits per image, with visibly finer detail — fabric weave and facial detail are legible
Library extras are counted as one flat charge — model, scene, pose and styling together. On the Free and Basic plans they add 1 credit per image, however many you pick.
The Premium plan adds nothing and can pick every crowned item.
Reusing the same model from earlier work costs nothing extra — that was paid for when the first image was made. This tool does not take your own model photos; for those, use Try-On.
Plan prices shown on the site are still provisional and are not final retail prices. The per-image credit figures above are what the system actually deducts today.
Frequently asked questions
I only have a flat-lay photo — is that enough?
Yes. Product to Model takes a single product photo, flat-lay or already worn, and returns a photo of a person wearing that exact item. The sharper the source photo, the closer the shape and the print stay to the real garment.
What can it be used on besides clothing?
Tops, bottoms and one-pieces, plus footwear, bags, hats and glasses, necklaces, earrings, and the group of rings, bracelets and watches. Those last three are separate options because each genuinely needs a different pose — a necklace needs a raised chin and an open neckline, a ring needs the hand lifted towards the face.
Will it invent a print on the back of the garment?
No. When you choose a pose turned away from the camera, two rules are always attached: never mirror the front print onto the back, and never invent a print, lettering or seam on the back that no reference photo shows. Where the back is not shown, it stays plain fabric.
How many credits does Product to Model cost per image?
Standard is 2 credits per image and premium is 5. Anything picked from the library — a model, a scene, a pose or styling pieces — adds a flat 1 credit per image on the Free and Basic plans and nothing on Premium. The screen shows the total before you press generate.
Plien Roob