AI Tools
AI virtual try-on for online clothing shops: which kind do you need?
Last updated 2026-09-27From Plien Roob — AI model photography for online stores
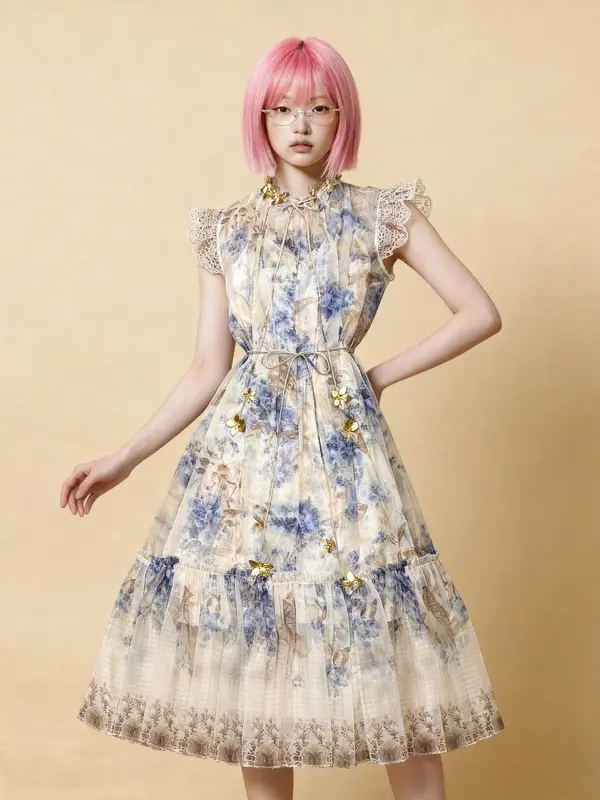

AI virtual try-on is a name used for two kinds of tool that work on opposite sides of a sale. The first lets a shop's customers try clothes on a photo of themselves or on an avatar, on the shop's own website or app. The second lets the shop create photos of a model wearing its own products, ready to list. If you sell through marketplaces, social posts or LINE chats, your customers see your products through the photos you upload, so the second kind is the one you can actually use.
Two kinds, told apart by who presses the button
The first kind sits on the shopper's side. A customer opens a product on the shop's website or app and taps to see how it looks on them, or on an avatar. The result appears on that customer's own screen. Because this kind of tool runs inside the pages customers shop from, it has to be installed on a website or app the shop owns.
The second kind sits on the seller's side. The shop presses the button: it puts in a product photo and gets back a photo of a model wearing that item, as a file. The shop keeps that file and uses it however it likes — on a marketplace listing, in a page post, in a chat, or on its own website. Customers don't have to do anything extra; they simply see a photo of a model wearing the product, like any other product photo.
Who presses the button
- Kind 1: shoppers try it on
- The shop's customer, while browsing a product
- Kind 2: the shop makes photos
- The shop, while preparing photos to list
What you need
- Kind 1: shoppers try it on
- A website or app the shop owns, and someone to install the tool on its product pages
- Kind 2: the shop makes photos
- Product photos, plus a model photo if you're swapping the outfit on an existing one
What you get
- Kind 1: shoppers try it on
- The garment on the shopper or an avatar, on each shopper's own screen
- Kind 2: the shop makes photos
- Image files of a model wearing the product, kept by the shop
Where it's used
- Kind 1: shoppers try it on
- Only on the product pages of the website or app it's installed on
- Kind 2: the shop makes photos
- Anywhere you can post a photo: marketplaces, social posts, LINE and your own site
Which shop it suits
- Kind 1: shoppers try it on
- Shops that sell mainly through their own website or app
- Kind 2: the shop makes photos
- Shops that sell through marketplaces, social media or LINE
| Kind 1: shoppers try it on | Kind 2: the shop makes photos | |
|---|---|---|
| Who presses the button | The shop's customer, while browsing a product | The shop, while preparing photos to list |
| What you need | A website or app the shop owns, and someone to install the tool on its product pages | Product photos, plus a model photo if you're swapping the outfit on an existing one |
| What you get | The garment on the shopper or an avatar, on each shopper's own screen | Image files of a model wearing the product, kept by the shop |
| Where it's used | Only on the product pages of the website or app it's installed on | Anywhere you can post a photo: marketplaces, social posts, LINE and your own site |
| Which shop it suits | Shops that sell mainly through their own website or app | Shops that sell through marketplaces, social media or LINE |
Whenever you read a tool's website, check who presses the button. If it's the customer, your shop needs a website or app of its own to install it on. If it's the shop, you get image files to use yourself. The two share similar names but need different things, and choosing the wrong kind can leave a shop with a tool it has nowhere to use.
Selling on marketplaces, social media or LINE
A product page on a marketplace, or a post on social media, belongs to the platform, not to the shop. What a shop can put there is what the platform has made room for, such as photos, video and a product description. Selling through LINE chats means sending photos and messages to customers in a chat. A shop that sells only through these channels therefore has no page of its own to install the first kind on.
If a platform offers its own button for shoppers to try clothes on, that button belongs to the platform and works on the platform's terms; it isn't a tool the shop brings in and installs. What the shop controls is the photos it uploads. A flat-lay photo tells a customer the colour and the print, but not how the garment hangs when worn or how long it is. A photo of a model wearing it answers those questions at a glance, and it is work a marketplace shop can do itself.
 Illustration
Once you have model photos, they don't have to be the first image on the listing. According to the official pages our team read on 20 September 2026, TikTok Shop's main image must have a solid-colour background, and Shopee's cover-image criteria recommend a white background. So model photos with a scene behind them suit the slots after the first image, while the first image is the product on a plain background.
Have your own website? Ask these first
A shop that sells mainly through its own website or app can use the first kind, but it is a different size of job from making photos: it has to be fitted into the shop's system, and it is your customers who use it. Before deciding, ask the provider, and yourself, the following.
How is it installed? Does it need someone who writes code, and does it work with the online-shop system you already use?
Do customers have to upload photos of themselves? Where are those photos kept, for how long, and what are they used for? Your shop should be able to answer customers on this.
How is it charged, and does the cost grow with the number of times customers try something on?
Which kinds of product does it cover, and does that include what your shop actually sells?
Where do most of your customers actually buy? If most buy through marketplaces, a tool on your website only reaches the few who don't.
Whether or not you install the first kind, the product photos on your listing pages are still what customers see before they tap in, so a shop with its own website still needs good product photos.
Seller-side AI model images: what you can make
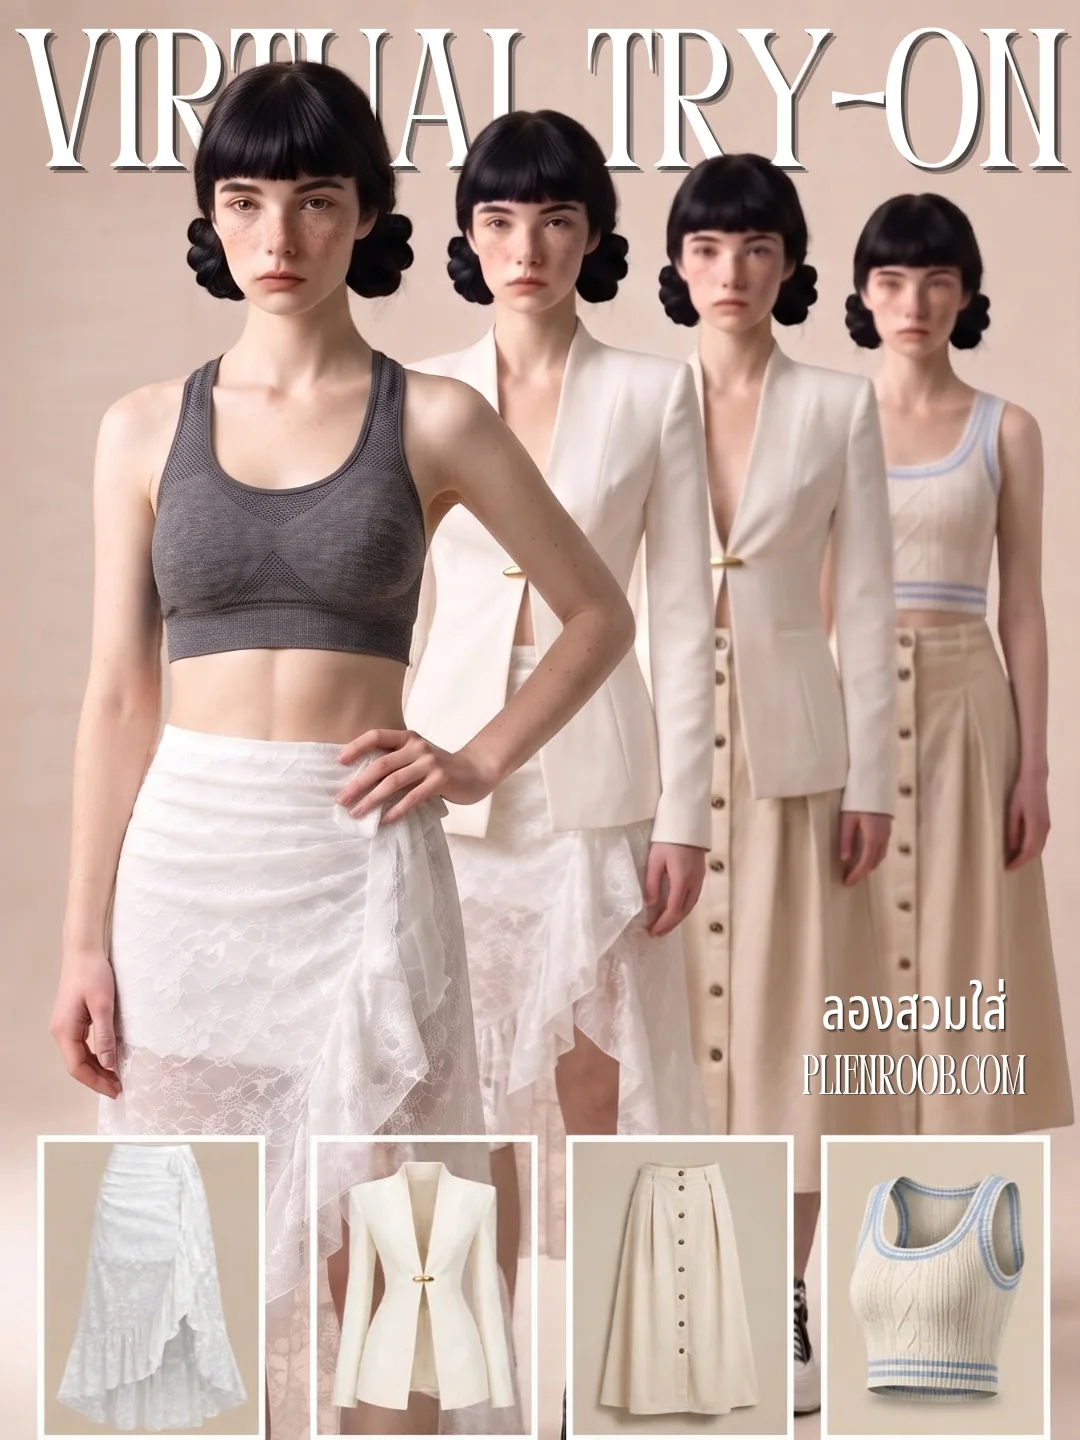
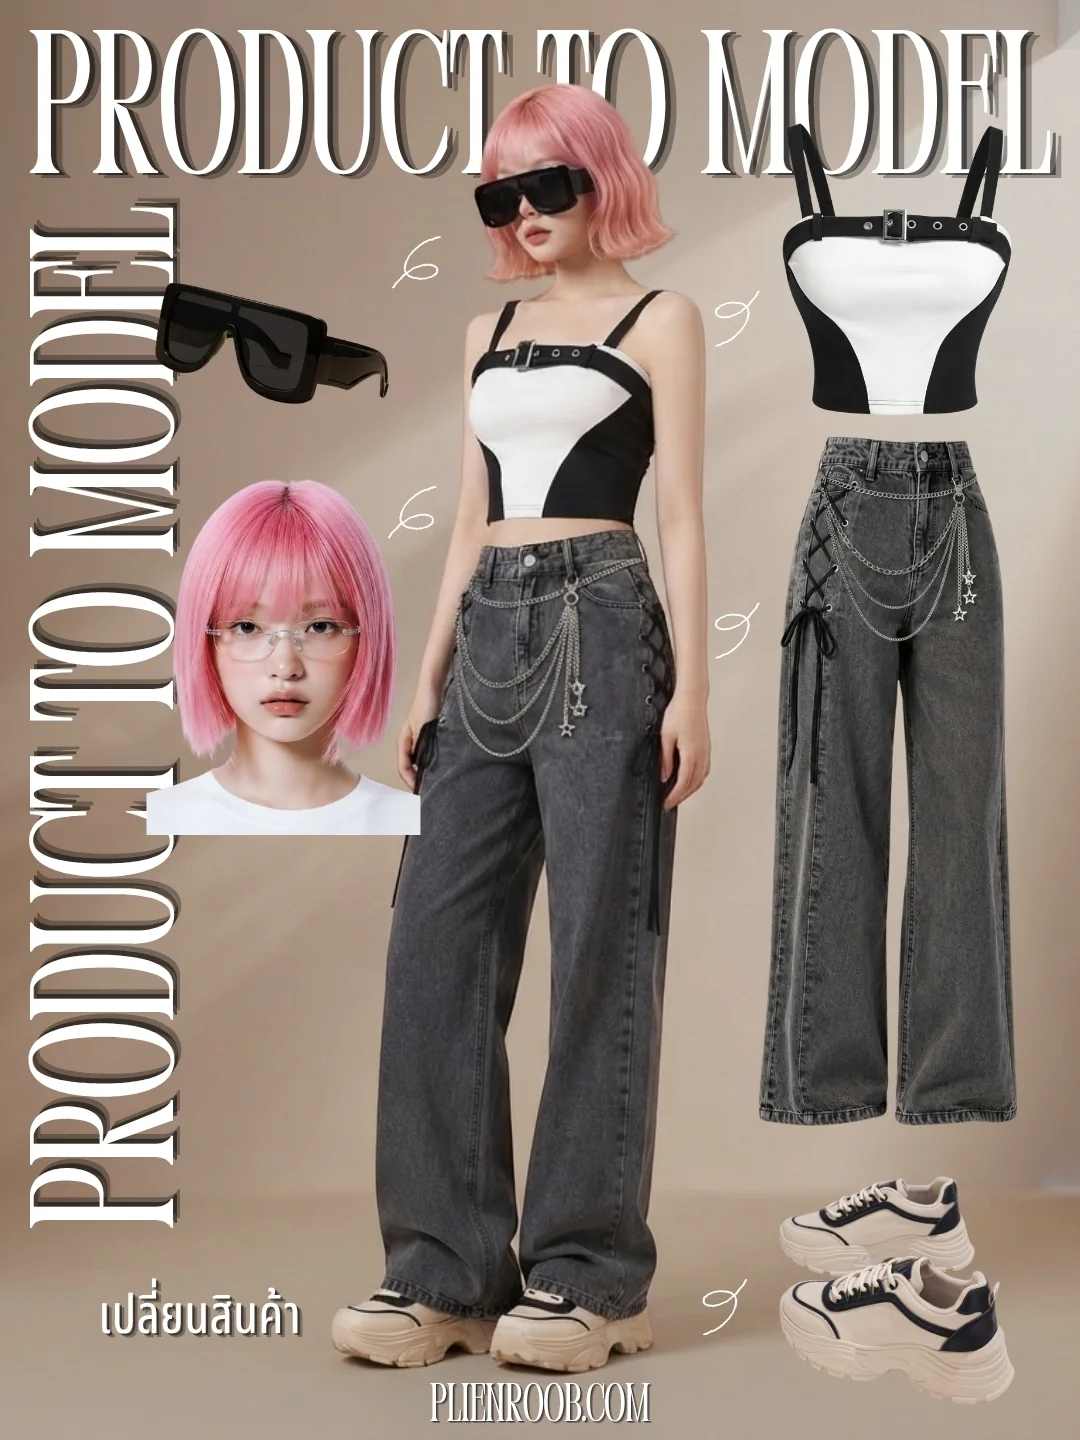
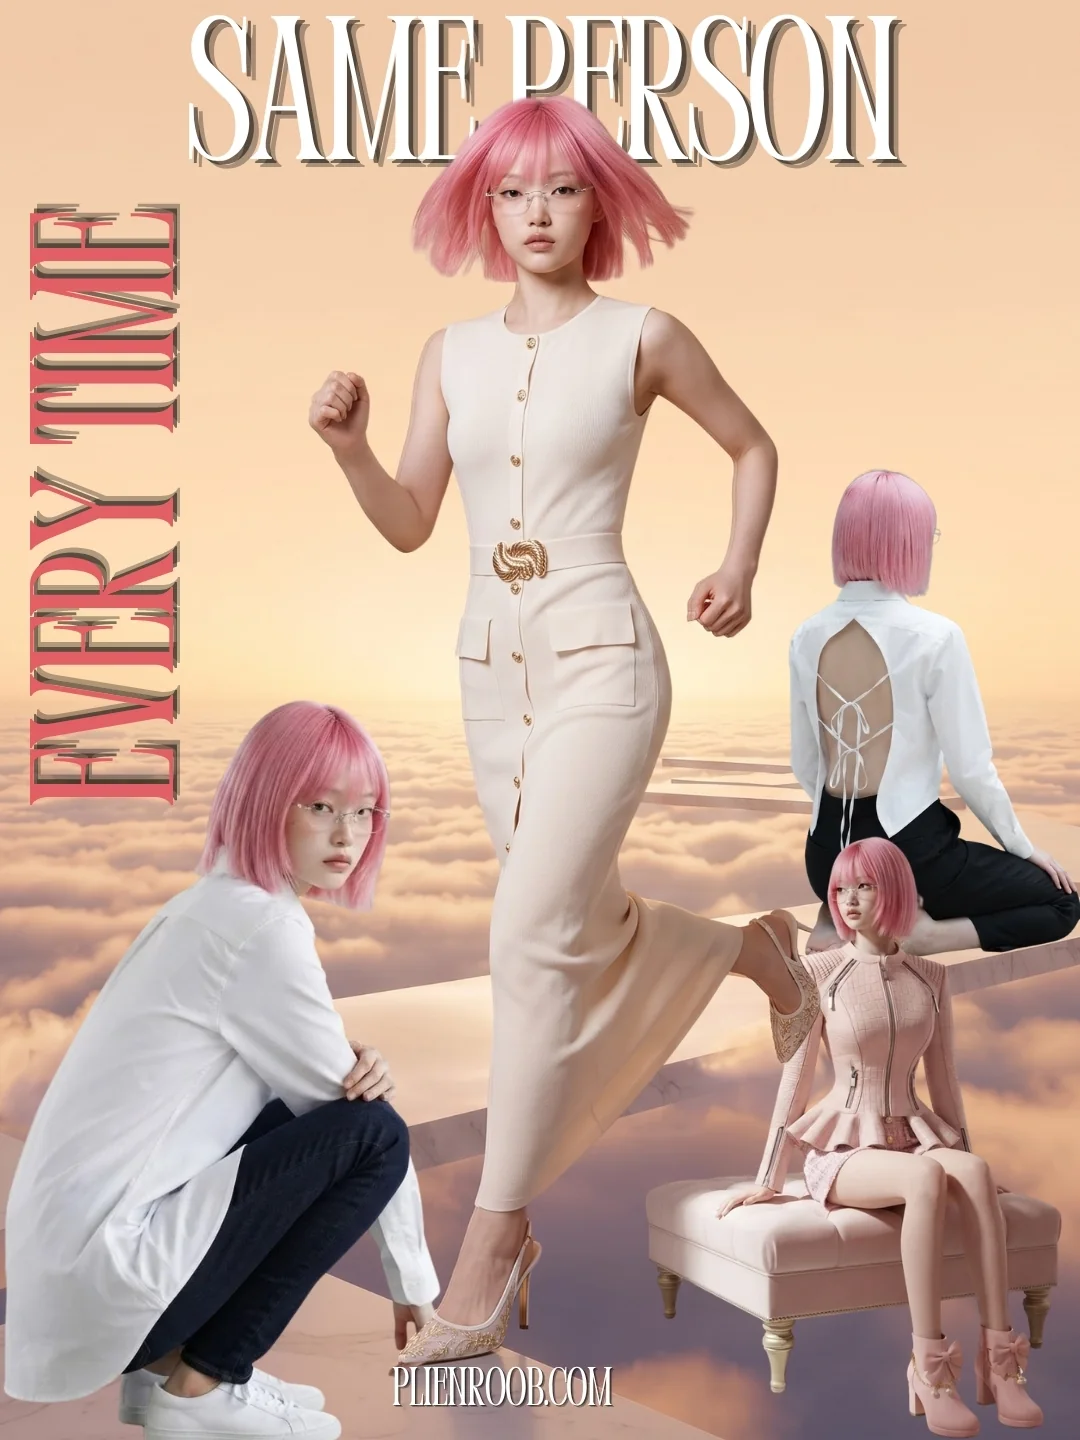
What you can do with an AI model on this site. Each card is that tool's cover image; tap it to read how the tool works.
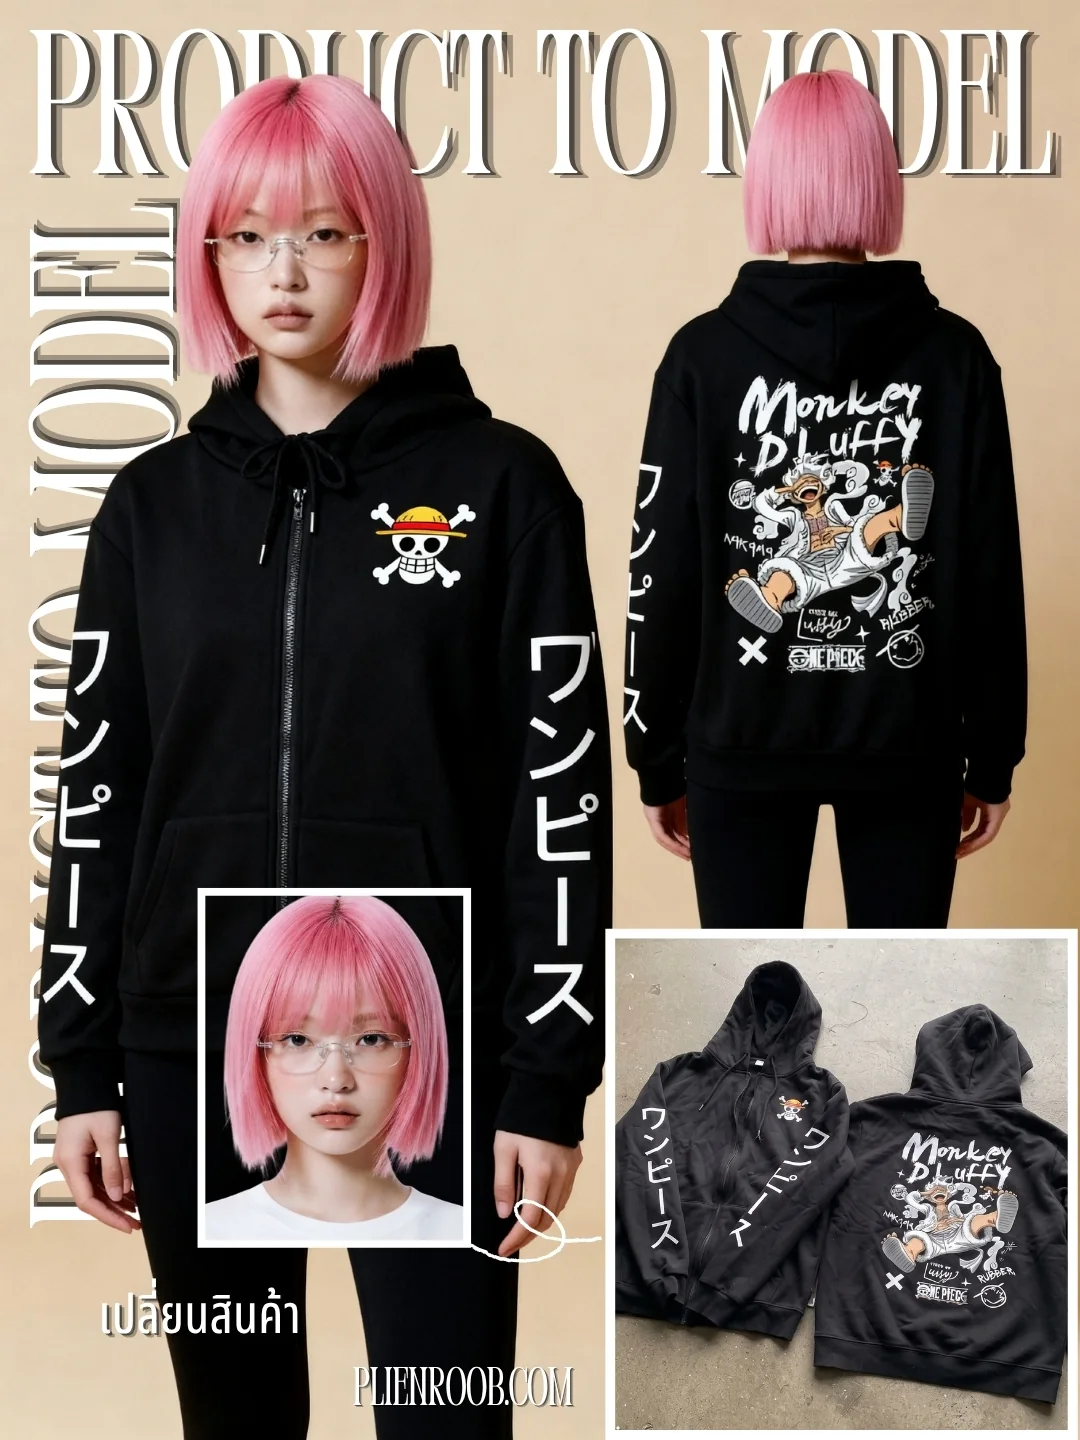
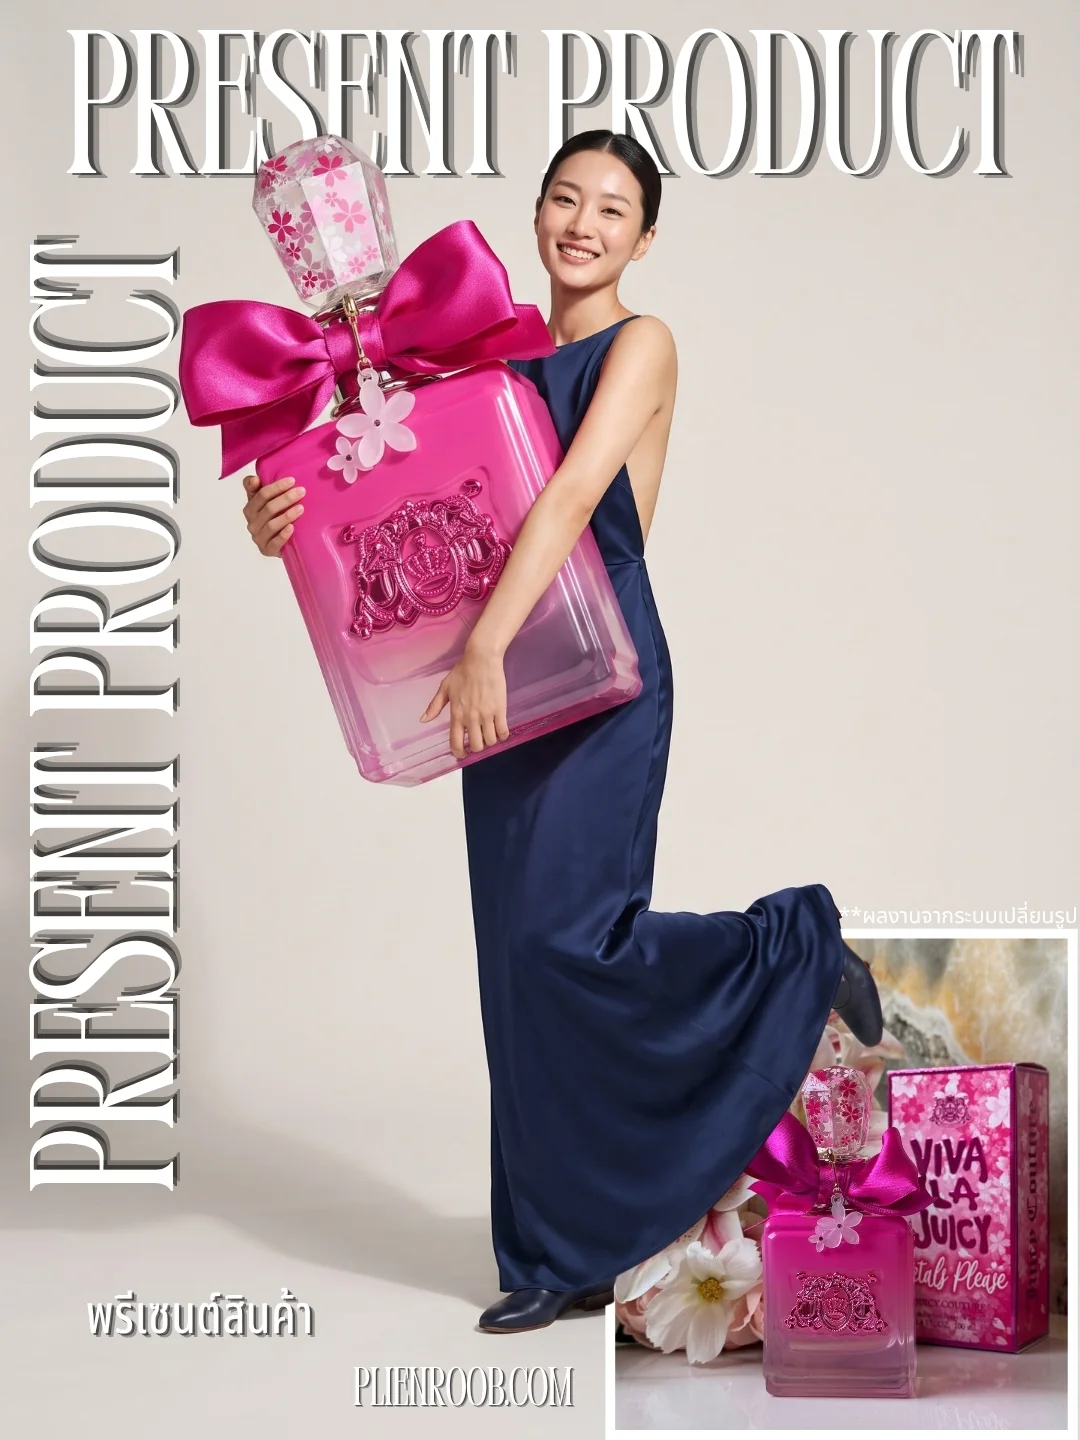
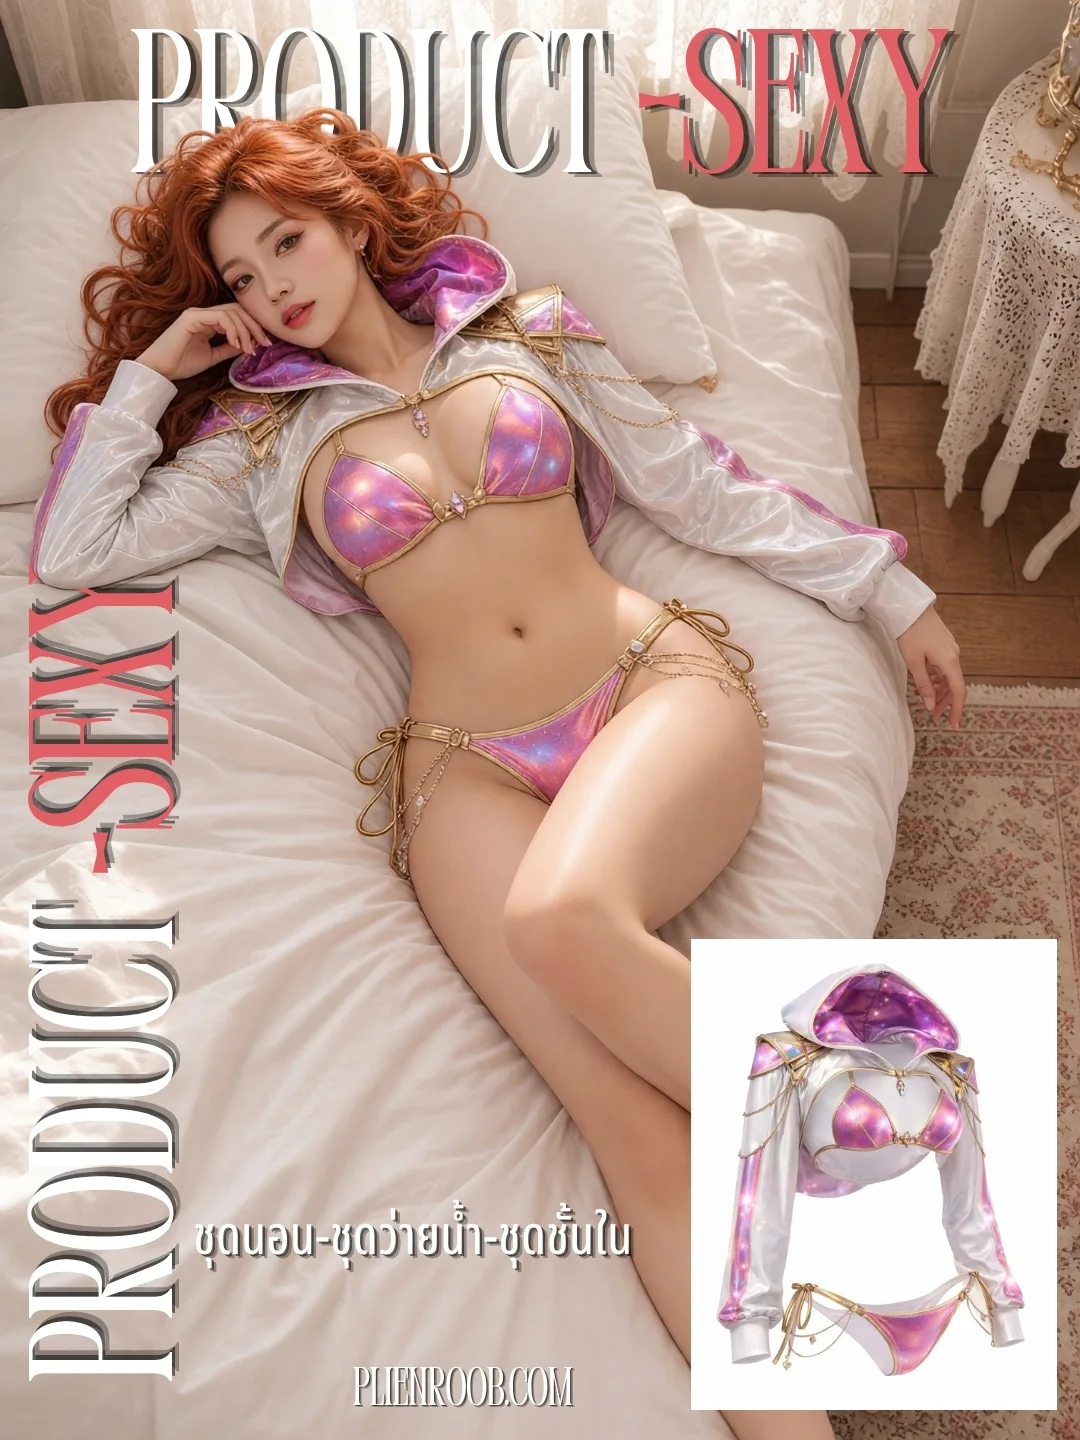
Seller-side: two routes, by the photos you have
Seller-side tools split into two routes, and which route works depends on the photos you already have.
The first route changes the outfit on a model photo you already have, using the model photo and a garment photo. Tools of this kind aim to keep the face, the pose and the setting, and change the outfit to match the garment you send in, though some small details can go missing or change. It suits shops that already have their own model photos and want every collection shown on the same person, pose and backdrop. If the person in the photo is a real person, your shop needs their consent to use it.
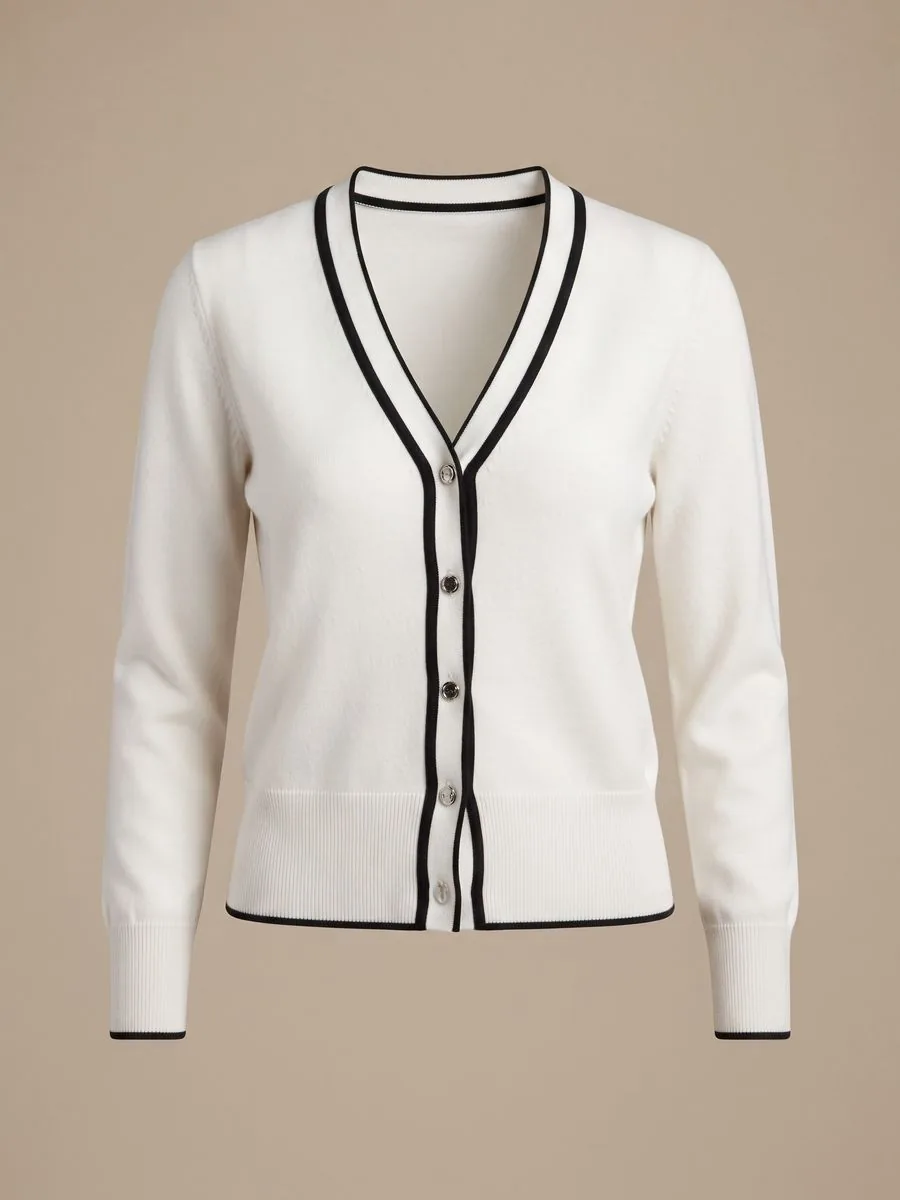 Garment
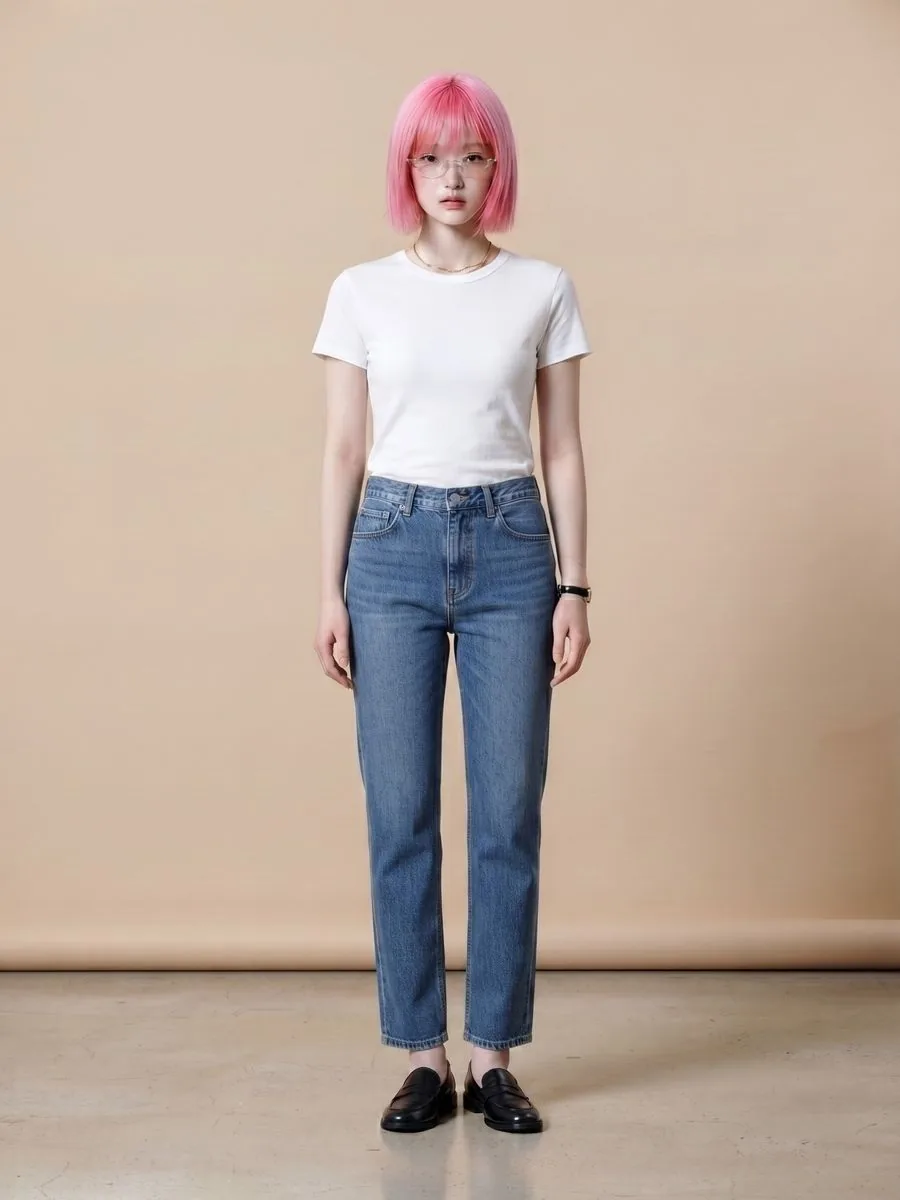 Model
Model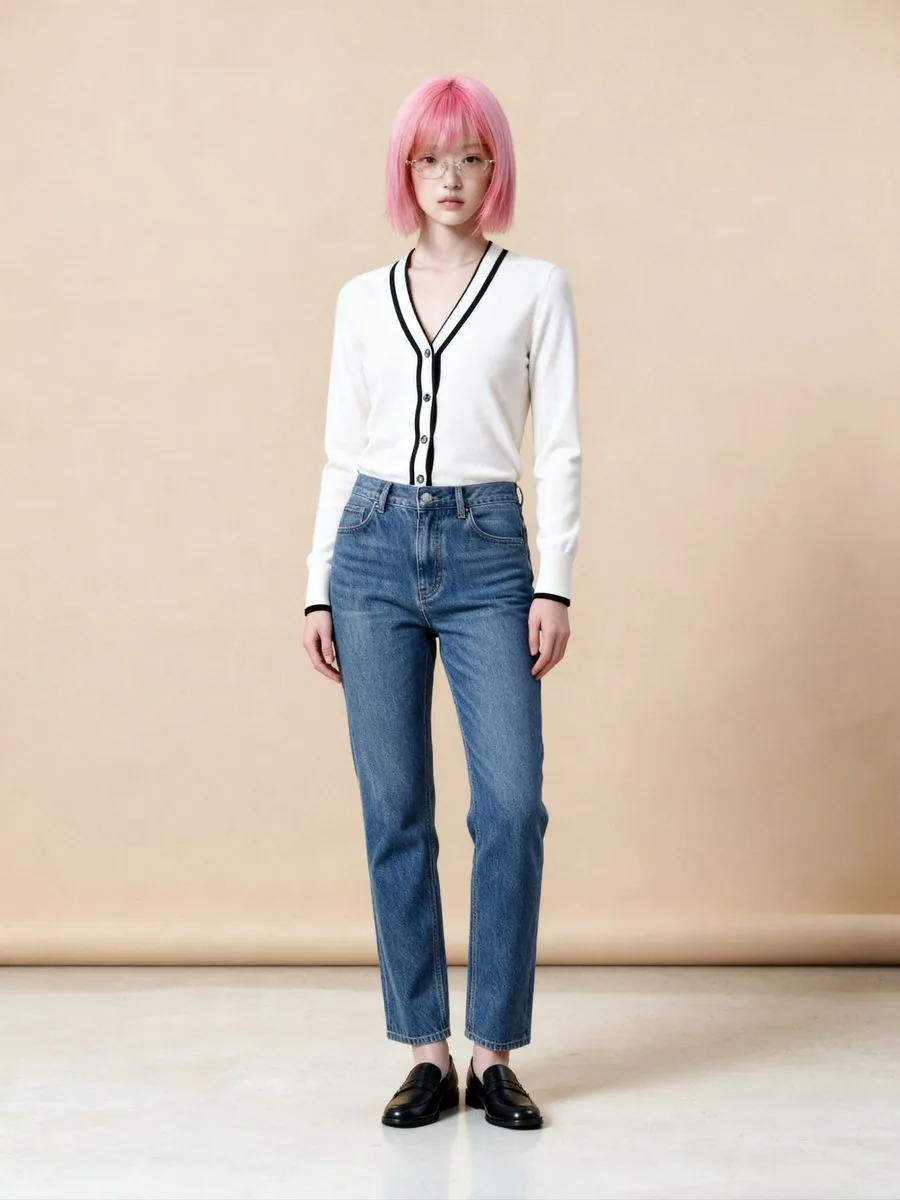 Result
The second route creates a model wearing the product from a product photo, with no photo of a person needed at all. The tool creates the person, the pose and the setting. It suits shops without a model, or with only flat-lay and hanger shots. Each provider accepts different product photos — some take only photos laid on a plain, single-colour surface and shot from directly above — so read the conditions before you start.
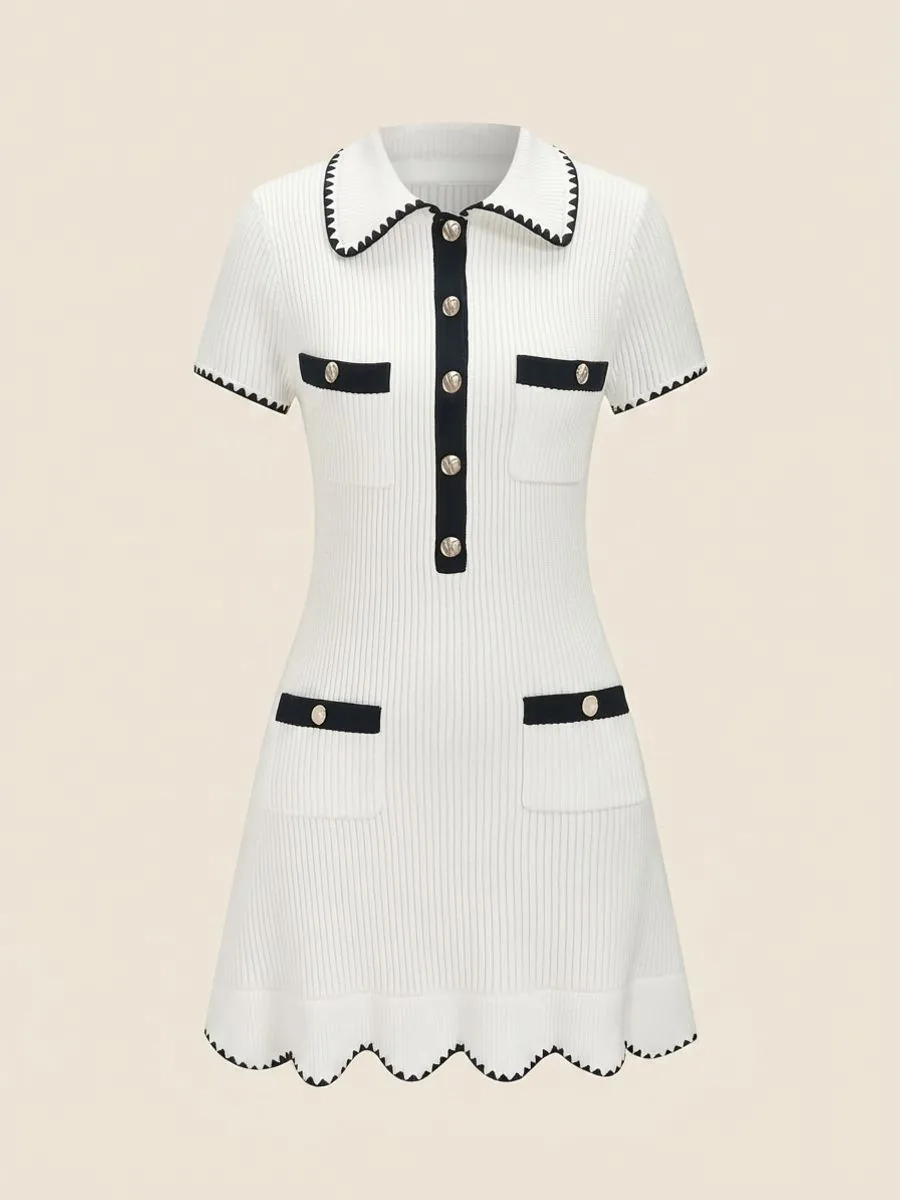 Uploaded
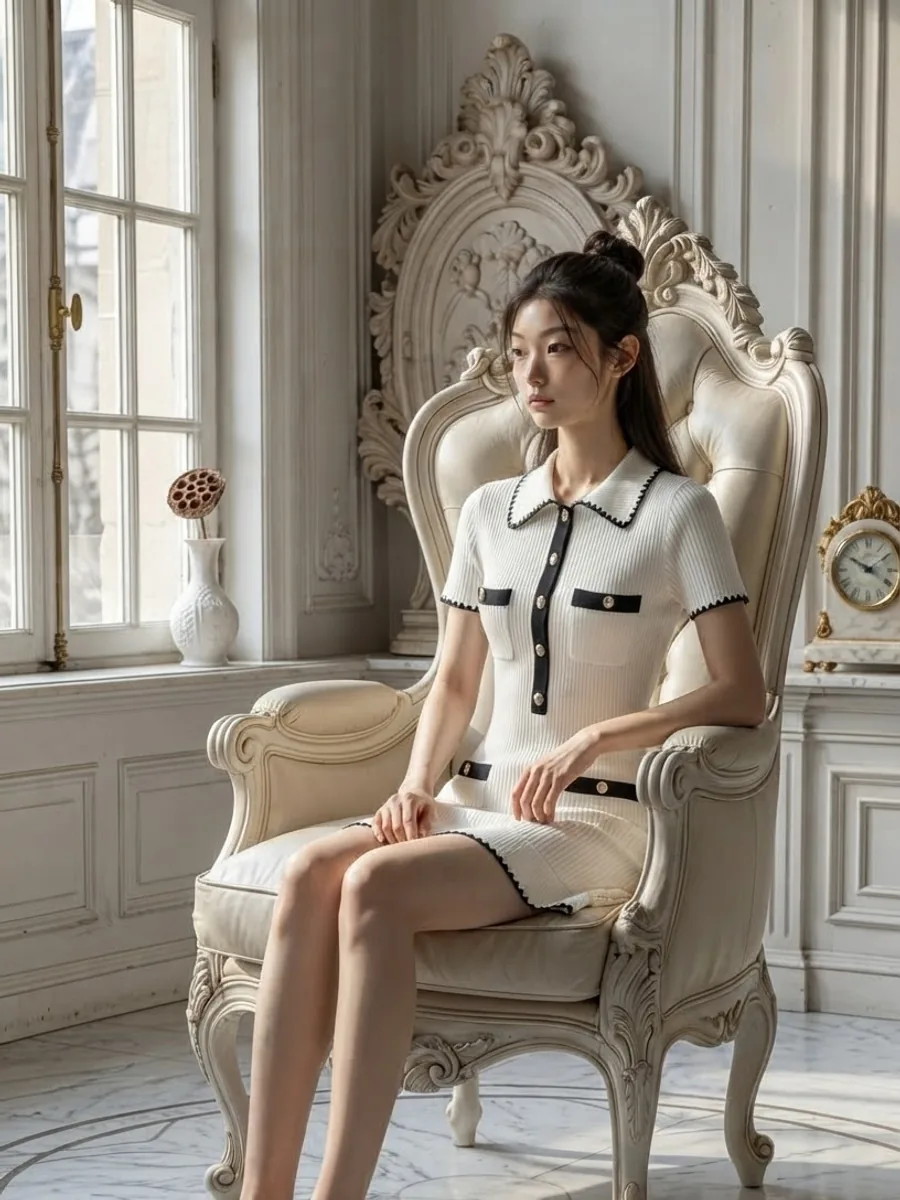 Result
Five things to check before you choose
The product must stay the same item: the print, lettering, buttons and hardware have to match the real thing. Test with a garment that has small lettering, then zoom in and read it letter by letter. On our own system, small lettering on a garment is among the first things to come out wrong.
The same model in every photo. A shop listing many products should get the same face in every image, so check whether the tool lets you bring the same person back for the next job.
Everything else in the photo. If a tool changes one piece at a time, the rest of the outfit stays as it was in the model photo, so pick a photo whose trousers and shoes suit the garment you're selling.
The photos it accepts. Some tools need a photo of a person, some take product photos only. Use a sharp original file, not one forwarded through a chat app, which compresses it along the way.
The size of the images you get, compared with the minimum set by the marketplace you sell on. Marketplaces set different minimums, and some providers keep their highest resolution for their most expensive plan.
What Plien Roob does, and what it doesn't
Plien Roob is our own site, and it does only the second kind. Virtual Try-On swaps a garment onto your shop's model photo or a library person, one piece at a time, for 2 credits per image, returning a file 4,096 pixels on the long side. Product to Model makes a model photo from a single product photo.
Plien Roob has no button or plug-in that lets your customers try clothes on through your shop's website, and no way yet for developers to connect to it. A shop that wants the first kind needs another provider. You can sign up free for 10 credits, given once, with no card needed. Your first free-plan image has no watermark; the images after it do.
Frequently asked questions
Which kind of AI virtual try-on suits an online clothing shop?
It depends on where you sell. Virtual try-on comes in two kinds. The kind that lets customers try clothes on themselves or an avatar has to be installed on a website or app the shop owns. The kind where the shop makes photos of a model wearing its products gives you image files you can post anywhere. Shops selling through marketplaces, social posts or LINE chats should use the kind where the shop makes the photos. Shops selling mainly through their own website can consider the first kind, and still need good product photos.
I only sell on Shopee or TikTok Shop. Which kind of virtual try-on should I use?
The kind where the shop makes the photos. A customer-facing try-on tool that a shop picks for itself needs a website or app of the shop's own to be installed on, while a product page on a marketplace belongs to the marketplace. What a shop can put there is what the marketplace makes room for, such as photos, video and a product description, so model photos made with a seller-side tool are the route you can use straight away.
I only have flat-lay photos and no model photos. Can I still get photos of the garment being worn?
Yes. Use a tool that creates a model wearing the product from a product photo; it needs no photo of a person at all, and it creates the person, the pose and the setting. Each provider accepts different product photos, so read the conditions first, and use a sharp original file, because if the print or lettering can't be read in the source photo, no tool has anything to follow.
Can I list photos from AI virtual try-on straight away?
Once you've checked them against the real item. AI draws these images anew, results usually differ from run to run, and small details can change. Before listing, zoom in and compare the print, lettering, colour, buttons and hardware with the product in your hand, one point at a time. If anything doesn't match, don't use that image; switch to a sharper source photo and generate again. Also read your marketplace's rules on AI-generated images.
Does Plien Roob have a try-on button my customers can use on my shop's website?
No. Plien Roob makes seller-side tools only. There is no button or plug-in for your customers to try clothes on, and no way yet for developers to connect to it. A shop that wants customers to try clothes on themselves needs another provider.
Plien Roob